Showing posts with label furniture redo. Show all posts

Wednesday, July 28, 2021

When does furniture painting become an ART

Ad-Free Blog
Last week I ventured north into Wisconsin to meet up with two cousins. Sigh, we hadn't been together for almost four years. We picked an 'out in the county' location to do some shop perusing and have lunch.
What Fun! 
One of their favorite places was the Rusty Gate in Burlington, Wisconsin.

From the moment you pull up into the parking lot, you know you are in for something special.

oldnewgreenredo

A wonderful old bed, mounted on the wall greets you.
oldnewgreenredo

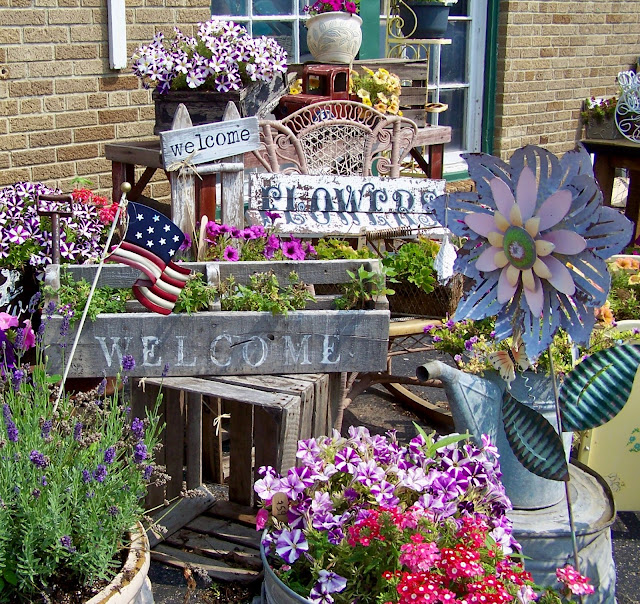
Despite the 90+ degrees, flowers in every imaginable container establish this is a 
HAPPY PLACE! 
oldnewgreenredo
I really loved the hodge-podge and riot of colors...all with VINTAGE touch.
Inside the high ceilings of the building and many full length windows fill the space with a soft light. 

oldnewgreenredo

Susie Myres, the owner greets you with a big smile a swish as she never stands still. The store is all hers, everything painted or curated by her, and it's divine.

In her own words, the Rusty Gate is Painted Furniture, Rustic Decor, Shabby Chic, Farmhouse, Steam Punk, Vintage Glam, and a bit of Industrial thrown in. 


oldnewgreenredo

A true artist, she fills the store with what she loves and it all seems to work together. 

This is where painting furniture becomes an artform.  She teaches online, and in the shop when Covid will permit, the many techniques she uses on the furniture (all of which is for sale or custom projects) displayed in the store.

oldnewgreenredo

Taking a 1920's dresser and turning it into a masterpiece for your home.


oldnewgreenredo

In this photo the piece is not so blue...but would work anywhere! 

oldnewgreenredo

Loving the shadowing on the raised details.

oldnewgreenredo

Not afraid of playing with color, this clay pink and ivory dressing table was a masterpiece. Notice the three- dimensional ivory facings on the drawers.

oldnewgreenredo

Accessories and hand-painted smalls were also for sale. Little 'This and Thats' make you want to take everything displayed home.
oldnewgreenredo

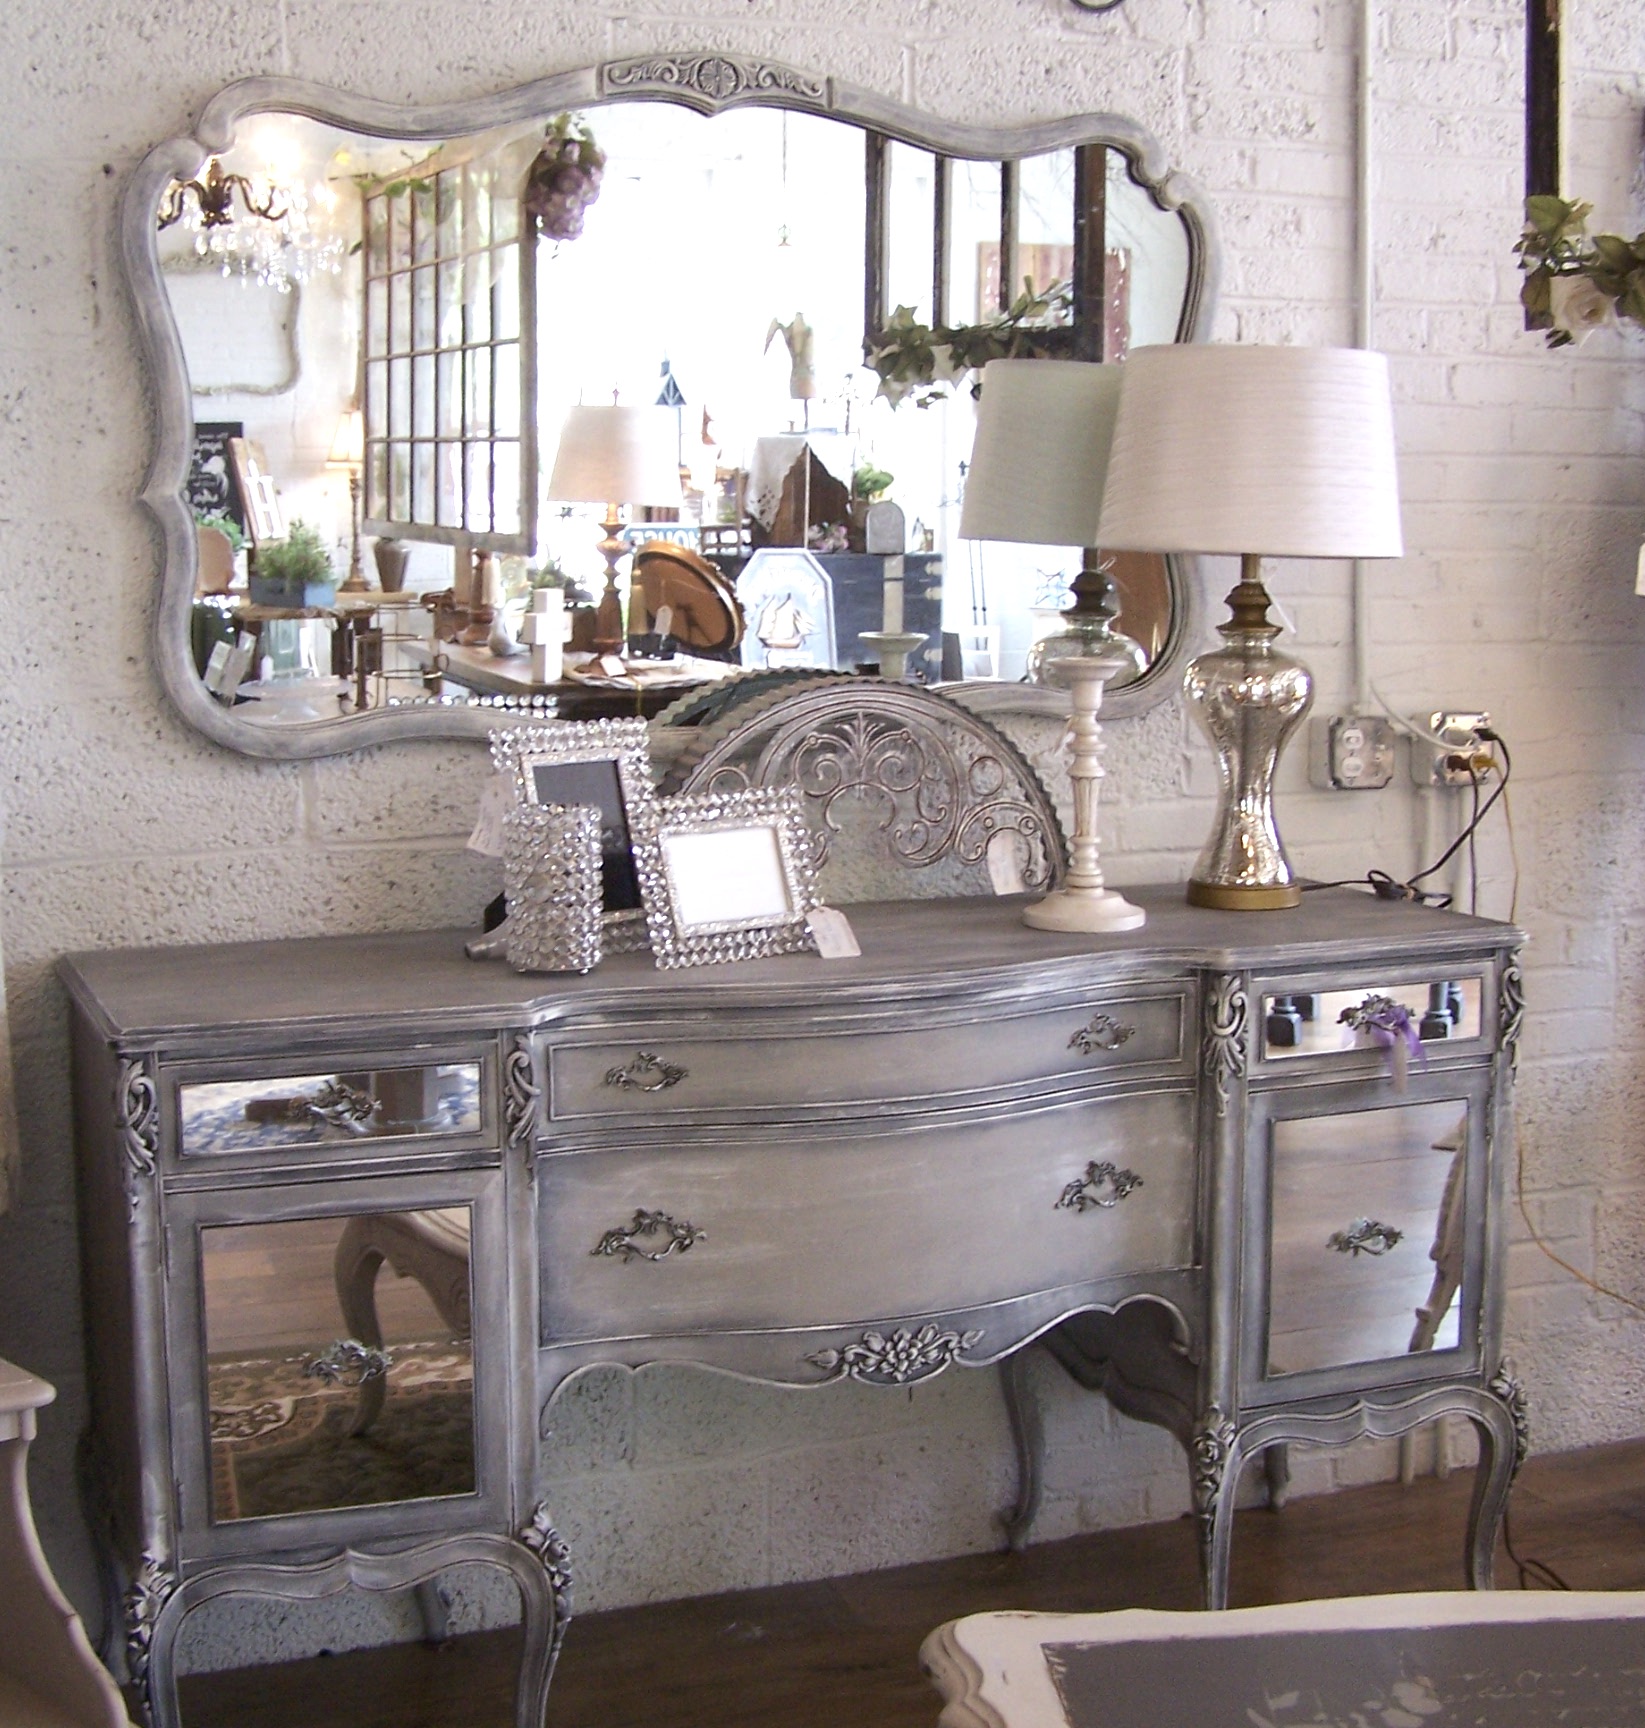
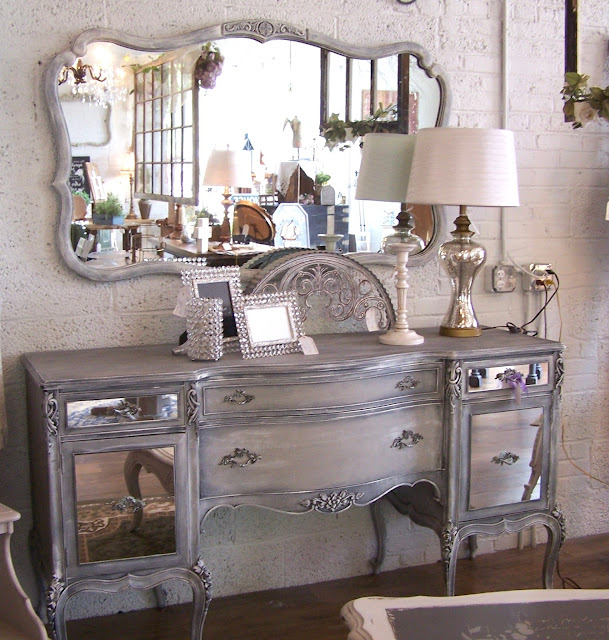
Here's the Hollywood GLAM. What makes this buffet so special are the lines, and the mirror inserts on the cabinet doors and drawers. Totally gorgeous.

oldnewgreenredo

Soft colored vintage rugs scattered across the floors add a touch of elegance and detail reflected in the mirrored cabinet door.

oldnewgreenredo

Cabinetry displays mini-vignettes of vintage and newer items, perfect for gifts.

oldnewgreenredo

Who can resist a Strawberry teapot?

The back room, used for classes was an artistic mess of activity and on going projects. Paints, stencils, stamps, and other items are available to finish your own vintage pieces.

oldnewgreenredo

Susie has such a great smile while wrapping my purchase of a large sheet stamp and a decorative molding silicone mold.

If you are interested in seeing more of Susie's artistry on furniture and other pieces you can check these out!


If You enjoyed this post please FOLLOW IT in the upper right hand corner, to get just one email of each new post


Please Join me at these fine blog parties:


Please do not use my photos without a link back to this blog without my permission.

Thank you for your cooperation, 
Sandi 
 
oldnewgreenredo


Wednesday, August 26, 2015

Redo Old Dresser for New Grandbaby

Grandparents, DIY-REDO furniture project


A sneak peek!

I know this is an OLD project, but we were so excited in 2012 to
 finally become grandparents in our mid-sixties. 


Here's my son, Kurt, and his beautiful wife, Richelle, at a small baby shower we had on our porch. Baby food on breadsticks was the party game---amazing how few items were identified. Some of the following pictures are from old photo scans, so bear with me.

But onward to our REDO PROJECT!

My husband and I are great DIY-ers and I had all this odd-ball furniture left over 
from my walkin-BarberryLane-shop in the garage. 
The kids had no baby furniture picked out, other than a NEW crib from Ikea--
honestly I am not getting reimbursed by Ikea.
 But, it was the smallest crib we could find
 Richelle could reach over, because she is so tiny.

So, we took two of my OLD shop shelving units (they had held sheep's milk soap) 
from my stash and a beat-up old dresser, I think I found for five-dollars 
and proceeded to paint with some grass-GREEN satin enamel and some wooden flowers!


Tiny 89 pound Richelle, next to a shelf.

Now the flowers were from my parent's craft stashes. They supplemented their  
retirement income in the 1970-80's by doing craft shows. 

So, the REDO dresser, shelves, and flowers were also something OLD
just like the expectant Grandparents.


Here's a picture of all the flowers my dad made and my mom painted. 
Cute stuff!
 I wish I had the teddy bear chair, they were adorable.


I picked a palette of quite a few NEW colors of satin acrylic enamels.

 I added a few pre-cut wooden shapes and tweaked their colors, 
all in a garden and bug theme. 
The white bunny was a garden ornament from my parent's craft stash. 
The pieces were all screwed from the back or glued and nailed. 


Colorful and Cute!


My dad, Jerry, and one of his many projects, a custom made rocking horse.
He would have loved working on this project.

Here's the dresser finished, with the installed changing table top added, this was pegged and easily removed. 
The tiny baby we were expecting outgrew it in like 2 months. 
She's very tall now and will be wearing her mom's clothes
 by the time she starts school, lol.

Painting all those knobs was a pain, I swear, 4 coats of craft enamel. I stuck them in styrofoam on their screws to keep them all straight. 

We dragged the three pieces up the stairs, that was the hardest. 


Ready for installation…all three pieces were bolted together for safety.
The color on this photo is closer to the actual, bright, 
clean, kid-friendly paint, and very GREEN color.
Total cost was maybe $20 dollars for paints and the knobs were originals or from my stashes, and $5 for hardware.


Hubby (Grandpa) after installing the last bolt. We finished just in time, baby Jerri was born on 10/11/12 about a week later. 
.

NEW Jerri, named for my Dad, slept soundly surrounded by three generations of ~LOVE~
 in this OLD~~ NEW~~GREEN~~ REDO furniture project.
Phew, I got them all in again!

Linking at these great parties:

As always, thanks for stopping by, 

Sandi


All the opinions and photographs in this blog are my own, I have not been paid or reimbursed in anyway for my opinions or posts. Please do not use photos without linking back to this blog without my permission. Thank you for your cooperation, Sandi Magle