
Ad-Free Blog
Way back when...like three years ago, I posted photos of my tiny master bath.
Saying it was due for an upgrade, we had peeling wallpaper, needed new tile, and some serious drain pipe issues. The small space was screaming for a makeover from its 1990's origins.
 |
| oldnewgreenredo |
I featured this little shelf, which held everything we needed in the tiny bathroom.
 |
| oldnewgreenredo |
It was just always so foreboding brown, I hid the dark with towels and doilies.
Now, I had a quart of satin latex with primer added in light blue, a few shades lighter than my bedroom walls.
 |
| oldnewgreenredo |
(PS, I'm not fond of chalk paint for anything but craft projects. Satin Latex paints have beautiful strong finishes and are durable enough to use on furniture, walls, or trim. Most have added primer which makes one coat sufficient for almost all surfaces.) And, no sealing or waxing or anything else, extra...! So, unless you are going for a 'custom' layered expensive finish---Satin Latex proves it's durable, and certainly more cost effective.
Originally this Arts &Crafts Movement Library book stand has been in my collection for about 50 years. We dragged it from Wisconsin in 1976 to Illinois.
It's always been in my bedroom until 1990 when we made an extra bathroom out of a walk-in closet. The width was then cut to fit our new bathroom. It's been perfect for towels and bathroom storage since then.
 |
| oldnewgreenredo |
NORMALLY I WOULDN'T PAINT AN ANTIQUE!
I've always wanted to paint it, or at least lighten it. I tried some paint-wash on the underside of the dark stained boards. The orange tones in the stain made my light blue paint very gray
 |
| oldnewgreenredo |
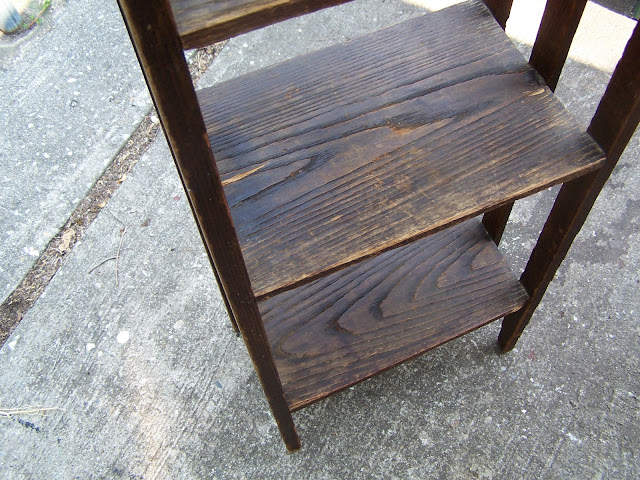
In anticipation of painting, I scrubbed and lightly sanded the wood and let it dry. This was made from raised grain almost rough sawn red oak. How large the tree must have been to cut these thin full-depth planks that barely warped in 100 years. The piece is from prior to 1915.
 |
| oldnewgreenredo |
On the underside of the shelves, I tried a couple of techniques. The left was a dry brush with a full strength paint, the upper-right wiped off full strength paint, the bottom brushed on
with full strength paint.
I opted for the wipe off technique, thinking I could always add more color.
 |
| oldnewgreenredo |
North Chicagoland's been in a drought, so the air was very dry, and I worked on a small area at a time, paint-wipe, paint-wipe with a dry rag, and so forth.
 |
| oldnewgreenredo |
Even working in the shade the paint was drying fast.
|
| oldnewgreenredo |
Hubby just kept taking photos...as I worked very quickly.
 |
| oldnewgreenredo |
 |
| oldnewgreenredo |
Progress, it was certainly brighter than the original.
 |
| oldnewgreenredo |
In the end, it was pretty even. I lightly dry-brushed any areas that were still dark.
 |
| oldnewgreenredo |
Normally I don't paint antiques...but this piece had been altered anyway the top V shelf had been replaced from slats, which were awkward and warped.
 |
| oldnewgreenredoAdd caption |
Now the newer wood, just blended in, as I wiped lots off to leave the softer grain to match the others.
Best part, this color blends beautifully in our new up-graded bathroom with new drain pipes, I'll share in another post!
Hugs,
What Projects have
you finished in Lock-Down!
Do not use my photos without linking back to this post on my blog.
Thank you for your cooperation,
Sandi
Sandi
 |


