Quick post, such a busy week. We have two birthdays here and the 4th festivities...so hope you all are busy and having fun, too.
Paper Art Explorations and Paper Cutting!
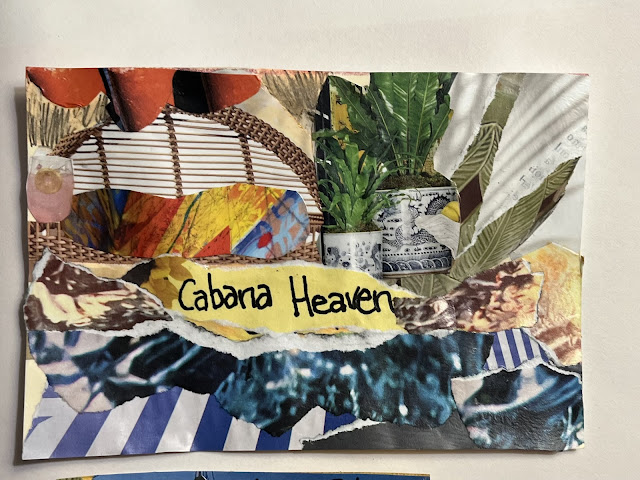
My first Paper class was assigned to do postcards of a vacation scene, cutting or tearing your papers. I had been in the garden all morning, so I was madly tearing bits and pieces from magazines and some papers I had in my file as the instructor talked about the concept of postcards.
This Size of 4" x 6" is really small for me, but I followed the class guides. I worked on some card stock. The first one started with the cool potted plants image and a screen which I used as a back to an imagined deck lounger..the blue torn strips are water and the rest is jus shadows, colors, rocks...and bits of pebbly beach all from various papers and images from magazines.
Again, two little projects in roughtly 40 minutes. I use Elmer's school clear water-based glue and love it. It dries quickly and doesn't disturb the colors of anything, and you can work on top of it. The glue does slightly repel alcohol markers.
If I had time I would have searched for an interesting vacation related word...for the center, instead of my lousy lettering.
Warmed up, the only thing I cut for this postcard was the tree shapes at the top...everything else is torn papers, in fact so much was off the page of 4"x6" that I just trimed all the edges even with my measured card base.
Niagara Falls is gorgeous and on a sunny day the water is every color and glistening. I tried to capture that memory with cool and warm blues and whites.
Tools and Materials Used for these were
card stock, scrapbook papers, magazine pages
Elmers Clear school glue,
magic marker...
oh, and a square/ruler!
Paper Cutting Class
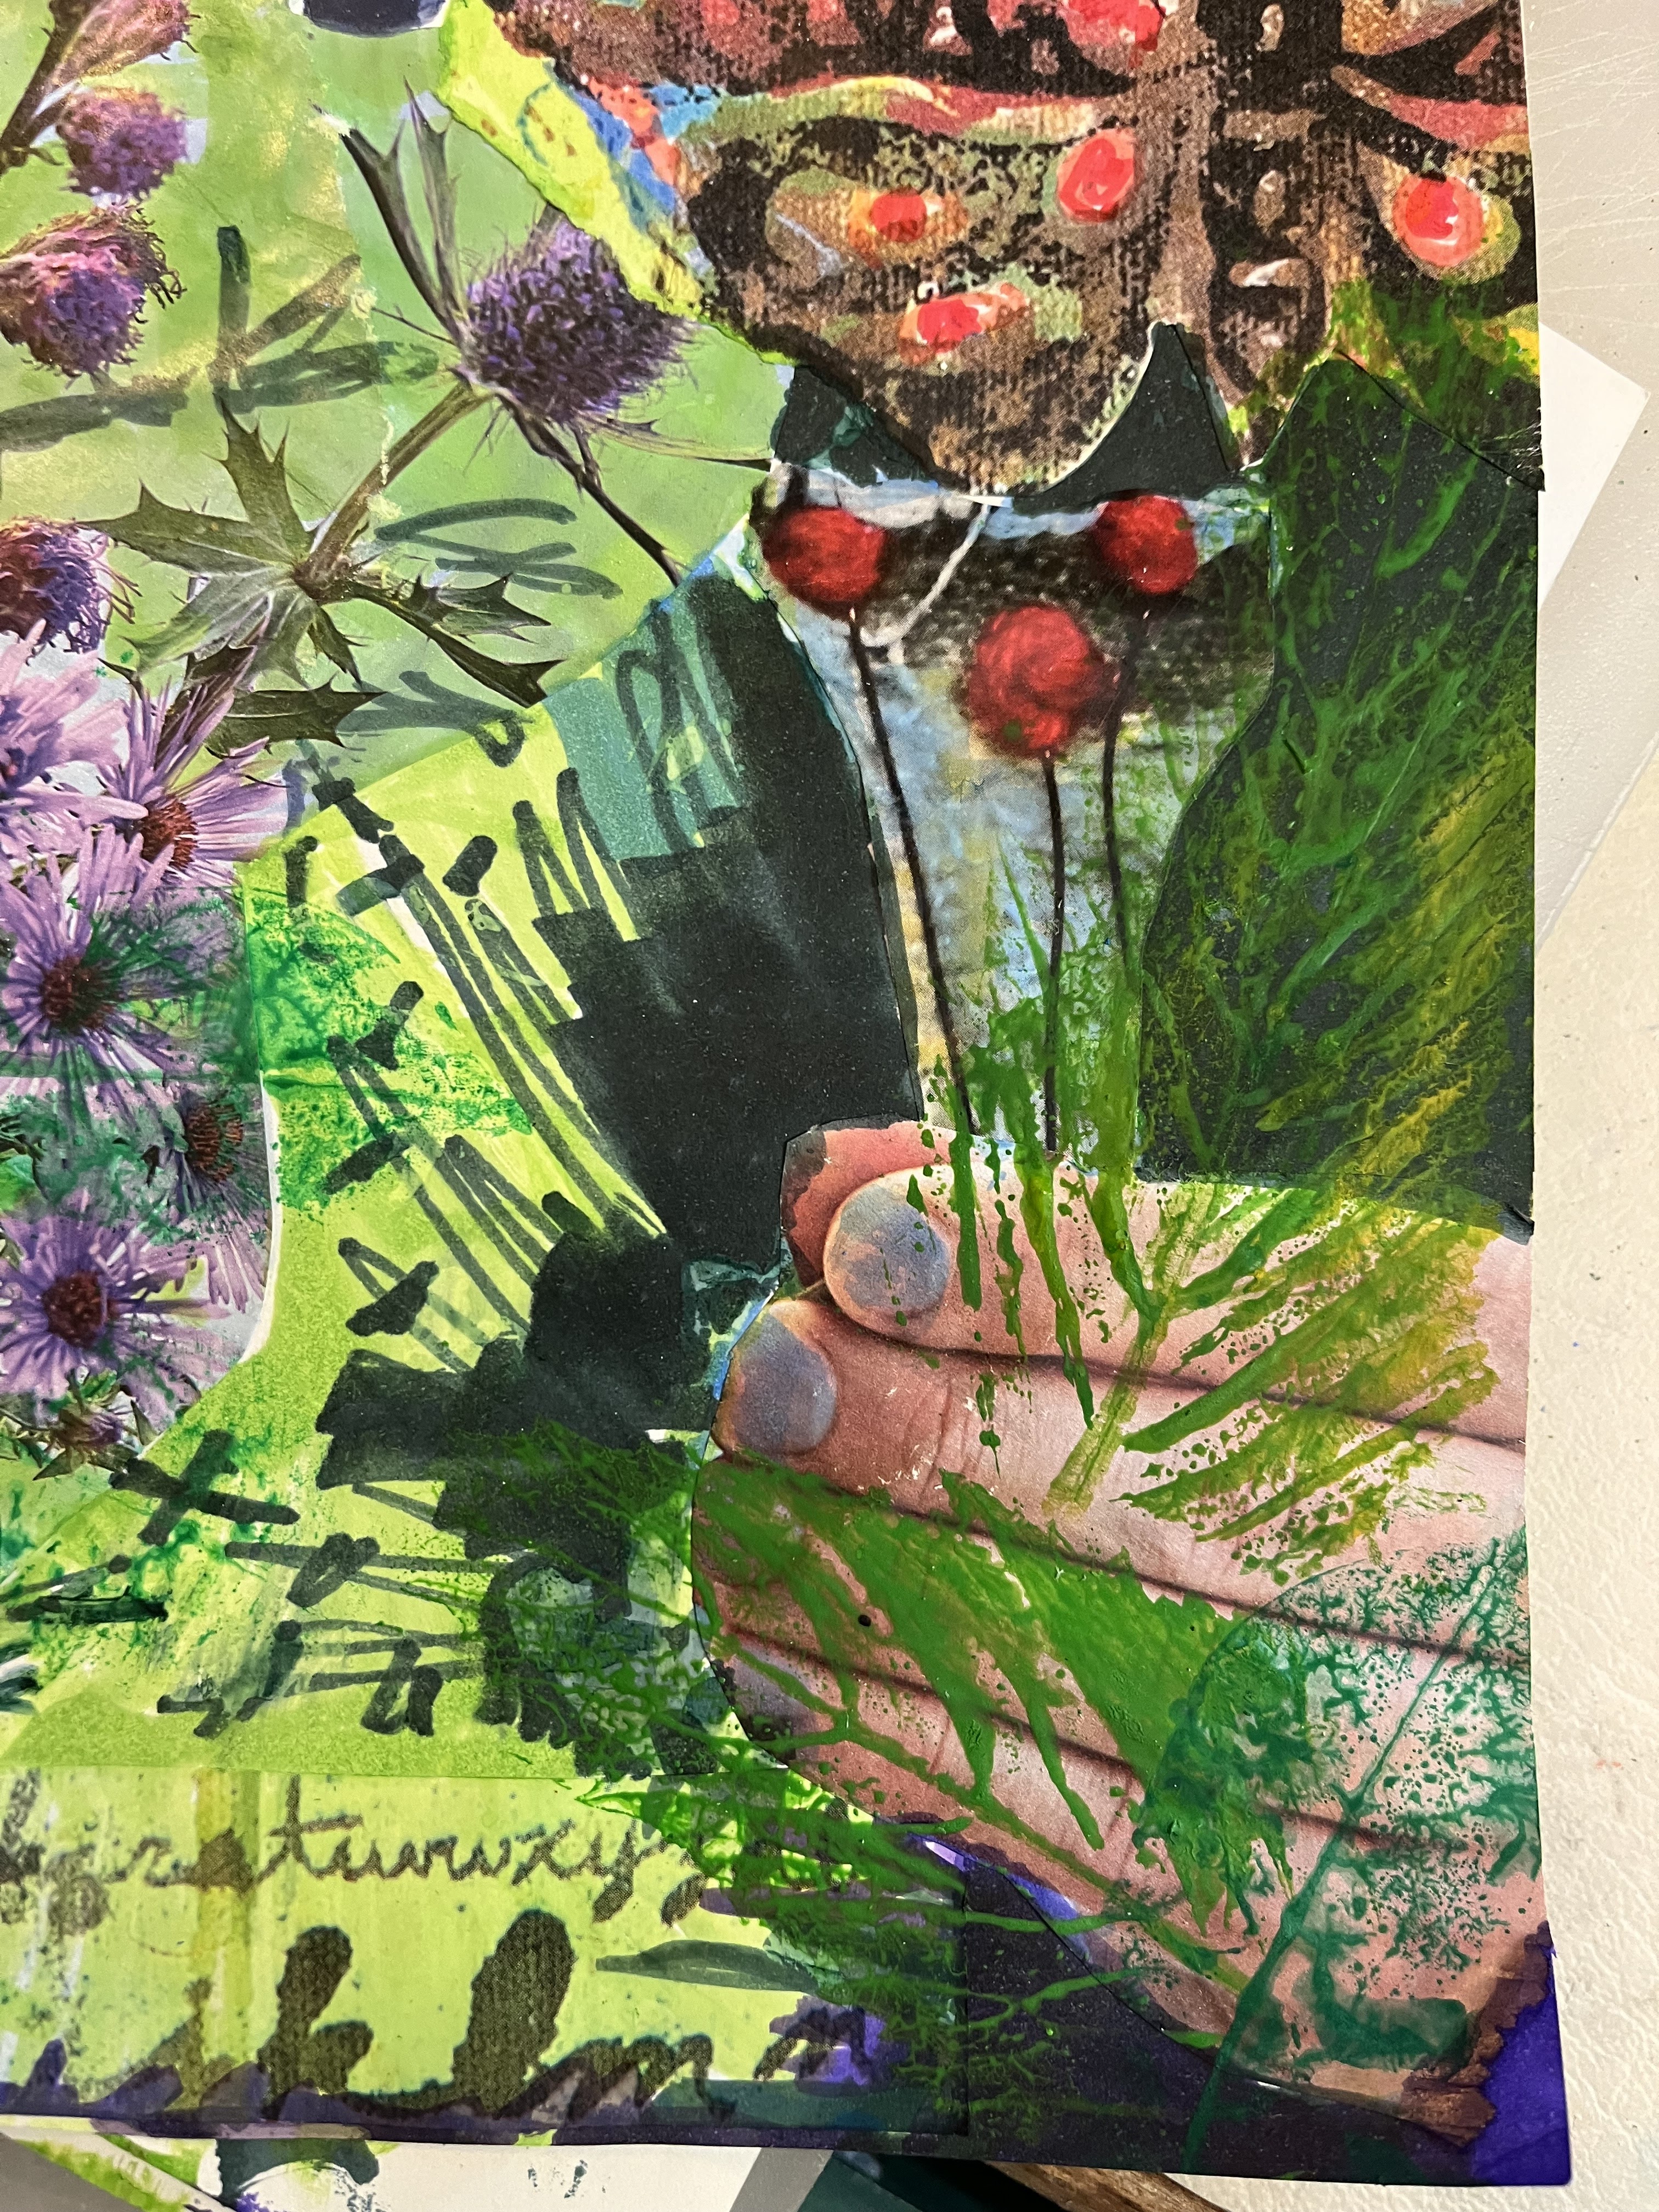
This Piece was from this week and it was supposed to be distressed by removing colors of the pieces and background by sanding/salt sanding with a texture underneath.
I'm learning to work really fast. I have some of those expensive craft magazines, and create magazines besides files and files of articles on antiques, gardening and home decorating---these are from before Pinterest., When I purged my magazine collection I saved so many pages I have file boxes of them sorted according to topic. Now, with pinterest, there is no need to have printed materials...when you can have every image available there.
This is page is roughly 11" x 14" on some paper from inside a purchased thrift store frame, a little heavier than printer paper, and lighter weight than cardstock. It has a bit of a sheen to it, but accepted all the materials I used.
Gardening has been all I have been doing, and that great beetle image was the start and then the Hands...again, working within the 40 minute time frame...I'm getting really fast at making choices on the spot. Paralyzing indecision is really a stumbling block to making Art. Your brain is your worst enemy sometimes.
Here, The sun was a design from an article on stamping?
I loosely cut out the beetle, the background was white, but alcohol markers were a quick fix of that. The dark background where I had planned to do leafl, twig rubbings/distressing were done in alcohol ink, which ended up entirely saturating the paper---which I didn't realize. I thought that sheen would cause the markers to sit on top. NOPE!
Heres my tools and scraps...the leaves twigs I wanted to use for rubbing/distressing.
The images of the hands really add a personal touch to this work...touching Nature...I think you can smell those mini Asters and Sea Holly. I have two big branches of Sea Holly growing in the garden, can't wait until they turn dusty purple.
Well the distressing didn't work...because of the heavy saturation of alcohol marker and the images on the heavy magazine papers! These really didn't want to distress either...so I painted my leaves and printed the fresh leaves in several greens of Gouache. (opague/semi opaque water-based paints from tubes.)
I've had the set for ages and just hadn't used them.
I also altered othere areas with more ink...added some extra orange, marked the nails in blue/green, and disquised any white background in some shade of green, blue, or dark purple. Lines and business were added for the texture I was missing from not being able to distress.
The Moth/Butterfly image is marked up, I added more orange and red. The darks are dark blue and green markers in the background and around the leaves. Here and there are some colored pencil enhancements, mostly in oranges and green.
To end on the Upbeat, I will try another simple image and maybe a painted gouache background and then try some distressing with sand paper and stencils, or branches of heavier cedar or fir pieces.
Lace, mesh, crushed papers/aluminum foil were suggestions. I think I will try them all and do another post. But, not today!
Anyway, I loved doing this and creating the positive message...which is perfect for this time of year!
Summer solstice and all! I do love the experimental aspect of this paper work, which is really a new lesson for me.
Thanks to Free Mather Senior Online Classes
Thanks always for visiting,
Join me at these fine blog parties:
All the opinions and photographs in this blog are my own unless identified, I have not been paid or reimbursed in anyway for my opinions, posts or any products shown.
Thank you for your cooperation,
Sandi


