
More on installing this type of floating flooring at this post, Vinyl Plank Floors.
 |
| oldnewgreenredo |
 |
| oldnewgreenredo |
First step in the kitchen after the floor is the ceiling and tearing down the sofits. The blinds are drawn because of the heatwave. I removed all my decor, and items from all the walls, counters and shelves. Then everything was washed and stored on the table. Then I began to pack.
 |
| Add caption |
and pack
 |
| oldnewgreenredo |
and pack
 |
| oldnewgreenredo |
and packed it all, from my Grandma's Monk cookie jar to the bitty bunny.
 |
| oldnewgreenredo |
I can't believe I had this much on the shelves and walls.
 |
| oldnewgreenredo |
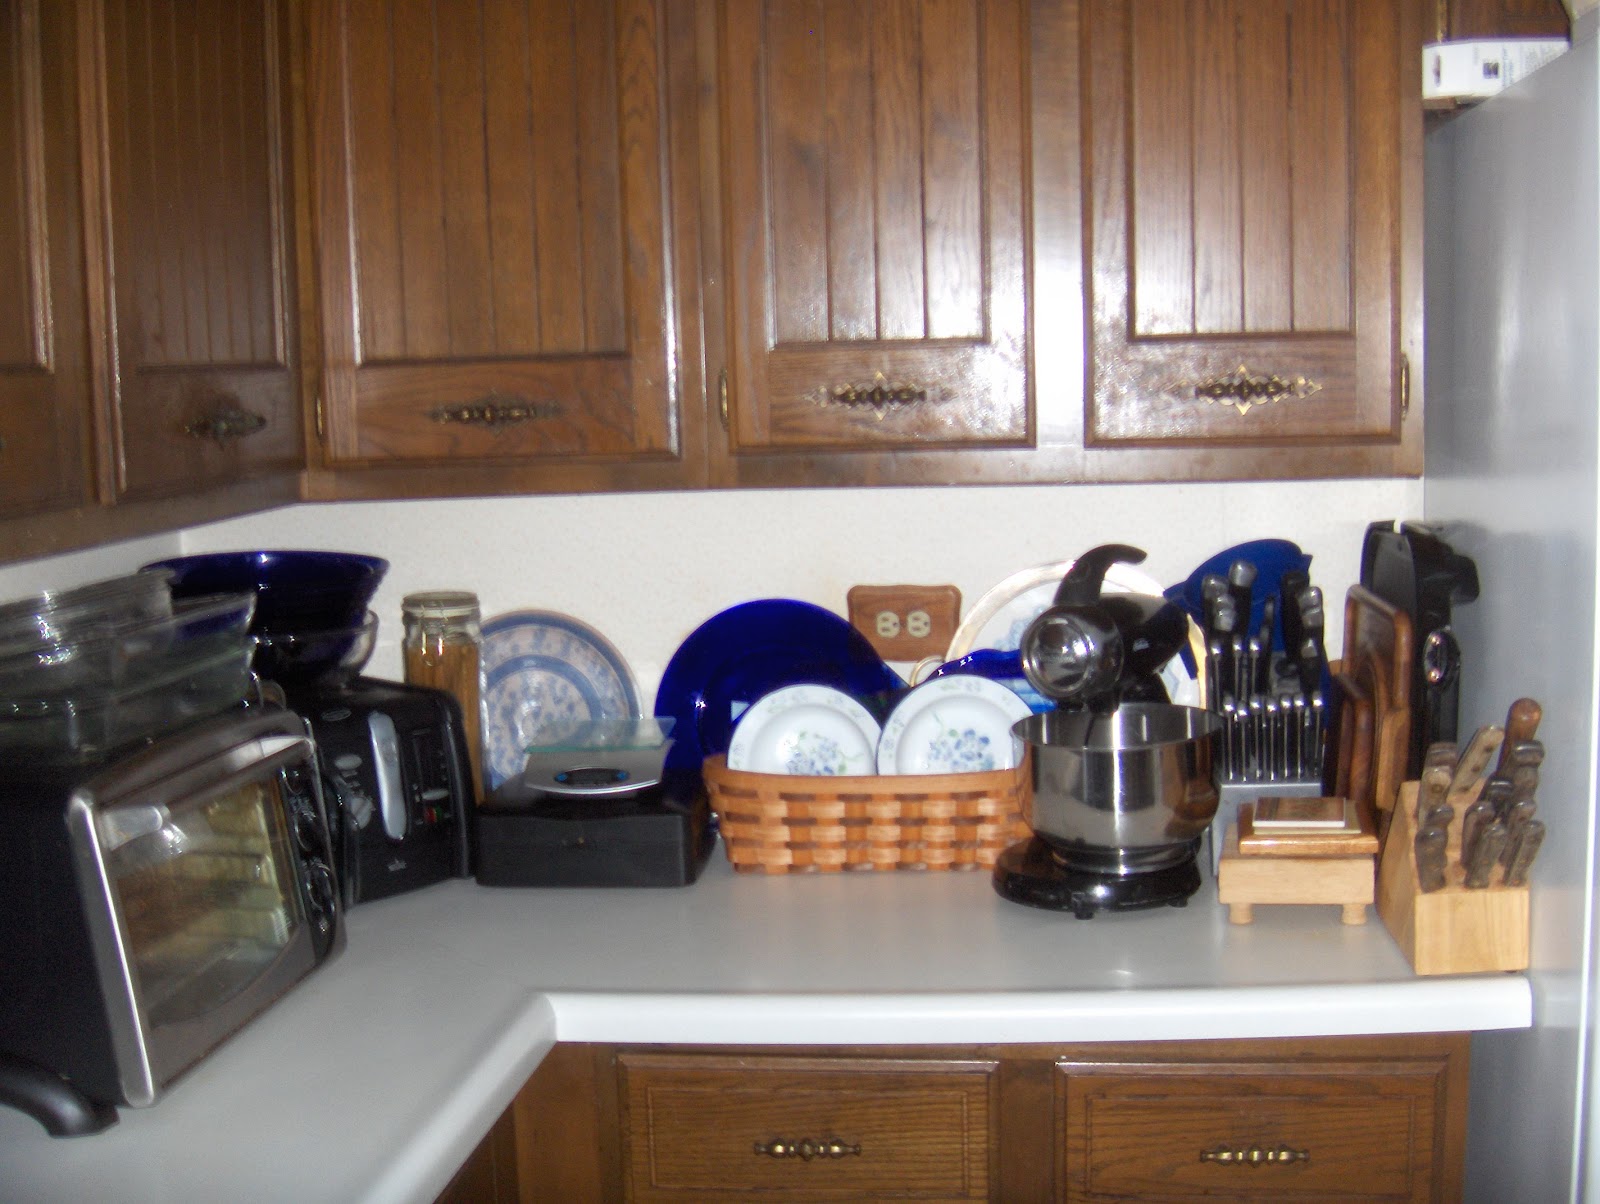
I had no idea what of my OLD treasured decor I will be able to use, since the soffits and shelves held so many of these items. Rather than make the decisions now---I washed everything and packed it up to wait for their REDO.
 |
| oldnewgreenredo |
These are the totes of all the kitchenwares plus 2 cardboard boxes and two heavy tubs under the dining table removed from the kitchen.
 |
| oldnewgreenredo |
The table is in the living room now with chairs on top and storage below.
 |
| oldnewgreenredo |
Here, hubby removes OLD shelf brackets. The molly-bolts were stripped, so he basically yanked them through the dry wall. I sorted through the OLD blue Mason jars, dumped some of the herbs and washed the jars. They are in cardboard boxes now and a huge tub.
 |
| oldnewgreenredo |
We had a wasps' nest in the attic a few years back that had been patched.
Here you can see the painted cardboard patch disguised behind lots of fake and real greenery. |
| oldnewgreenredo |
This room originally had Mediterranean beams on the ceiling at one time, but it chopped up the room and rough cedar caught more than it's share of ceiling cobwebs.
 |
| oldnewgreenredo |
Since we are in our late sixties and do everything ourselves, we opted for lightweight bead board to cover all the existing ceiling issues instead of huge pieces of heavy drywall. This bead board came in long strips-two boards wide and unpainted. Hubby gave the boards one coat of primer and one coat of enamel. A final coat will be rolled on when all the installations, electrical, and moldings are on.
 |
| oldnewgreenredo |
Here hubby and buddy push the boards into position after gluing and then they pneumatic nailed them. This way no missed nails and hammer damage. It is very rustic though. Very country kitchen, which is what we are going for.
 |
| oldnewgreenredo |
Two $69.00 scaffold units made it safe and easy to walk across for the correct height for installation of the beadboard. (We figured the right equipment was still cheaper than someone walking through the door to do the work.)
 |
| oldnewgreenredo |
The boys pieced around the fan-light. I'm keeping the fan because of the eating area being in the kitchen and when fourteen people are around the table, it gets hot.
 |
| oldnewgreenredo |
I love how the ceiling ridges echoe the fluted trim around our windows and doors. So the floor and ceiling are done to the center soffit. Eventually the wallpaper will have to go, but probably not immediately, since I have to get a feel for an all white kitchen.
 |
| oldnewgreenredo |
Here are some old pictures of our existing kitchen cabinets---builder-plywood grade, circa 1973 with the original Mediterranean hardware. At one time I had bought all new hardware to use but the holes were different. We did not opt to paint the cabinetry---because it's falling apart and some cleaning product in the past had messed with the finish, it's cratered, gooey and really banged up.
That corner is a dead space...no cabinetry and wasted space. All of what is on the countertop will be able to be stored in the new swing-out corner cabinet. I will have a carousel in the upper in the corner.
 |
| oldnewgreenredo |
I'm hoping for some more interesting shelving for the coffee station---and some hooks for cups.
Also looking forward to almost all drawers in the NEW cabinetry. No more standing on my head and dislocating a shoulder reaching for something. |
| oldnewgreenredo |
I'm still not settled on colors for the walls as there will be very little surface. I do like this combo here, Red, blue (of course) and a bit of yellow from the vintage towel.
 |
| oldnewgreenredo |
Here's the white cabinet that fits under the windows we purchased last summer. Stock cabinetry was all too high to put under the windows as built-ins.
 |
| oldnewgreenredo |
We put the island in a few years back by chopping off a peninsula counter and adding butcher block countertop which I love. I have arthritic hand issues and drop things all the time, and the non-slip surface is great for someone who is klutzy, and super for baking and canning.
My mixed stools will all get a REDO coat of some color and new seats.
 |
| oldnewgreenredo |
We had upgraded our appliances within the last five years, so we will stick with those. I can't live without the extra oven. Too many people eat here for just one oven. The microwave will be on a shelf in the same location with a shorter cabinet above.
 |
| oldnewgreenredo |
Our cabinetry is being planned to the ceiling with a crown molding at the top. The added storage space will be wonderful. The cabinet above the fridge will be full size out to the edge and perfect for trays and large baking sheets. But, where-oh-where will all my bowls go?
 |
| oldnewgreenredo |
Here's the cabinetry plan. A 30"built-in pantry on the left. A hood will go over the double ovens. The plan at this time is the counters will be butcher block, and that's not shown on the island or over the dishwasher on the right. Two double glass door cabinets will hold glassware and entertaining next to the fridge, and my everyday--un-matched blue and white dishes and serving pieces on the right above the dishwasher. These will be lit and have glass shelves, and all the other cabinets will have lighting underneath.
The stainless sink on the right will have a built-in drainboard. I'm not sure what sort of light I will have above the sink, as I have to wait and see the space with the soffit gone. We have chosen school house pendant lights for over the island with maybe a hook in the middle for hanging a rack or something interesting.
So tomorrow the plumbing's getting gutted, the dishwasher moved, and the sink plumbing and a new air stack vent installed on the porch.
 |
| oldnewgreenredo |
This is our cabinet/sink on the back screen porch set up for a party---the sink did not have water at the time. When hubby installed a new drain and running water last week...we discovered a problem that ruined the whole works.
 |
| oldnewgreenredo |
Water from our sump pumps were shooting out of the sink and up into the kitchen sinks. What a mess. Ground water everywhere---and here's the aftermath. Since we need the porch for eating and cooking while the kitchen is gutted, this plumbing is the major issue right now. Hopefully in a couple days everything will be resolved.
Meanwhile my best friend from my school years is coming on August 3rd for a week for our
50th High School Reunion! That's in 7 days, good grief!
OMG, please will the Plumbing Fairy be kind. Luckily my BF and I will be gone for three days, and leaving all this mess for hubby and his buddy to deal with.
Thanks always for stopping by and I will be happy to answer any comments or questions.
All the opinions and photographs in this blog are my own, I have not been paid or reimbursed in anyway for my opinions or posts. Please do not use photos without linking back to this blog without my permission. Thank you for your cooperation, Sandi Magle
Wonderful Wednesday
Vintage Charm
Share Your Cup Thursday
Share Your Style
Simple and Sweet Fridays
Thursday Favorite Things
Vintage Charm
Share Your Cup Thursday
Share Your Style
Simple and Sweet Fridays
Thursday Favorite Things
Sandi
