This is the second half of last week's post. Last week just got away from me. So....you will see some inconsistencies in continuity here.
Point is, this post is about lighting our
NEW DIY Barbie dollhouse. After searching online, I saw Christmas lights dangling from inside cardboard houses (shudder)---battery candle lights dimly lighting cubbyholes of rooms, and rooms conventially lit with dollhouse lighting totally in the wrong scale of 1:12 instead of double that, or 1:6 for Barbie. What should we use?
Christmas lights and sockets, with little wires sticking out, was out of the question for a three-year old.
Convential dollhouse lighting would run over $100.00 with this size dollhouse and would involve metallic tape, wall sockets, tiny wiring and still having to secure/hide it. Light fixtures were all over the place in price and would be scaled too small. So we started another search.
Looking online, I found rope lighting and LED under cabinet lighting. Our china cabinet lights (round) LED's would be too bright. They were designed to light up an entire cabinets. So I looked for something softer and scaled smaller.
IKEA had some LED strip lights (set 4) that could be hooked together or installed individually. They gave softer light then other things we saw. Price was good---19.99 for a set of 4--we bought two sets and used 6 light panels-one for each room, so actual cost was 29.99.
Hubby began by drilling holes in the back large enough to run the wires through. Because we wanted everything enclosed, we made plans to encase the wires in the 'magic' plastic molding and then cover with ceiling trim afterward. The LED's strips came with ample cord, more than enough cord for the 4'x4' size of this dollhouse.
From the back Hubby ran the cords along the divider walls, along the center beam, across the front to the fixture strips.
Here you can see the slack wires hanging in each room and the actual lights showing at the front of the rooms. By lighting from the front, the lights cast light all over the rooms. We planned on scalloped molding trim to cover the lights, making the light shine into the house.
On the upper right room, you can see the pieces of 'magic' plastic channel molding I used in the last post,
Wk#5 Landings and Stairs getting ready to secure the wires. Hubby glued the plastic channel directly to the walls and beam with Gorilla Super Gel Glue.
Here is a fuzzy closeup of the plastic channel molding. Very inexpensive, cuts with an exacto knife or a scissors. Also flexible so easy to work with.
Here is a light strip attatched to the ceiling. These lights are attatched to screwed in clips. Nothing is exposed. and the channel covers the wires in the front and along the dividing room walls.
Sorry for the tilt--getting these pics was tricky. Here you can see the pink wall with the molding installed over the plastic channel all the way to the back.
In the back the light wires were pushed into these little junction boxes which will be covered by a fake box/chimney, which we will show when completed with the rest of the exterior completion.
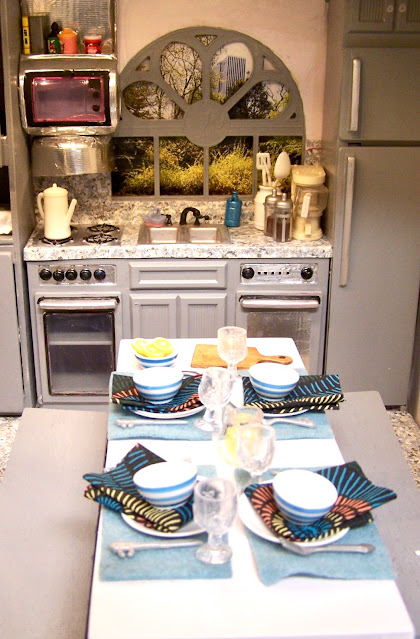
This picture is taken of the kitchen area with some furniture just set in place...that rug has to go. No flash, RL lights, so the light looks perfect. Kitchen plans are still not final, but the table will become a drop leaf---and painted either green or white? What do you think? The pink is going on the appliances, they will be white with stainless steel..look--and we have to build the stove and counters.
This room was also lit with only the dollhouse lights. The master bedroom furniture temporarily laid out so we can see what we need to do. All the ceiling moldings are installed and the lighting is complete. The matress is on the floor, bed still needs to be delivered, but of course Ken is napping, again!
The bathroom roughly laid out. One piece of floor molding still needed to be installed, but all the touch-up was done. The strips of white are more bits of trimmed plastic channel from the landings, simply glued on the walls. Looks like a tile edge.
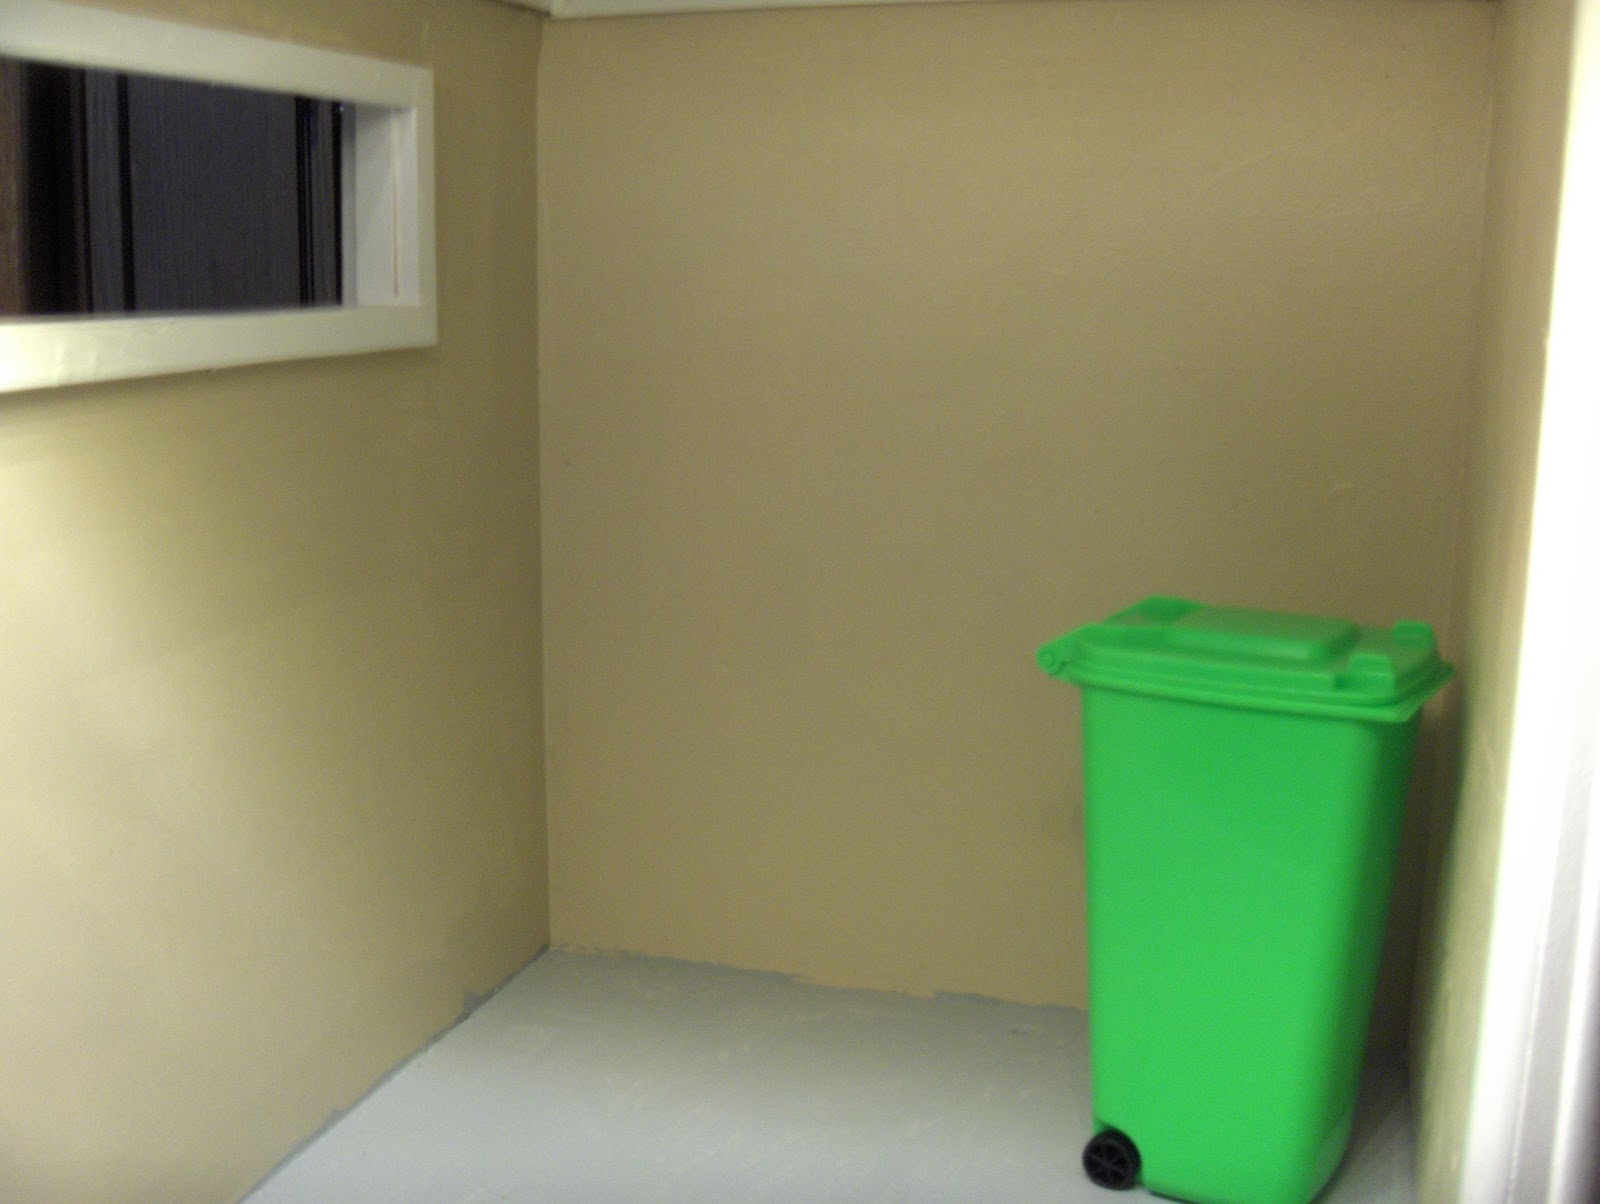
Here's the garage area with its gray painted floor and the garbage can---which was a pencil container in school promo from Walmart, for 1.99...and the perfect size, lid opens and has little wheels, tooo adorable...and GREEN.
Completed stairway from the man cave to the second floor. Temporary furniture arrangement in the background.
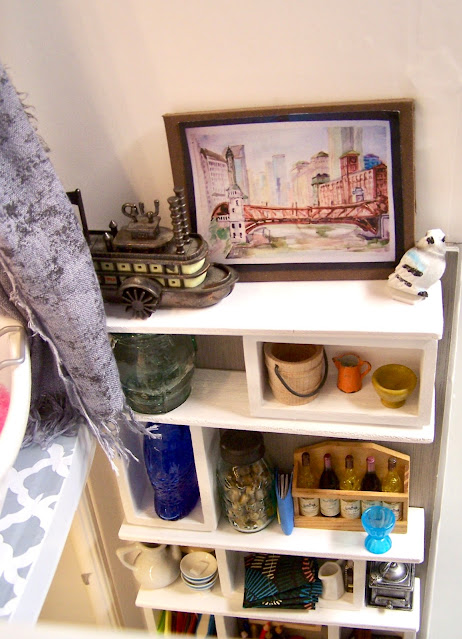
Close up of the moldings/trim all painted and Ken's closet/cabinet installed under the wierd windows. My daughter-in-law commented it was a custom fit, lol. The shower on the back left still needs to be painted and installed...you always have to wait for plumbers!
Hubby did take this picture with a flash...but you have seen how great the LED lights work. We have opted not to have any lit fixtures or lamps. There may be a couple of battery lights...but the rooms are nice and bright with the LED strips. However, this post is not a recommendation of- or for- any products or use of products as safe for children. Please follow all manufacturer's suggestions and installation recommendations.
Now to get to working on all these furnishings
--and make them not so retro, crazy colors. Everything begged, borrowed and thrifted needs to morph into some assemblence of a tastefully decorated home. More to follow on Barbie's thrifty and thrifted furnishings. I did buy the to toilets and Refrigerator new, and the green table and dining chairs. My daughter-in-law is constructing the hanging chandeliers and lamps...which will be for show and she will work on many of the miniature food, magazines, books, etc, things for th house.
Thanks for stopping by, and I will be happy to answer any questions or comments.
All the opinions and photographs in this blog are my own or I am in possesion of the originals,
I have not
been paid or reimbursed in anyway for my opinions, posts or products used.
Please do not
use my photos without linking back to this blog without my permission.
Thank you for your cooperation, Sandi Magle
Sharing at these fine parties this week,
Sandi


