Sunday, April 27, 2025

Another Mather Project: Three Dimensional Floral Art

Ad-Free Blog

Rip, Tear, Scribble Assemble.

    Dis-assmeble, Glue and then start again. PHEW!


I logged in 20 minutes late for my Mather Creative Mindfulness class..I had been so busy gardening that day, I had literally dozed off late in the afternoon and almost missed the 5:30pm class.

Anyone else pooping out at late afternoon after gardening???


Well speaking of gardening...the project
subject was to be a vase full of (3-dimensional) flowers constructed from scrap papers. 

I keep a small file of small bits of papers, photos, magazine tears, scrapbook papers just for this.  I also had some alcohol ink small 6x8 pieces that had been experimental, but very vibrant. I saved those just for this project.  

The artist highlighted was Nicolette Valikoski.
Nicolette is a current working artist in mixed media, oils, acrylics but her signature is some sort of three dimensional aspect in her art.
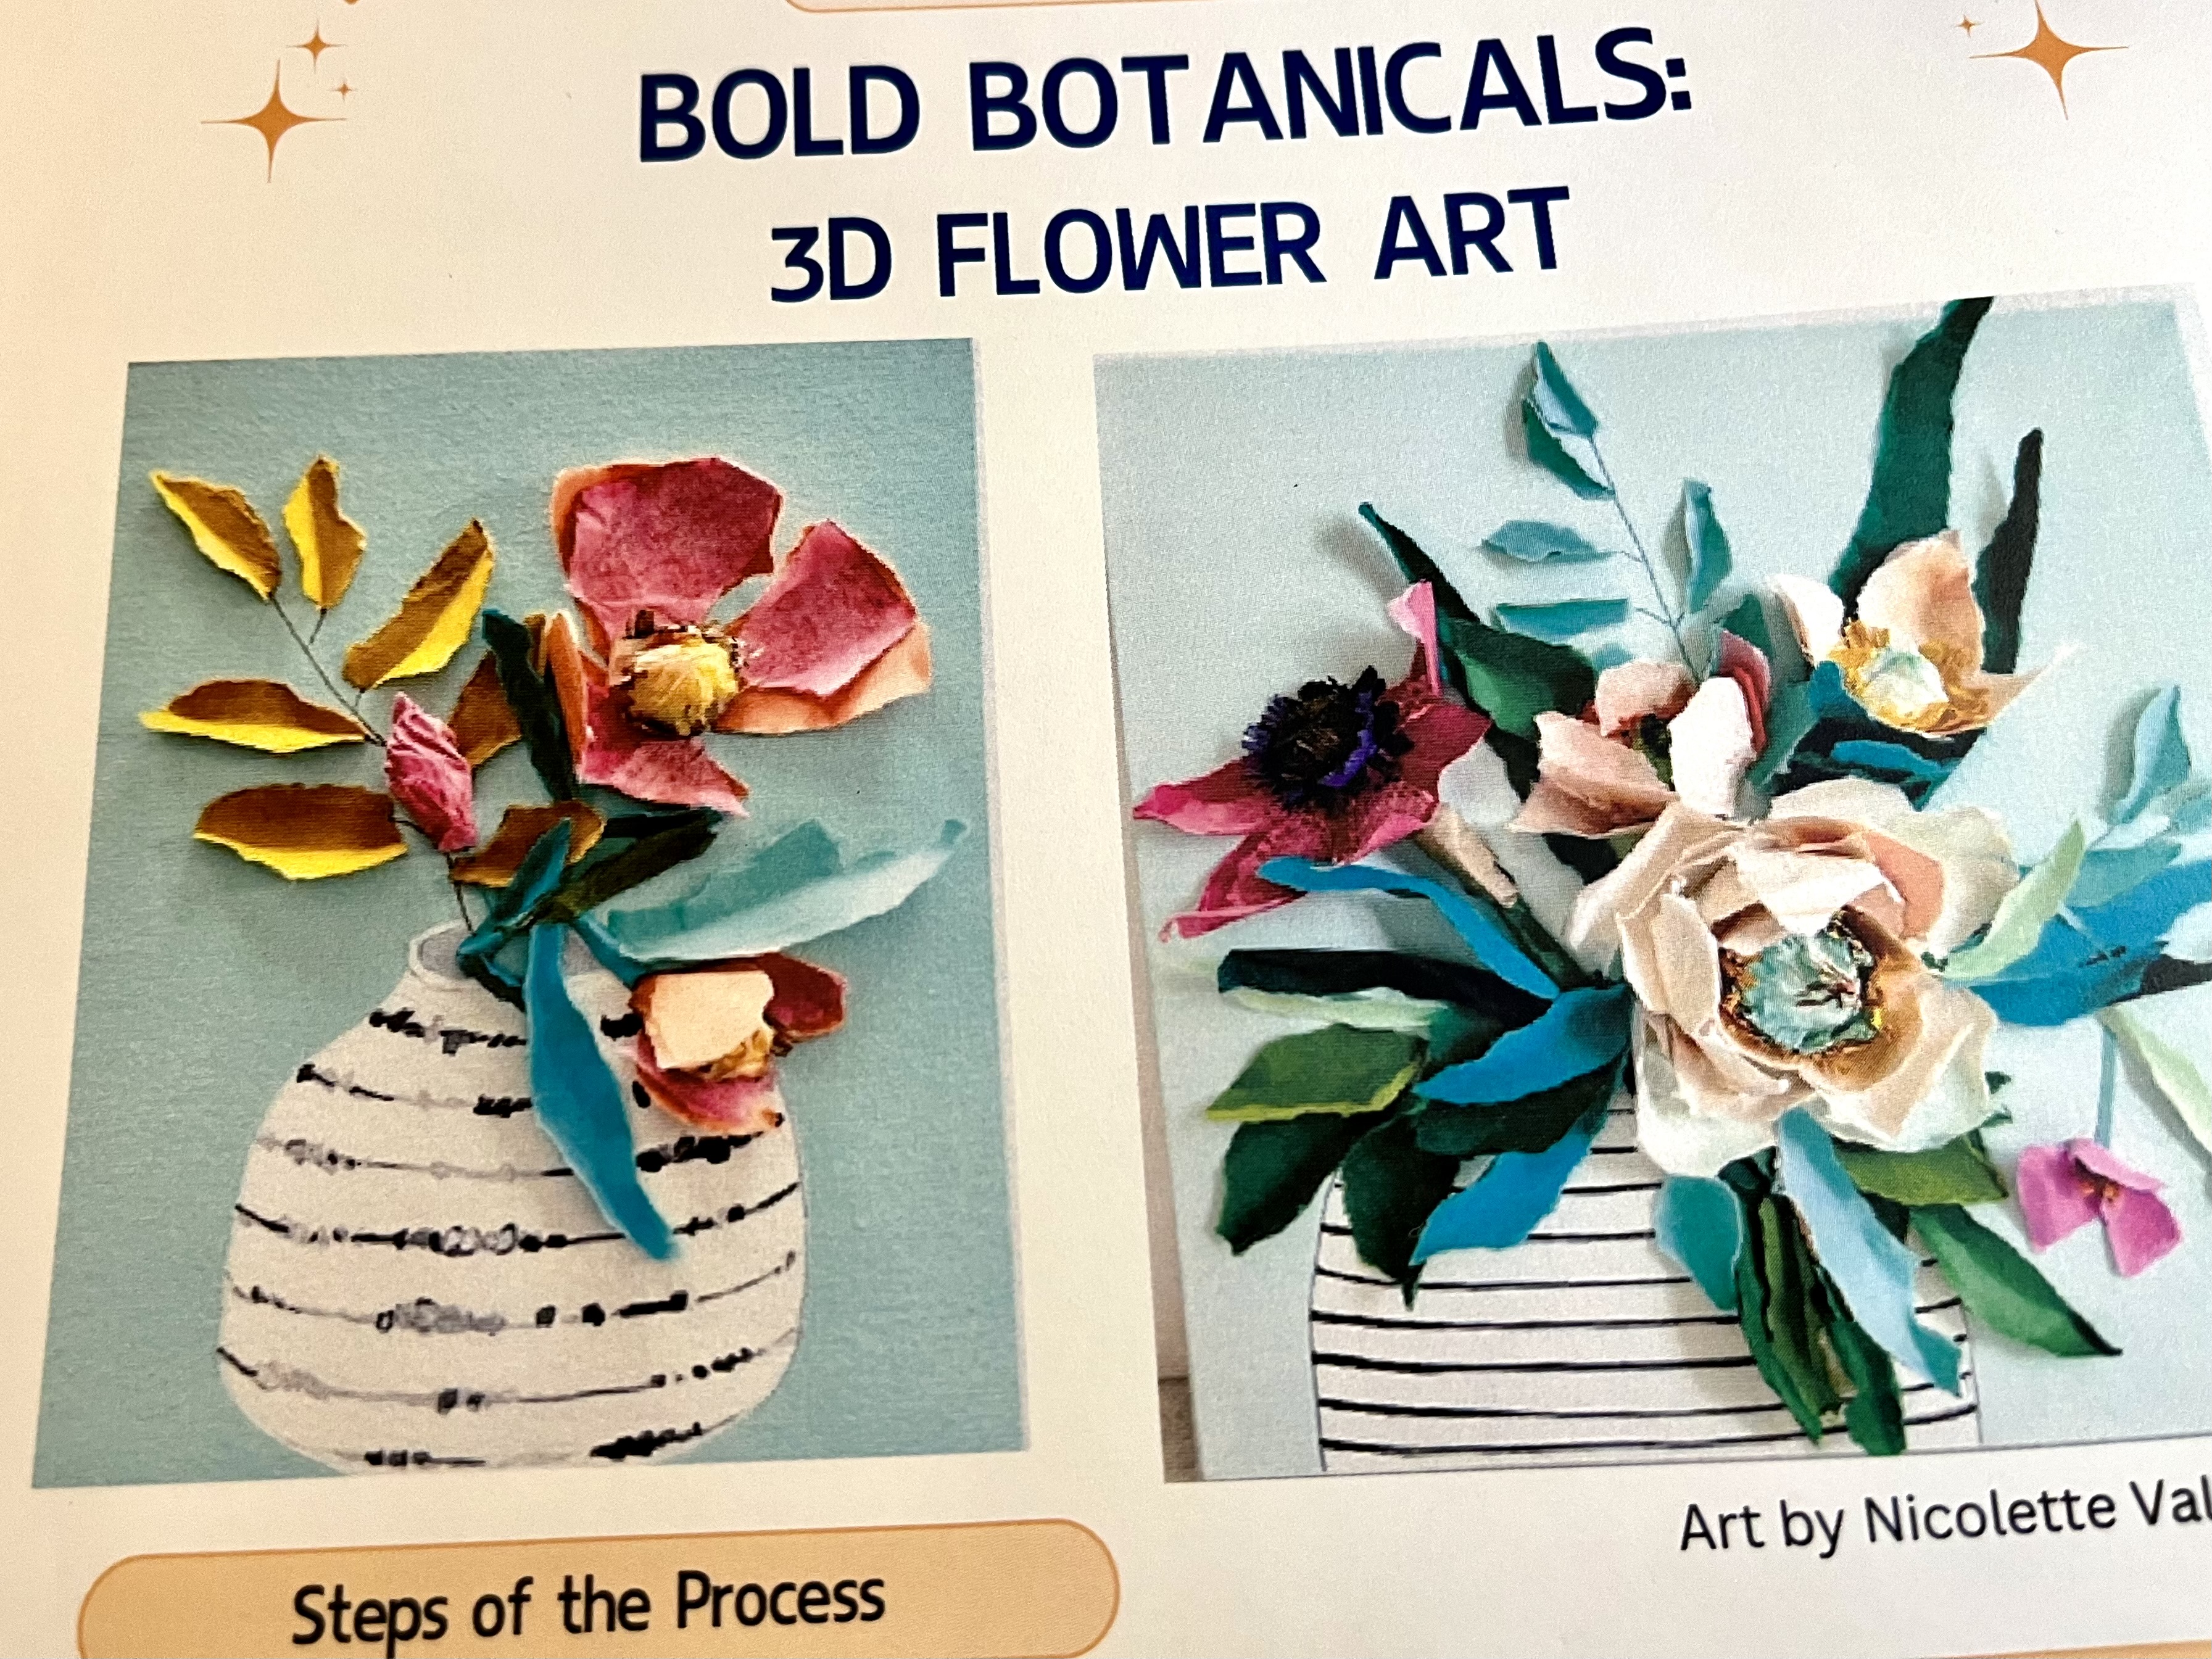


Nicolette's vases here are painted paper then cut into a vase shape. The flowers and leaves are all constructed from ripped papers, glued, crushed, folded and applied to the paper in floral and leaf patterns.


Simple supplies needed...I used Elmer's clear glue..(love it) I don't know how long it will last, but these are fun project. It adheres pretty fast, and disappears. I also had a set of Color Shift Folk art paints, a purple, teal, lime and magenta, similar to the colors of papers I was working with. I didn't know if I would need them or not. I also used a charcoal pencil and a scissor to rough sketch some shapes and enhance others.

Time to PLAY and have FUN!

Since I was so late in the game, I opened my scrap folder and started with a black cardstock vase shape. I used my paper in the landscape position. I decided on a light green background on the edge left. The coral was too bold for my chosen papers.


I cut some leaves from scrapbook paper, some from a water color sample. See below.


I had  quickly rough torn the background leaves from emerald green thick cardstock...they were very raggy, So the scissors cut leaves were a bit of relief from all the shagginess. 


These painted water colored papers and alcohol test designs gave me a wide variations in textures and styles. I had just cleaned out my Tulip bed that day---and so it was Tulips...an easy quick flower---basically three triangular shapes torn, bent, and  over lapped on each other---like the lower right. 

I made long full tulip leaves from the printed cut scrapbook paper in white and moss green geometric patterns.


In the 30 minutes or so I knew I had to work, I just couldn't tackle peonies, magnolias, or roses...
I really do love the sample photos...look at her sites..she had lovely work.


Working on my background leaves first...I worked in balances of a bit of each type of leaf across the background the flowers were applied last. 

Again, entire project was done in about 25-30 minutes...PHEW! Some of the Tulips were flat applied and this one was curled and folded. The glue was great to work with.  The patterned tulip leaves were either bent in loops or folded in seams. a few stems were made cut straight strips from the edge of green painting scraps.

Working on my background leaves first...I worked in balances of a bit of each type of leaf across the background the flowers were applied last. 


To make sure the watercolor leaves looked like realistic, I quick-drew some scribbles on them for veins and shadows.


I had bought some Pansies over the weekend, so the other flowers were three/four petaled round flowers sort of like Pansies. I added a few dots of yellow opaque water color yellow to give them a center. 

A few petals on the lower right were added to balance out the composition.
Last...the black bowl vase was too stark, so I used dots of the Purple Fold Art Color Shift paint. The dots were applied by dipping the wood end of a round paint brush in the paint and then on the paper...to give little mounded circles. Easy peasy way to paint dots.


Folds and creases to give dimension.


Charcoal pencil details.


Angle to show how the three dimensional the bouquet really is.  And, the Dots are drying and iridescence is showing.  


I'm really loving the mixed media options this type of project provides. I need to start doing something everyday when the gardening is under control. We tried to hire someone to do clean up on our lot, but no one seems to want the small jobs and bids go unsubmitted. So, I'm, doing it. slowly


I let my flowers float off the page. I may mount this on some sort of dark slightly patterned paper (painted or printed). We will see, it will need a shadow box frame, so I might be on the look out for switching the 3Dimensional pieces into.

Then again, it was just for FUN, PLAY, and Freeing up those inhibitions. It's just paper, glue and 25 minutes ...LOL. 

WHAT HAVE YOU DONE JUST FOR FUN THIS WEEK???


All the opinions and photographs in this blog are my own, I have not been paid or reimbursed in anyway for my opinions, posts or any products shown.  


Tuesday, April 15, 2025

Mather Mixed Media Project with Interesting results

Ad-Free Blog
One of the reasons I take these Mather classes for seniors is to loosen up, experiment and work with new materials. After 45 years stuck in clay, I really wanted to spread my artistic wings and reawaken my childhood zeal over all art mediums. Mather offers everything from poetry, writing, crafts, exercise, educational classes free for seniors over 55.

Free online classes for seniors: Mather Classes

oldnewgreenredo

Creative Mindfulness classes are based on mindfully centering yourself, then letting go, add a little art history which leads us to working with prompts based on a particular artist's art. 

This week, Ketki Fadnis was the selected artist. Ketki is a self-taught Pune, Indian artist who states, 

"Art is a healing process of body to mind and mind to soul".


How completely true. When I was going through my third knee replacement and had to wait so long...I soothed myself through watercolor painting.


Mather handout

Ketki works in different medias, abstract as well as these amazing florals where she paints an entire canvas and then blocks out a background around a design, here she chose floral flower pots. I love the movement that crosses across her shapes. 

oldnewgreenredo

We were given the choice of any type of different materials. Here I am working with my alcohol markers  on 12x12 cardstock. I really like how well the cardstock accepts any media with minimal stretching or peeling. 

Here we were encouraged to fill a page with shapes, lines swirls and doo-dads. This scribbling was very quick, maybe 3-5 minutes.

oldnewgreenredo

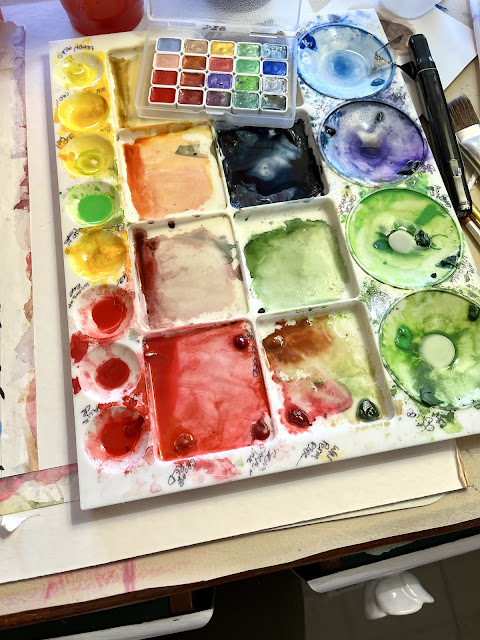
I'm trying to empty this watercolor palette so I can clean and have a fresh start, so I was limited to what was left on the palette. Thinking I would use alcohol marker as the background in black..so I went bright in choosing my colors.

oldnewgreenredo

You can see I was pretty random with the colors, but I like how the blue lines show lighter under the transparent/translucent water colors. We had to work very fast. 
Some people worked in pastels, oil pastels, crayons, charcoal, colored pencils (tedious),  or markers as well as watercolors. The recommendation was to do acrylics to do the back spaces.


oldnewgreenredo

With a white (which didn't show up) then a black charcoal pencil I outlined my vases and then leaves. I originally thought of turning the paper around and cutting out my shapes an mounting them on another page, but I followed directions and used acrylic on top of the alcohol markers and watercolors. 

Since I used quick washes...the watercolors dried pretty fast. 

It took almost 3 coats of paint on the background to get it to this stage. I may enhance or add a table or line in black..as these are floating in space, which bothers me.

If I do this technique again, I'll wait long enough for it to be completely dry before doing the background. Bleeding was minimal but persistent, so that would be a good idea. Maybe working on three or four of these at a time would work giving you time to let everything dry. 

The Apple Barrel acrylic paint from a Mather kit (rate this as kid quality only) light blue acrylic was what I had on hand without trundling downstairs in search of some better paint...the class moves so fast. I would definitely use a better paint with better coverage and a more flat finish.


How About Give this Method a Try!
and HAVE FUN!

Even great for kids on a smaller scale, maybe turn the finished Scribble that's colored over into hand cut out shapes..houses, pots, plants cars and then mount them on colored paper.  Great dexterity project for all ages.

All the opinions and photographs in this blog are my own, I have not been paid or reimbursed in anyway for my opinions, posts or any products shown.  


Thursday, April 3, 2025

Girly Game Day: 122 Year OLD RECIPE for Blueberry Muffins

Ad-Free Blog
Wednesday was GAME DAY!


I had a half of box of Blueberries in the fridge, and I couldn't find my Blueberry Buckle recipe. I had limited ingredients in the house, so I dug out my Mom's ancient 
Settlement Cook Book. 


I always chortle at the, "Way to a Man's Heart" subtitle. This particular text is over 120 years old, but the Victory edition from 1944.


Gifted to Mom in 1944...from her dear cousin, my mom's writing at the top only, saying for her 'Wedding Shower!'...Gosh the war was still on, my dad was stateside for the first time in almost 5 years...and she was getting married in a month.


The History behind this cookbook is very interesting. First of all it was succinct, easy recipes, with a limited vocabulary and designed to be used by the huge immigrant population we had in every state at the turn of the century.

What a daunting chore to go shopping in the new world markets with all the signs in a different language than you spoke or read. 

We were a huge melting pot and Milwaukee was teaming with...Germans, Poles, Irish, Scandinavian, Beligian, Dutch, African American, South American, Hispanic... all piled into the manufacturing neighborhoods of Milwaukee, south all the way to Chicago, to Gary Indiana. The Great Lakes were the great industrial melting pot of America.

Mom's copy was the 26th edition of the book, labeled the Victory edition. Going back to simple ingredients and how-to's to survive in a war economy...it was always her GO-TO cookbook.


Anyway for game day I chose the simple 100+ year old recipe for Blueberry Muffins. I did make a couple of changes, I used Almond Milk, and good quality margarine (Land-0-Lakes---I am a cheesehead after all) because one of our gals is lactose intolerant. I also added a teaspoon of vanilla, have to ---I'm half Danish.

At our age, we have changed to Almond Milk, for the taste, as well as it has a longer shelf life than milk...extra calcium also. 


This was the smallest muffin...and just chock full of blueberries.


The recipe took very little sugar...so I served with cinnamon/sugar on the side for anyone who wanted it.


Of course Tea or Coffee is mandatory with a muffin.


We are group of four ladies that meet an afternoon every two weeks to play games and Hostess's choice. We are flexible on dates and each take a turn as hostess. 
Senior socialization really is a must...I still haven't joined the local Senior center---as I look at everyone and think I'm not that old...but probably soon. LOL.

The 'GIRLS' ended up playing OLD MAID...with a lot of laughter as the mean age is over 77 for this group. And then 10 rounds of UNO. 

My muffins were a hit...sweetness really just right.

Here is the recipe:


I really like how easy and quick this was, and really can use just one bowl. I have a new stove/oven...and I followed the directions for 425 degrees, despite that my oven usually runs really hot. And they came out perfect. I did give the filled tins a spritz of oil spray to encourage browning.
Again, Almond milk worked well with the Margarine, instead of butter.
Taste and texture was excellent!

PS....I never did one hand of UNO out of 10...which should be 

STATISTICALLY   IMPOSSIBLE!

All the opinions and photographs in this blog are my own, I have not been paid or reimbursed in anyway for my opinions, posts or any products shown.  


Tuesday, April 1, 2025

Midwest Gardenign 2025: Planting, Watering, Recording and Heating a Greenhouse.

 Ad-Free Blog

So, it's Thursday March 27 and mildish outside but still a bit chilly, but perfect working in the greenhouse.

With a forecast of some warmer temps tonight and tomorrow I set the timer for the heater for Dusk to Dawn.  I began by re-arranging more shelves for the starts I will do today.

Besides heat and extra sun, the greenhouse needs water. Hopefully we can turn hoses on soon. Meanwhile, I'm schlepping water in the cart, three 5 gallon containers at a time with my little garden cart. YIKES that was a heavy pull. I do it at the end of the day so the water has time to warm up by the next day.


Before I do more planting, I want to show you how the new plants are doing from weeks ago. You can see a bit of green here, and a newly planted tray also.


The four railing planters with Veggies are doing great. Onions, radishes, lettuce and more radishes.


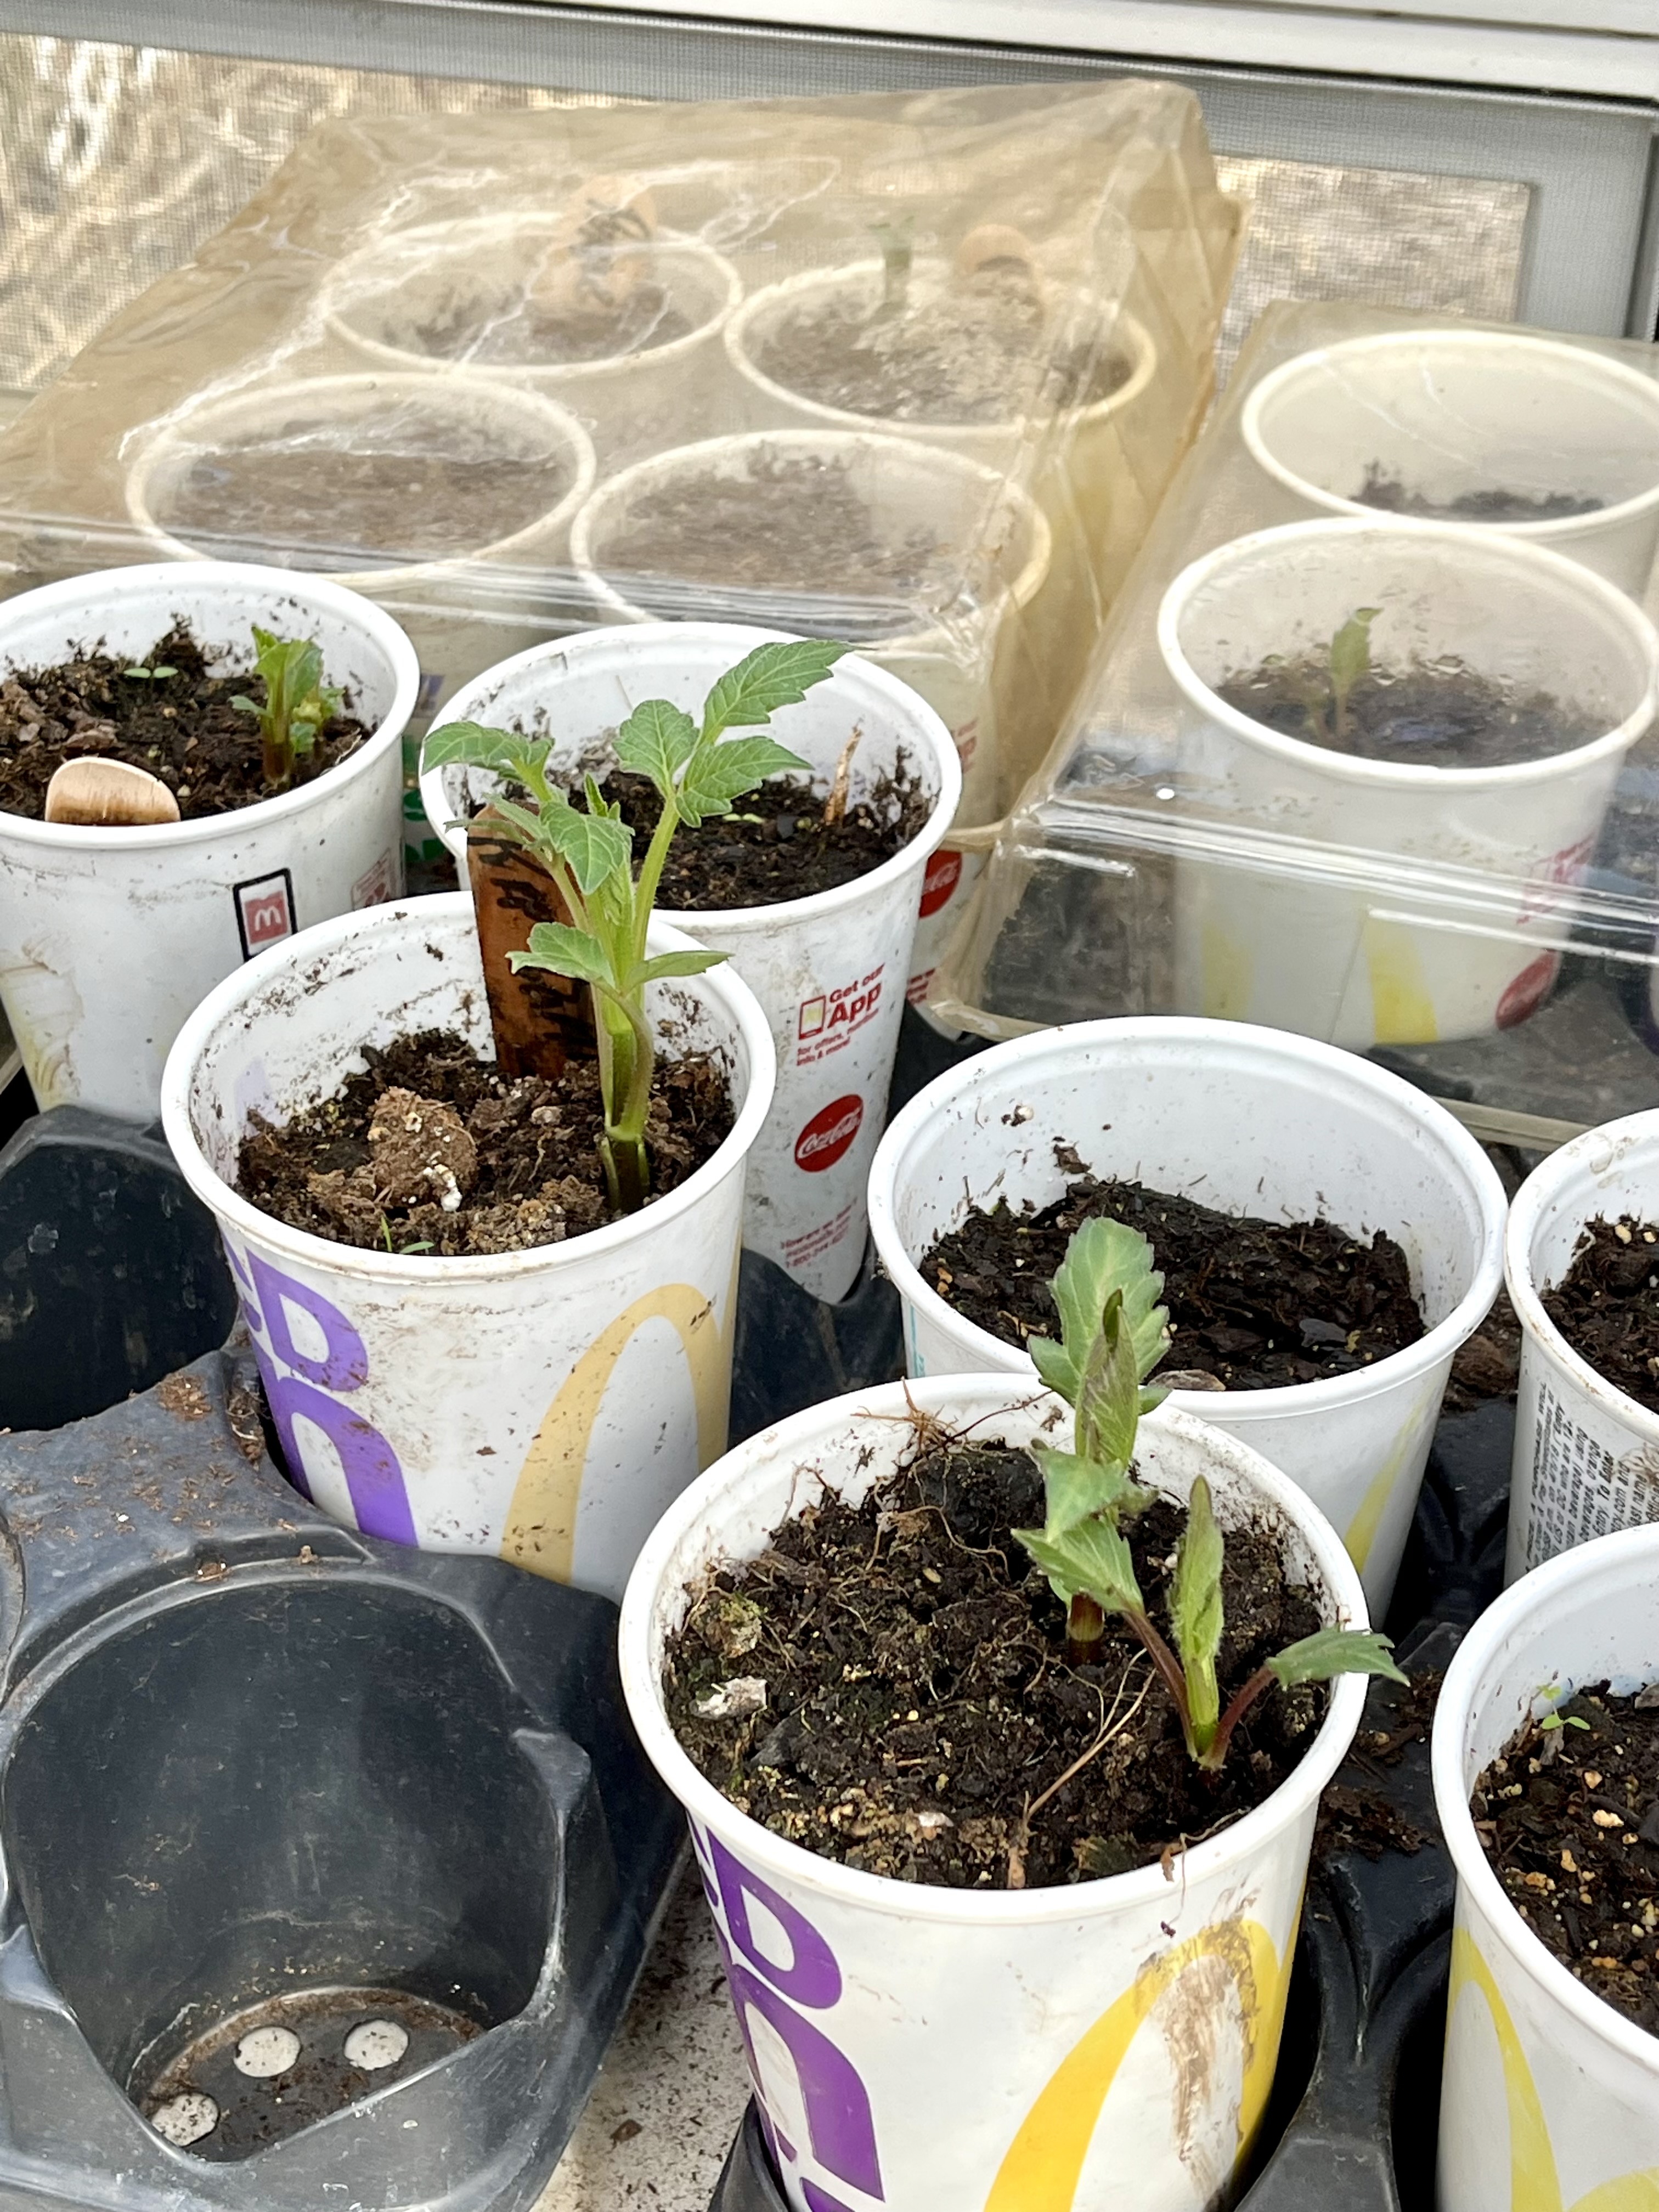
Here are some of my Dahlias beginning to sprout...YAY!


This tray of Romaine Lettuce that was planted last week, these will have to be transplanted.


I moved these to a top shelf...more Onions, Radishes and Spinach.


This is a top shelf---Dill is in the middle, and the other pots are Caladiums, and more Dahlias that take forever to come up. I'll be watering them tonight.


The Dinosauers are old sandbox toys, they come in handy to hold down the plastic lids when the windows are open.
 

This is a scribble log---I know what it says...all entered for 3/27. I also write on the seed packages, bags, where, when and how much I planted and the date.


My dirty work surface. These are bags of seeds squirreled away from plants last year, and sometimes the year before. I started an entire rectangular tray of Petite Marigolds, Red Zinnias, and Tall Marigolds from new/old, and older seeds.


D
Seeds saved from RED/Dk PINK Zinnia blossoms last year. These I plant heavy because not every seed will be pollinated.


Last of my Popsicle sticks or Tongue depressors. I have two packs of 50 plastic sticks for when I begin transplanting. I use wax pencil or permanent marker to mark my plant trays.


These are Sunflower heads from the nicest sunflowers I had last year, in a clear doll bag...it almost looks like a watercolor. I may have to try that...love the beige and brown tones.


Until all the shelves are filled with plants...it's a bit chaotic. I clear the shelves with the best light first. This lower shelf area will be perfect for Coleus, eventually I can move the excess planters and pots to another storage shed. But, at this point I just don't know what I'm going to need to do all the transplanting that will begin the second week in April.


My soil bin is becoming depleted. This will be filled with some pots in the yard that have dirt with added peat moss and vermiculite. We are trying to not purchase too much packaged dirt. 

We may have a load delivered for the two big planters 4'x8'x2' that will go in the garden, and hopefully with an arched trellis between them.


More containers for planting...the bottom one has Nasturtiums, Cosmos, Zinnas/tall Marigolds. I try to move the lids to the plants first starting.


This long boot tray is perfect for putting large planters on...and is waiting for newly planted containers. I've planted a bunch of everything-mostly flowers today. 

Next week we will start the Squashes, large Sunflowers, and begin transplanting the overgrown plants from the kitchen.

WILL I HAVE ENOUGH ROOM?
That is always the question........


Next WEEK: We'll start on the clean up of the Veggie Garden...so Hubby can rototill here and there. I hope to clear the root crop areas and later get the new raised bed planters assembled, the bottoms covered with cardboard  and all the debris placed inside, too. 
Hubby said the compost pile may be ready for tilling, if we don't get too much rain. 
YAY!


How are Your Plants Starts Growing?


All the opinions and photographs in this blog are my own, I have not been paid or reimbursed in anyway for my opinions, posts or any products shown.