Friday, October 16, 2020

Illinois Parks and Family Time

Always Ad-Free Blog

Lakewood Forest Preserve, McHenry Dam and Moraine Hills State Park.


Wednesday was the last NICE DAY in the forecast for quite awhile. 

It was blustery, with 40-50 mph winds from the south. Sun was in and out, but the 60-70's temps were lovely. 
Since our boat hoist is broken and it is hanging in the air...we decided to venture out in the counties for a little fishing with son and daughter-in-law, who had some vacation time.

We decided to try two of our favorite places.

oldnewgreenredo

We headed to Lake County Forest Preserve up in Wauconda, Illinois. Really only a few minutes from our house. It is the largest Forest Preserve in Illinois, with huge tracks of pristine land, walking and biking trails, horse trails, dog park, rolling hills, prairie, marsh and perfect for family outings for biking, hiking, picnicking, fishing and picture taking.


oldnewgreenredo

Several little lakes and ponds are sprinkled here and there along the walkways. In the distance is an island usually thick with geese. They were hunkered down in the grasses though, with the wind being so wild.

oldnewgreenredo

I just had to take photos where I found them. The bulk of the big trees are oaks, every kind.
oldnewgreenredo

Nestled in a small valley is the trout pond which is wind sheltered. HOWEVER...closed to fishing for the bulk of the month because of stocking. This gives the stocked fish a chance to spawn.


oldnewgreenerdo

We were disappointed but it was still beautiful. 


oldnewgreenredo

I should have done a video the wind was wild!


oldnewgreenredo

I love nature and will take photos for possible paintings later.
oldnewgreenredo

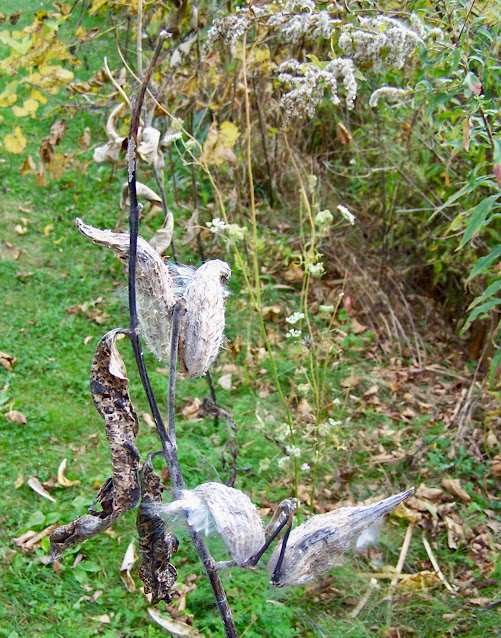
As I kid, milkweed pods were my favorite...these are just about ready to explode into seed fairies!


oldnewgreenredo

Color is hit and miss in Illinois. We had a very dry July, August and September after a very wet Spring.  With the wind, anything that turns is blown away, so color may last for only a day.

We moved on, and drove northwest.
to 

oldnewgreenredo

I have never seen all the rocks in McHenry Dam, in 30 some years,...mind you the water was up to the blue service bridge by the locks, last Spring and most of June.

The Fox River, yes the one that Father Marquette and Joliet traveled down to find the Mississippi. It runs from Green Bay, Wisconsin  to the Illinois River then to the Mississippi. And, you can boat all the way...with locks. I always wanted to take the entire ride in a boat, but have never had the opportunity. 

We dropped the guys off to fish here, and headed for one of the trails along the river and marsh.

oldnewgreenredoo
Just around the bend, we saw a huge turtle track here, must have come from a  turtle dragging it's shell belly all the way to the water. The width was at least 8"with huge feet.

Besides having the waterway, the parks have glacial features, moraines and eskers, acres of marsh as well as hardwood forests and hills. It's beautiful and very, very large. The trail we are on is over 3 miles, but we are going to turn around and come back rather than do the whole thing.

 Today we were just by the dam and the marsh next to it.

oldnewgreenredo

This huge tree, drew my attention. While those are mulberry leaves in front of it, the tree itself was an Eastern Cottonwood. 

oldnewgreenredo

That's my finger sunk into the grooves of the bark. Cottonwoods love to grow along streams, rivers and in floodplains, which is exactly where we were walking.

oldnewgreenredo

Other usual marsh plants are Sumac, now a brilliant burgundy, which were actually drying up.


oldnewgreenredo

This is the only flowering plant we saw on our walk. It appears to be some sort of Loosestrife which favors marshes and wet lands. 

oldnewgreenredo

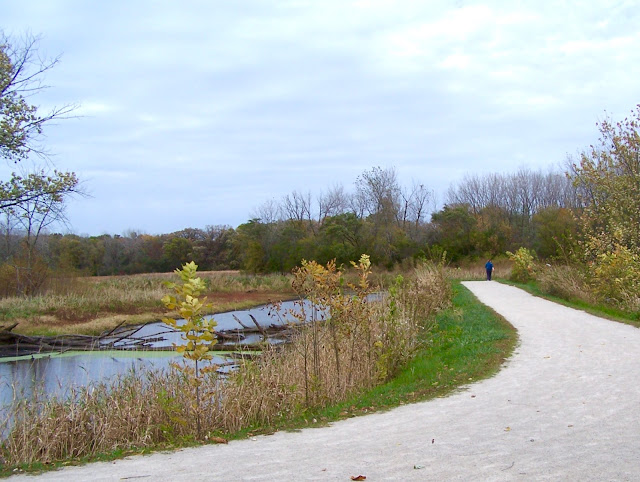
We've had three record years of rainfall in N. Illinois, and this area is a natural flood plain marsh. Lots of trees will just die when there is too much standing water for too long. 


This tree, looks to have been disassembled and made into a Hobbit hideaway.
oldnewgreenredo

Beaver are making a comeback as well as muskrats, this almost looked like a beginning of a dam.

oldnewgreenredo

The camera focused on the grass rather than the pair of mallards on the edge of the new wood dam. Still a cool photo. 
oldnewgreenredo

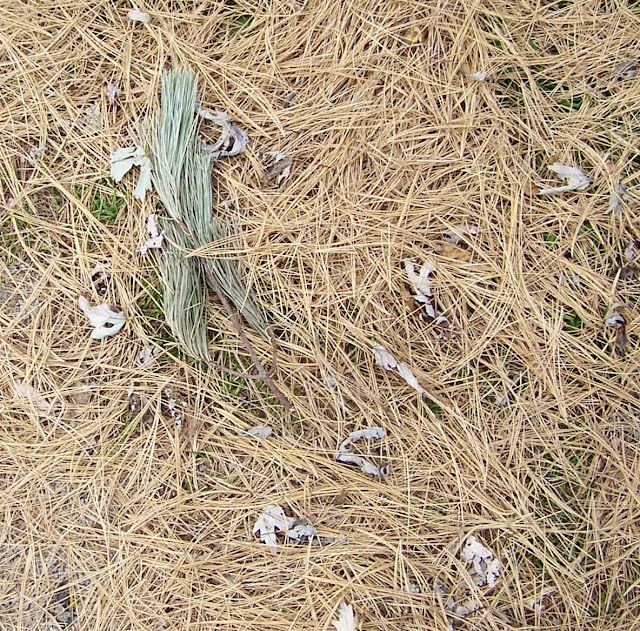
Walking back we walked on the edge of a huge pine forest. The needles are very thin, soft and long. I wish they would mark what is what in a park.


oldnewgreenredo

Back at the damn, the guys had been fighting the wind and NO bites, but it didn't matter.

oldnewgreenredo

It was a great afternoon outside with FAMILY, what could be better! 

Hugs, 

Where is your favorite place?


Do not use my photos without my permission and linking back to this post on my blog.


Thank you for your cooperation, 
Sandi 


Monday, October 12, 2020

Can You Believe this is CAKE? .Burgers and Slider CAKES!

Always Ad-Free Blog


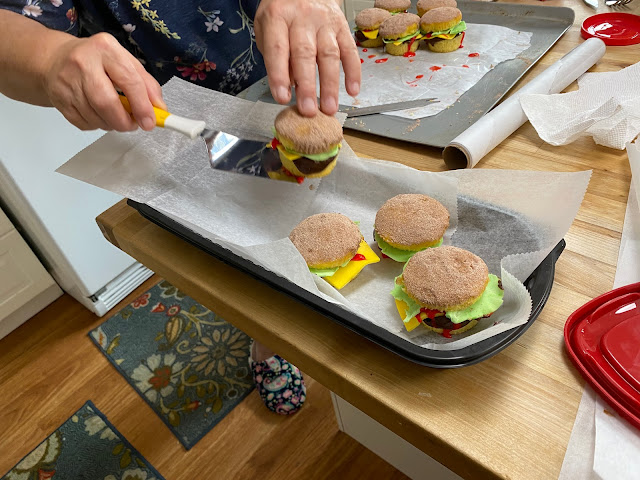
Anyone can do this Burger Cake! We had a family birthday and the theme was Bob's Burgers, and I volunteered to make a Burger Cake! Since it was for only 9 people, I chose 2- 8"pans, 1-round bowl(pyrex), 1 9"pan(for the brownie) and  the cupcake pan for sliders

oldnewgreenredo

This is an eight inch wide Burger Cake. But, you can make it as large as the round bottomed baking bowl (for the top) you have. (I used the second largest pyrex bowl from the set)


For an 8" burger and 10 slider cupcakes, you will need the following:

2 yellow cake mixes-follow directions

1 fudge brownie mix-I skipped the water(just egg and oil) I wanted a chewy firm brownie.

1 package of fondant--I really have to find a recipe from scratch, it's $$$

cocoa mix (for cupcake tops to color)

Red squeeze cookie icing for ketchup

chocolate cake icing for assembly

green and yellow food coloring for fondant.

Trays and deli paper for effect! 

oldnewgreenredo

Assembly:

Baking: I used baking spray and flour on the bowl, parchment paper rounds in the pans for the layers. Still spray the pans and parchment paper for easy release. Remove layers from the oven to cool on racks as soon as possible, to avoid any sticking.

Cut and level off one 8" baked pan of yellow cake for your base. I work with cold cake, baked the night before. Lightly ice this layer. Take the brownie layer and with your fingers peel off the edges and round them to make a burger like layer. Place on bottom, lightly ice the burger layer. 

(You will have one extra yellow layer left over--or use for more cupcake 'sliders' or you could make a double burger with 2-brownie burger layers. I made a lunch counter out of this piece.)

Color and roll your yellowed fondant into a square shape--thin, trim to shape, you want the 'cheese' to be able to drip over the edge. Take your red cookie icing and squeeze all the ketchup you want over the burger and down the edges. I was vigorous because I wanted lots of color. 

Take a smaller ball of fondant and color it green with a bit of yellow added. Thoroughly mix, and break off into lots of random chunks and roll between two pieces of parchment until thin. Choose the biggest pieces, rip in half, ruffle the rounded edges into 'lettuce', and place around the edge of your burger.

Place your rounded cake on top after trimming flat on one side. The glass bowl gave the perfect brown finish for a bun top.

The SLIDERS are cupcakes split. The tops were too yellow so I rolled the top surface in cocoa mix, which was the perfect color and delicious. Add, Mini cheese pieces, and lettuce and the ketchup. The burger layer was a gob of chocolate icing swirled around and squished all together. 

Served on deli paper in a basket worked perfectly.

oldnewgreenredo

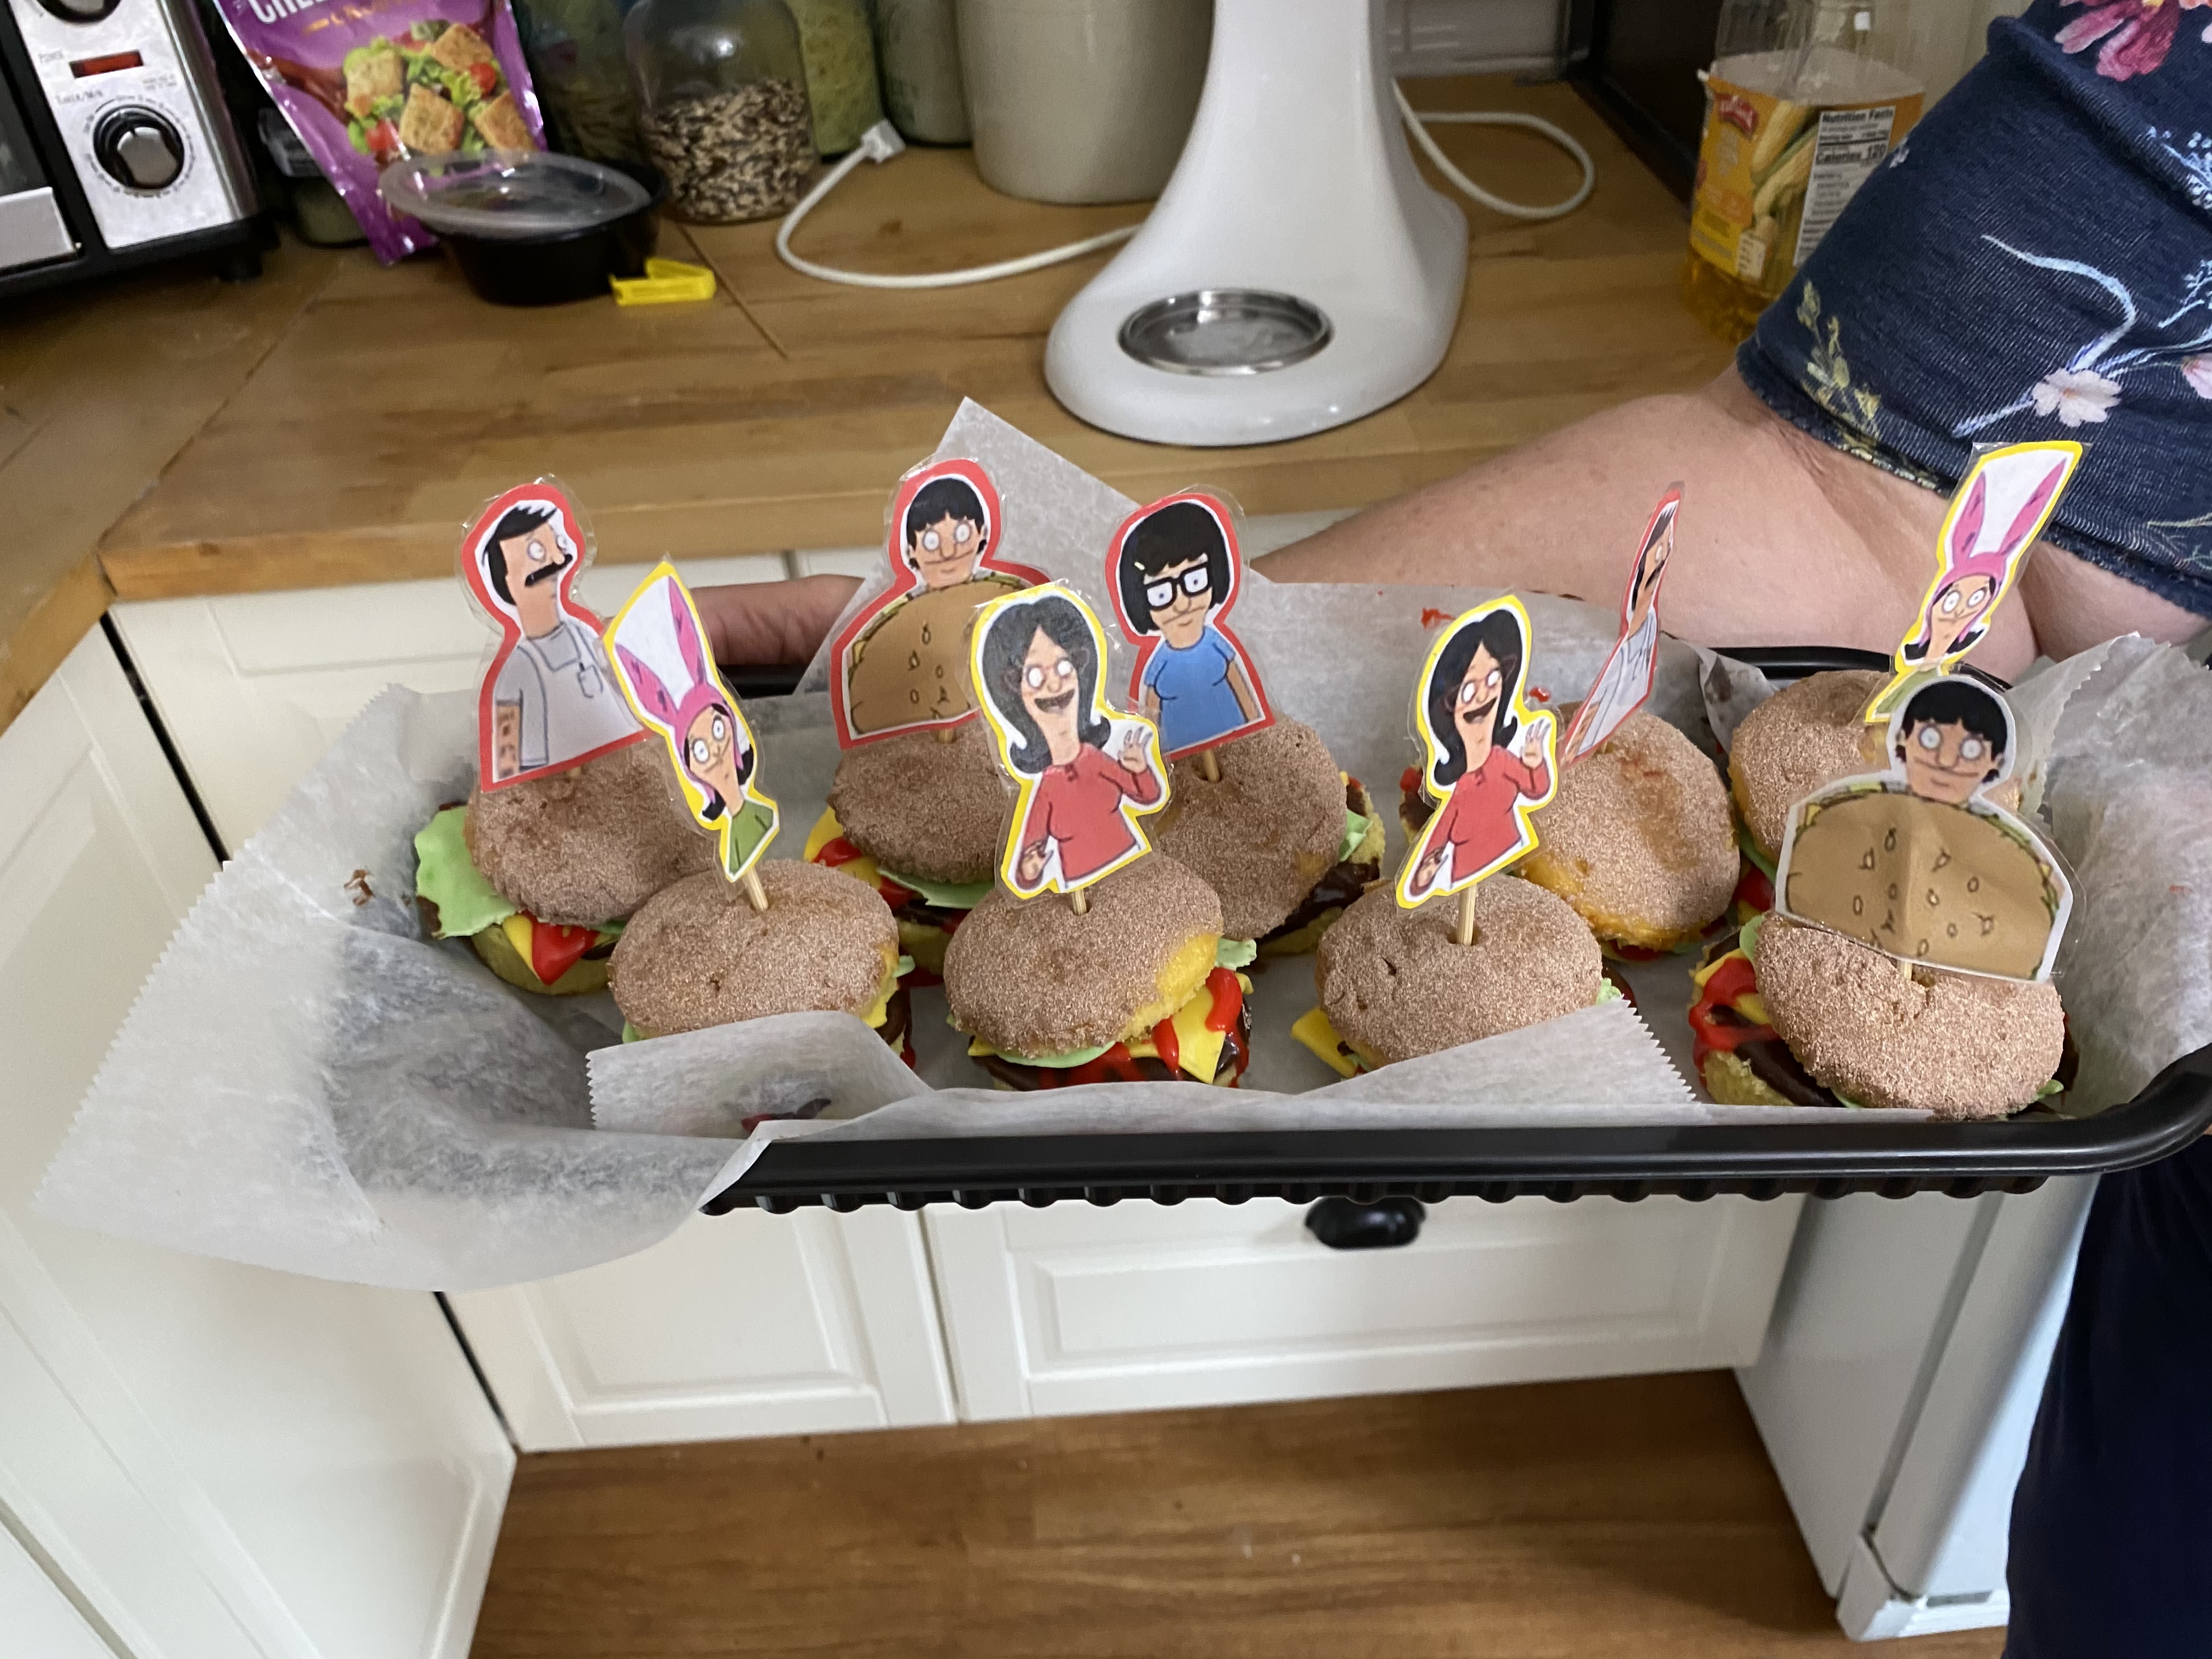
I added some printed photos..and signs...

Characters added to the sliders, but this could just as easily been made for a football game desert! Just add goal posts and some helmets on picks.

oldnewgreenredo

The sparkler candles were added fun.

oldnewgreenredo

Slicing open the cake was gorgeous, we never got photos, as it was eaten very fast.
The brownie layer MAKES this practically bare cake! 
The sliders were delicious, too. 
AND everything disappeared, so fast! 


oldnewgreenredo

Just a HUGE BURGER, a birthday
 and lots of family Fun! 
(We are fortunate almost all are working from home, and being home-schooled, so social distancing, elbow bumps instead of hugs, and even masks were present.)

What's the craziest Cake you ever made?


Monday, September 28, 2020

REDO Antique Book Shelf

Ad-Free Blog

Way back when...like three years ago, I posted photos of my tiny master bath.
Saying it was due for an upgrade, we had peeling wallpaper, needed new tile, and some serious drain pipe issues. The small space was screaming for a makeover from its 1990's origins.

oldnewgreenredo
I featured this little shelf, which held everything we needed in the tiny bathroom.
oldnewgreenredo

It was just always so foreboding brown, I hid the dark with towels and doilies.

Now, I had a quart of satin latex with primer added in light blue, a few shades lighter than my bedroom walls.

oldnewgreenredo

(PS, I'm not fond of chalk paint for anything but craft projects. Satin Latex paints have beautiful strong finishes and are durable enough to use on furniture, walls, or trim. Most have added primer which makes one coat sufficient for almost all surfaces.) And, no sealing or waxing or anything else, extra...! So, unless you are going for a 'custom' layered expensive finish---Satin Latex proves it's durable, and certainly more cost effective.


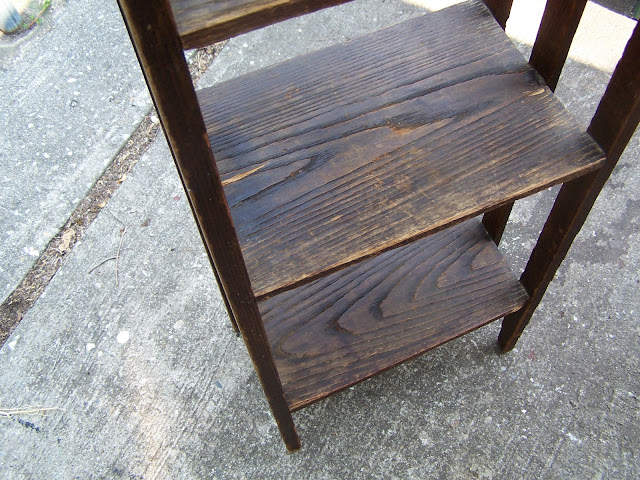
Originally this Arts &Crafts Movement Library book stand has been in my collection for about 50 years. We dragged it from Wisconsin in 1976 to Illinois.
It's always been in my bedroom until 1990 when we made an extra bathroom out of a walk-in closet. The width was then cut to fit our new bathroom. It's been perfect for towels and bathroom storage since then.

oldnewgreenredo

NORMALLY I WOULDN'T PAINT AN ANTIQUE!

I've always wanted to paint it, or at least lighten it. I tried some paint-wash on the underside of the dark stained boards. The orange tones in the stain made my light blue paint very gray

oldnewgreenredo

In anticipation of painting, I scrubbed and lightly sanded the wood and let it dry. This was made from raised grain almost rough sawn red oak. How large the tree must have been to cut these thin full-depth planks that barely warped in 100 years. The piece is from prior to 1915. 

oldnewgreenredo

On the underside of the shelves, I tried a couple of techniques. The left was a dry brush with a full strength paint, the upper-right wiped off full strength paint, the bottom brushed on
 with full strength paint. 
I opted for the wipe off technique, thinking I could always add more color.

oldnewgreenredo

North Chicagoland's been in a drought, so the air was very dry, and I worked on a small area at a time, paint-wipe, paint-wipe with a dry rag, and so forth.

oldnewgreenredo

Even working in the shade the paint was drying fast.


oldnewgreenredo

Hubby just kept taking photos...as I worked very quickly.

oldnewgreenredo

Working from the inside out, there is less likely to have drips and then your outside surfaces aren't disturbed while you are working.

oldnewgreenredo

Progress, it was certainly brighter than the original.

oldnewgreenredo

In the end, it was pretty even. I lightly dry-brushed any areas that were still dark.

oldnewgreenredo

Normally I don't paint antiques...but this piece had been altered anyway the top V shelf had been replaced from slats, which were awkward and warped.

oldnewgreenredoAdd caption

Now the newer wood, just blended in, as I wiped lots off to leave the softer grain to match the others.

Best part, this color blends beautifully in our new up-graded bathroom with new drain pipes, I'll share in another post! 


Hugs, 

What Projects have 

you finished in Lock-Down!