Tuesday, May 13, 2025

Midwest Gardening2025: The GREENHOUSE before Planting May 10.

AD-Free Blog

Wow, Spring planting is finally going on at our Greenhouse and Garden this week. Here in NW Chicagoland we are Zone 5B...but east winds off Lake Michigan have kept us very chilly.

But, I did take photos last week on the first sunny day we had in awhile. May has been cold and blustery...temps were all over the place with some cold nights. Trying to harden off the greenhouse is easy during the day...open the windows. Without them open the temps can quickly reach 100 even on a cool day.
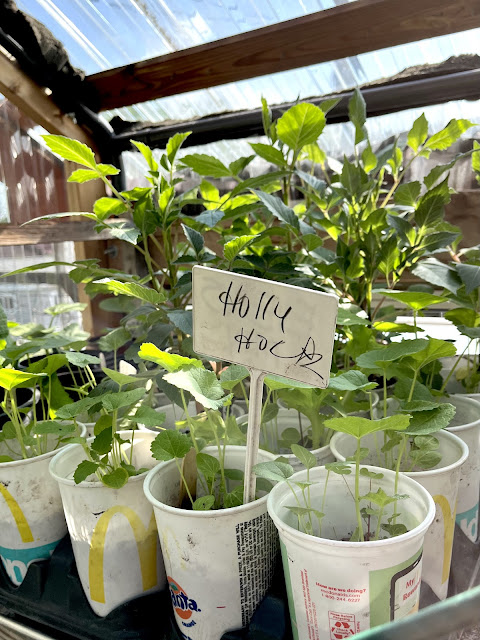
Biennial Holly Hocks, almost ready to go in the ground if temps moderate. These will have blooms next year.

Then-closing up the greenhouse at night and having to run the heater. Hardening off plants is probably the IFFIEST choice a gardener has to make. Some plants thrive on the process, others not.


I was too chicken and only moved the railing planters outdoors last week filled with lettuce, radishes, spinach and onions. 


The greenhouse was so crowded, watering and taking photos was difficult. I moved these two giant Pea Pots out before I took the greenhouse photos.


They're two different Snowpea varieties. I will have to check my notes.

OH>..another reason for not planting. We are putting another layer of tiny mesh on the walls of the garden. Low and behold in Late April we found a bunny nest in the middle of the fenced in garden...and had to leave it until the little buggers left.

Bunny location was dead center of the below photo---see that pile of rubbish that was the nest.


And Yesterday, May12, I'm watering by the birdbath inside the garden and 6 baby bunnies started running around. We collected them with gloved hands and moved them outside of the garden, they couldn't get out---and I have no idea how Mama gets in? We still have like 10 feet more of mesh to add to our already existing fencing before serious planting.


Back to the greenhous, Squash plants, Zucchini plants...almost ready for the garden.


Pickle plants, Purple Alyssum and Zucchini


Wide assortment of Zinnias and some Coreopsis


Our Tomato plants (6 varieties) are in need of some fertilizer next watering.


Flowers and herbs, transplanted into larger pots. Another problem with cold temps, they get stringy and stunted in small containers.


I purchased some bagged roots of Phlox to get started.  and they are doing well.


I was late in starting COLEUS...and this is as far as they are, I will transplant later and then they will take off. It's too cold to plant Impatiens or Coleus right now. We had frost over the weekend.


A selection of purchased Herbs and two hot peppers---a sale at Home Depot 5/$10.00. 

I did start Dill but my seeded Basil is very week. 


Some grasses on the lower shelf, I bought two and split them into 6 pots. These are short perennial grasses I will put in the redone 'pump' plot.


Upper shelf---success---DAHLIAS, last years as well as two new bags of corms. Saving the root corms over the winter and they are getting huge. I planted some in the pots by the garage yesterday---I hope frost is over.
They will be easily bagged at night if needed and they are sheltered by the garage from the East wind.


Long shot of the top shelf....Tomatoes and all the Dahlias.


Unsuccessful...Broccoli...so lame, and they were planted first way back in late February.


Assorted Nasturtiums, SunFlowers and Zinnias


Hoping these Sunflowers will tolerate having their stems buried...Last year every Sunflower seed I planted directly in the garden was eaten. Hopefully these will be too big and not tasty. 


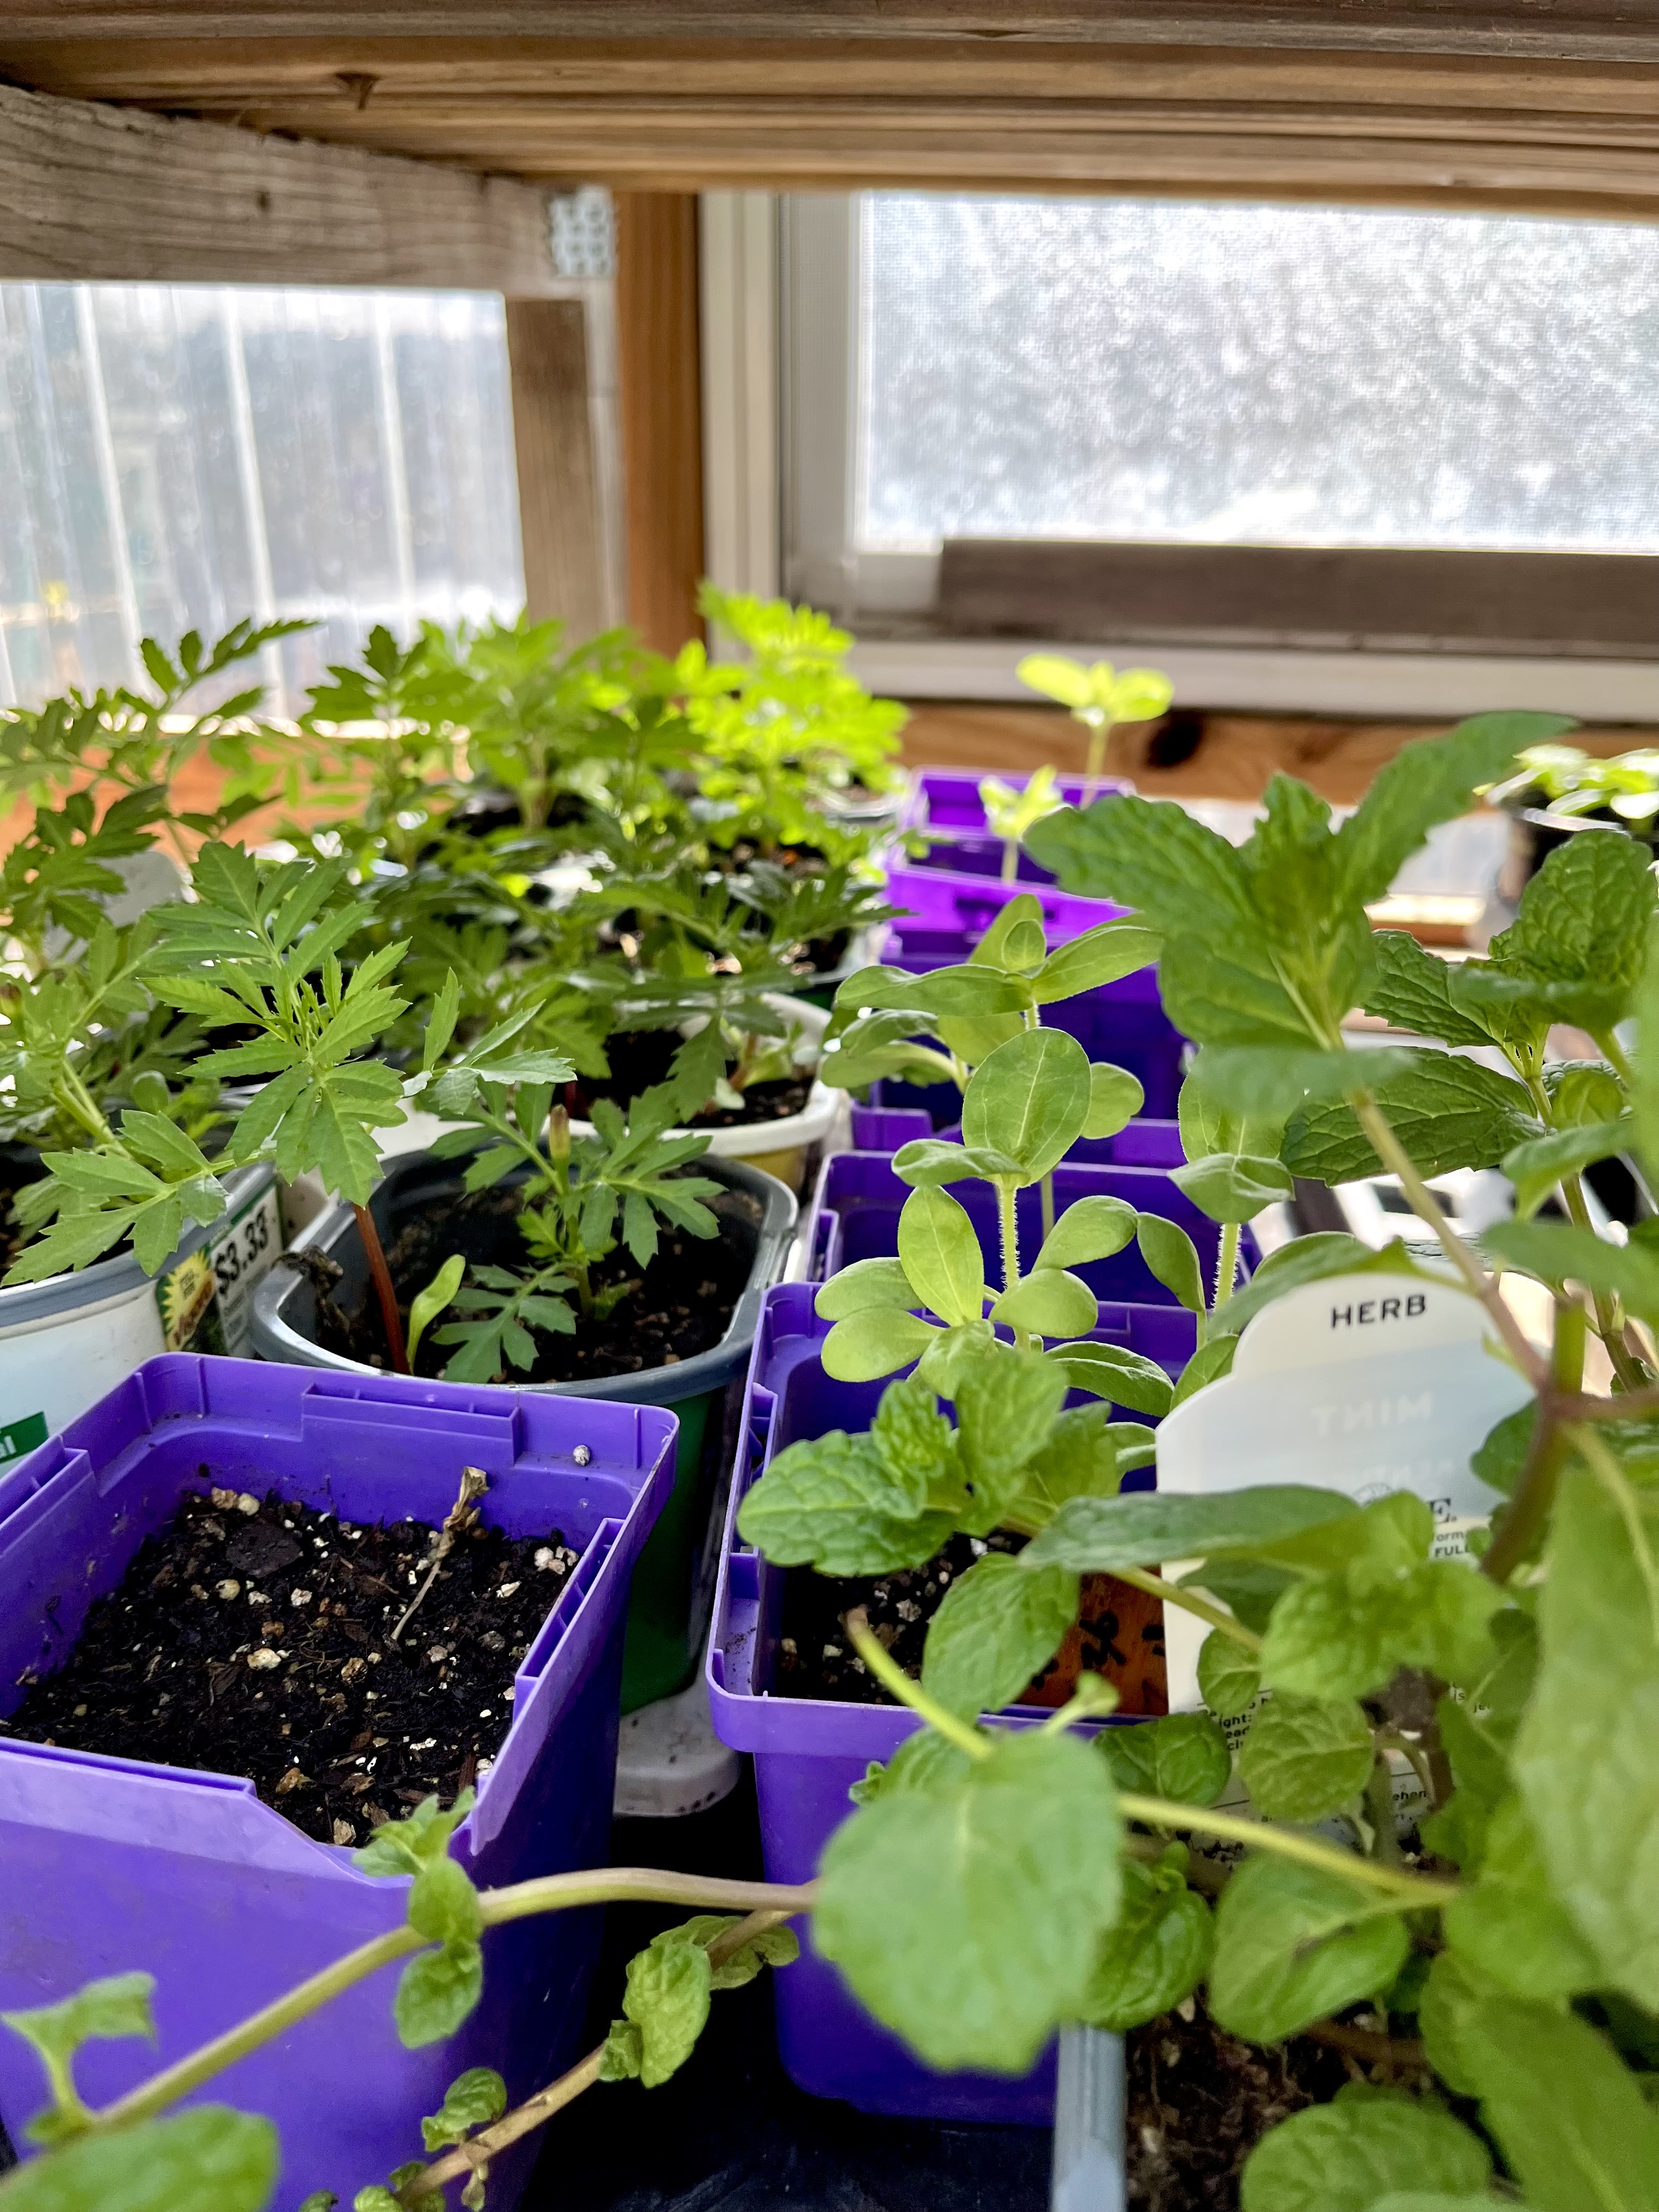
Marigolds transplanted to larger pots. Always easy to seed and grow.


Mint plant in foreground I bought 5 at the Home Depot sale of $10.00
 Last year they were $5 a piece. MINT is a pest and Bee deterrent. I use these in our eating area, by the grill and by the doors of the house to keep bees away. I am deathly allergic to bee stings and carry an Epi-pen and phone with me when gardening.


Bachaelor buttons, Coreopsis, Pickler  cucumbers. Temp early in the morning with sunlight 70.1F.

Failure....I have to look up what these were?  To the right---more Asparagus starts. It takes at least 3 years before you get any asparagus, I added to our patch. We did have a half dozen nice spears this year. They bolt quickly so you have to watch them.


Pots on floor...left one was a Canna, but no show yet, right one is Zinnia and Nasturtiums...waiting to be rid of Bunnies?


Another long planter with Nasturtiums, this one will go by the pond when I add something else to it.

That's it for now...I really better get planting!!!

HOW ARE YOUR STARTS DOING IN 
YOUR NECK OF THE WOODS!?

All the opinions and photographs in this blog are my own, I have not been paid or reimbursed in anyway for my opinions, posts or any products shown.  


Sunday, April 27, 2025

Another Mather Project: Three Dimensional Floral Art

Ad-Free Blog

Rip, Tear, Scribble Assemble.

    Dis-assmeble, Glue and then start again. PHEW!


I logged in 20 minutes late for my Mather Creative Mindfulness class..I had been so busy gardening that day, I had literally dozed off late in the afternoon and almost missed the 5:30pm class.

Anyone else pooping out at late afternoon after gardening???


Well speaking of gardening...the project
subject was to be a vase full of (3-dimensional) flowers constructed from scrap papers. 

I keep a small file of small bits of papers, photos, magazine tears, scrapbook papers just for this.  I also had some alcohol ink small 6x8 pieces that had been experimental, but very vibrant. I saved those just for this project.  

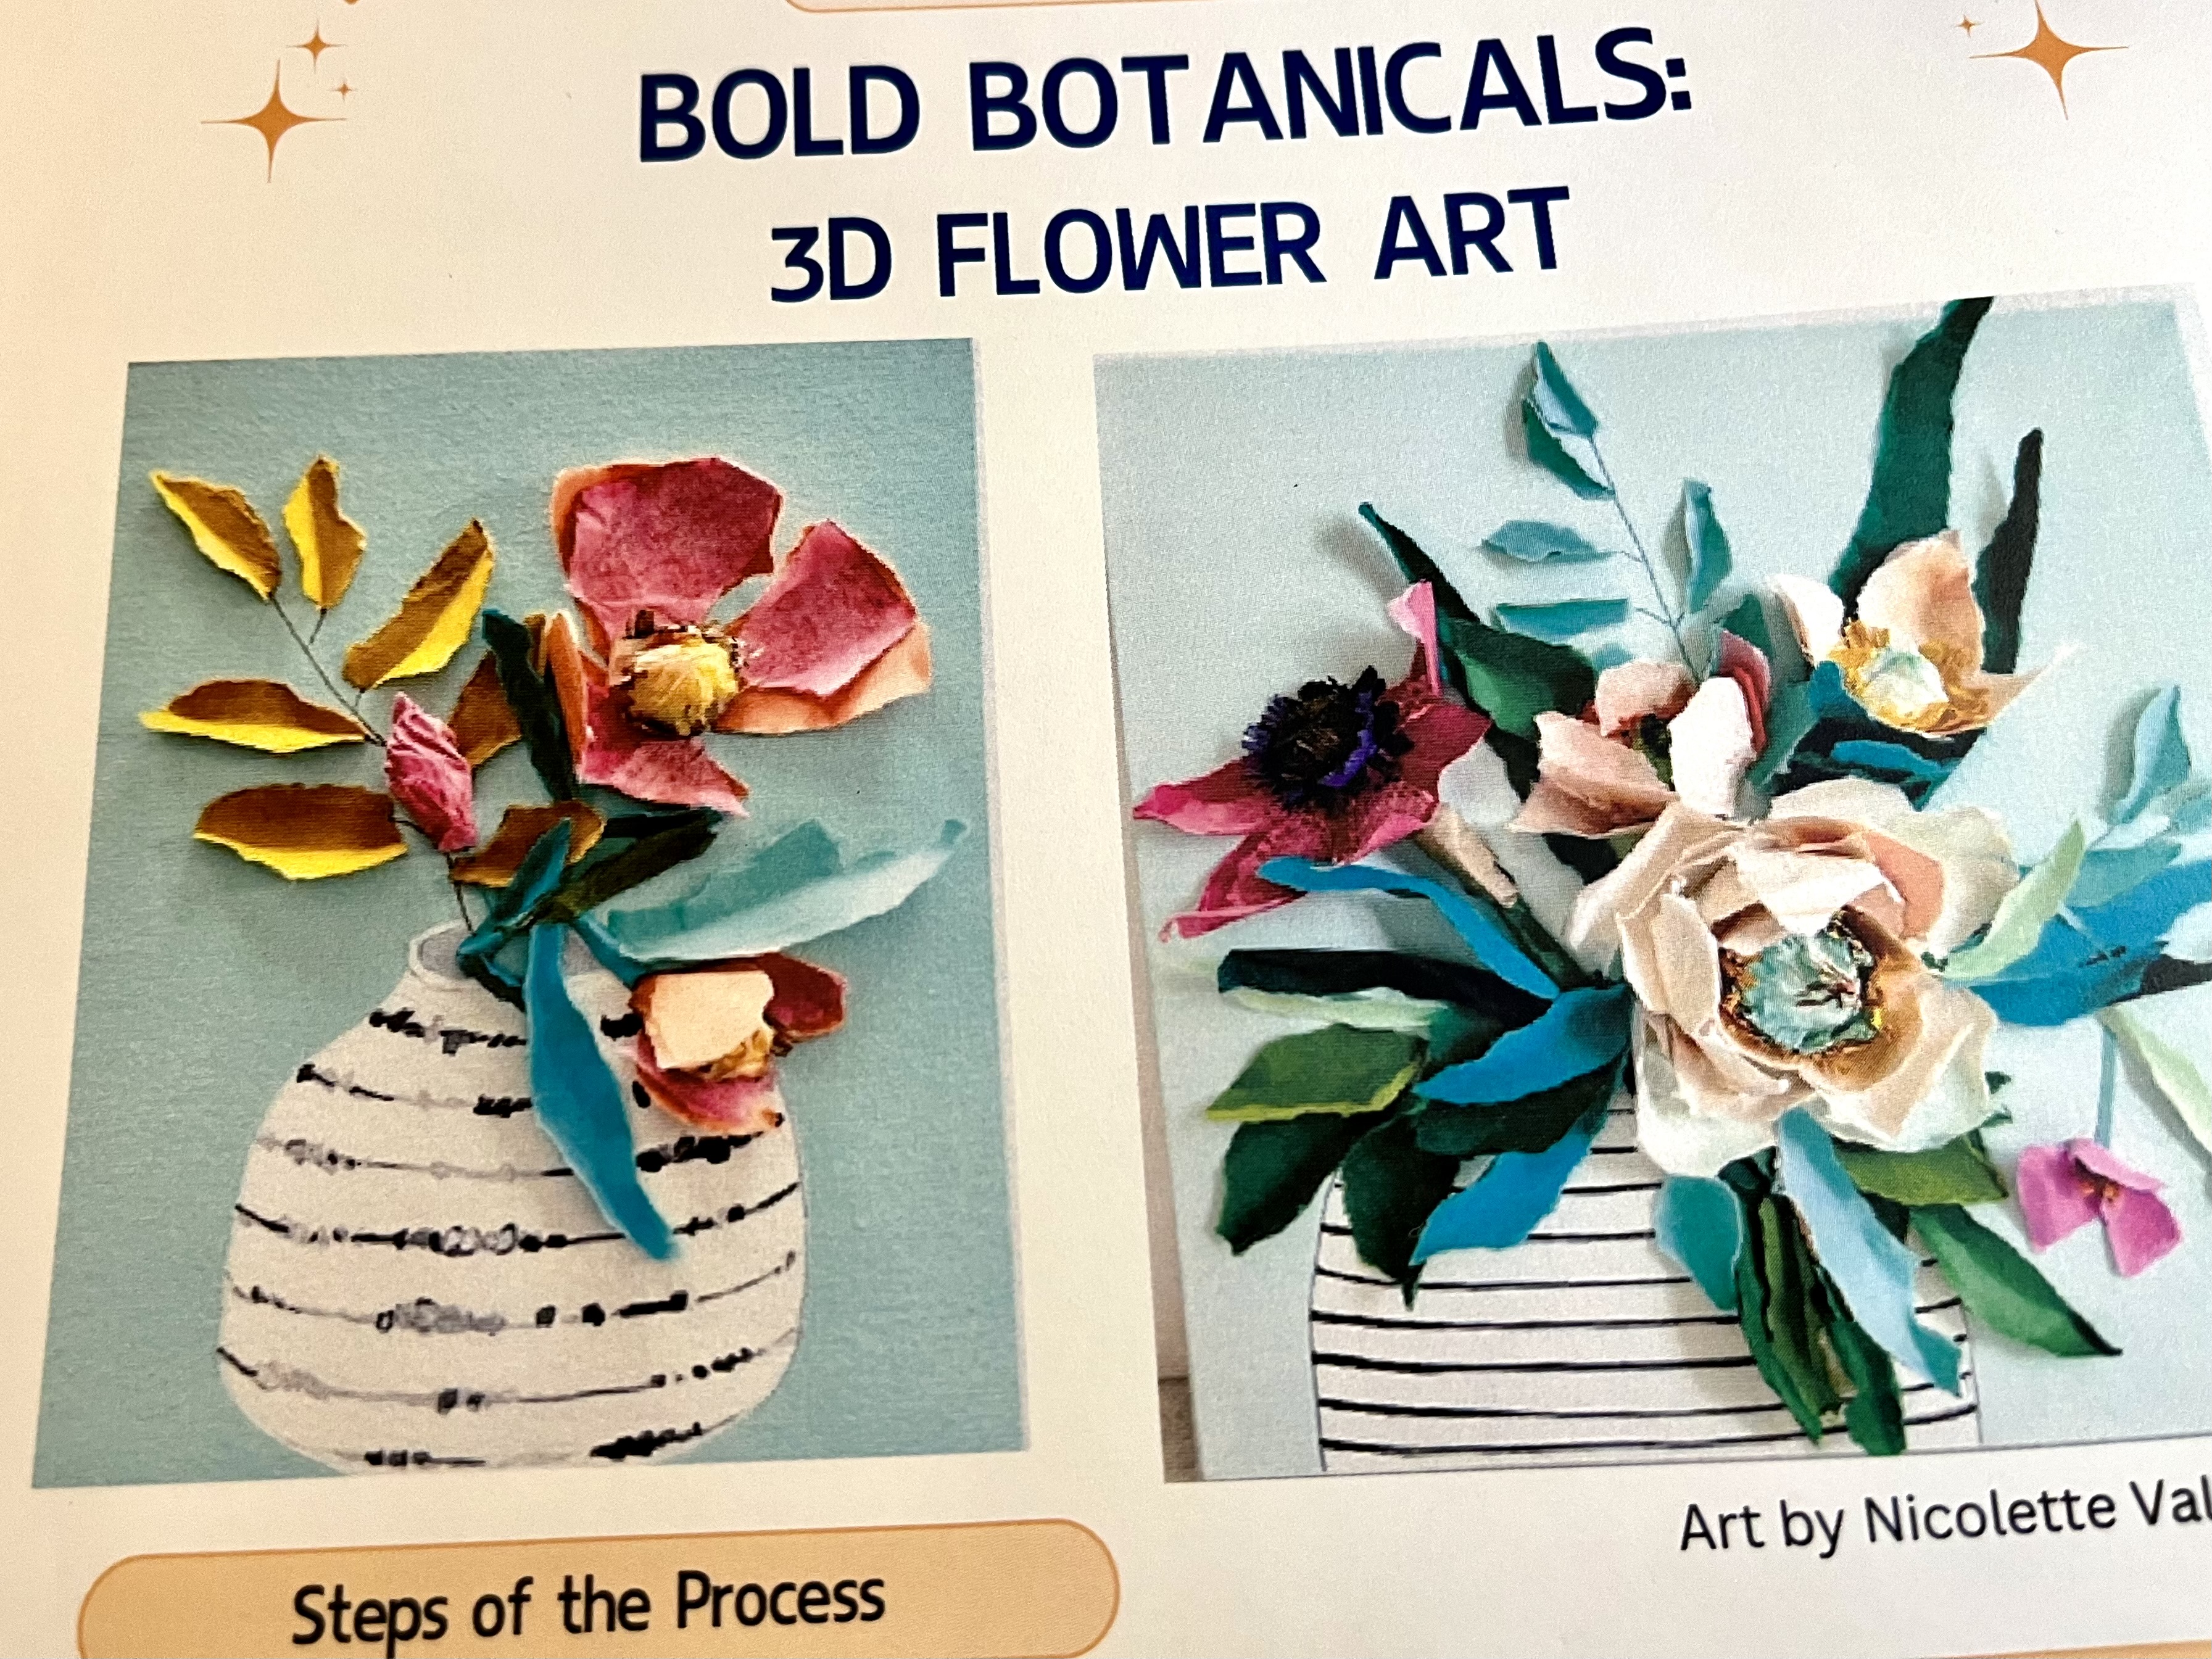
The artist highlighted was Nicolette Valikoski.
Nicolette is a current working artist in mixed media, oils, acrylics but her signature is some sort of three dimensional aspect in her art.


Nicolette's vases here are painted paper then cut into a vase shape. The flowers and leaves are all constructed from ripped papers, glued, crushed, folded and applied to the paper in floral and leaf patterns.


Simple supplies needed...I used Elmer's clear glue..(love it) I don't know how long it will last, but these are fun project. It adheres pretty fast, and disappears. I also had a set of Color Shift Folk art paints, a purple, teal, lime and magenta, similar to the colors of papers I was working with. I didn't know if I would need them or not. I also used a charcoal pencil and a scissor to rough sketch some shapes and enhance others.

Time to PLAY and have FUN!

Since I was so late in the game, I opened my scrap folder and started with a black cardstock vase shape. I used my paper in the landscape position. I decided on a light green background on the edge left. The coral was too bold for my chosen papers.


I cut some leaves from scrapbook paper, some from a water color sample. See below.


I had  quickly rough torn the background leaves from emerald green thick cardstock...they were very raggy, So the scissors cut leaves were a bit of relief from all the shagginess. 


These painted water colored papers and alcohol test designs gave me a wide variations in textures and styles. I had just cleaned out my Tulip bed that day---and so it was Tulips...an easy quick flower---basically three triangular shapes torn, bent, and  over lapped on each other---like the lower right. 

I made long full tulip leaves from the printed cut scrapbook paper in white and moss green geometric patterns.


In the 30 minutes or so I knew I had to work, I just couldn't tackle peonies, magnolias, or roses...
I really do love the sample photos...look at her sites..she had lovely work.


Working on my background leaves first...I worked in balances of a bit of each type of leaf across the background the flowers were applied last. 

Again, entire project was done in about 25-30 minutes...PHEW! Some of the Tulips were flat applied and this one was curled and folded. The glue was great to work with.  The patterned tulip leaves were either bent in loops or folded in seams. a few stems were made cut straight strips from the edge of green painting scraps.

Working on my background leaves first...I worked in balances of a bit of each type of leaf across the background the flowers were applied last. 


To make sure the watercolor leaves looked like realistic, I quick-drew some scribbles on them for veins and shadows.


I had bought some Pansies over the weekend, so the other flowers were three/four petaled round flowers sort of like Pansies. I added a few dots of yellow opaque water color yellow to give them a center. 

A few petals on the lower right were added to balance out the composition.
Last...the black bowl vase was too stark, so I used dots of the Purple Fold Art Color Shift paint. The dots were applied by dipping the wood end of a round paint brush in the paint and then on the paper...to give little mounded circles. Easy peasy way to paint dots.


Folds and creases to give dimension.


Charcoal pencil details.


Angle to show how the three dimensional the bouquet really is.  And, the Dots are drying and iridescence is showing.  


I'm really loving the mixed media options this type of project provides. I need to start doing something everyday when the gardening is under control. We tried to hire someone to do clean up on our lot, but no one seems to want the small jobs and bids go unsubmitted. So, I'm, doing it. slowly


I let my flowers float off the page. I may mount this on some sort of dark slightly patterned paper (painted or printed). We will see, it will need a shadow box frame, so I might be on the look out for switching the 3Dimensional pieces into.

Then again, it was just for FUN, PLAY, and Freeing up those inhibitions. It's just paper, glue and 25 minutes ...LOL. 

WHAT HAVE YOU DONE JUST FOR FUN THIS WEEK???


All the opinions and photographs in this blog are my own, I have not been paid or reimbursed in anyway for my opinions, posts or any products shown.  


Tuesday, April 15, 2025

Mather Mixed Media Project with Interesting results

Ad-Free Blog
One of the reasons I take these Mather classes for seniors is to loosen up, experiment and work with new materials. After 45 years stuck in clay, I really wanted to spread my artistic wings and reawaken my childhood zeal over all art mediums. Mather offers everything from poetry, writing, crafts, exercise, educational classes free for seniors over 55.

Free online classes for seniors: Mather Classes

oldnewgreenredo

Creative Mindfulness classes are based on mindfully centering yourself, then letting go, add a little art history which leads us to working with prompts based on a particular artist's art. 

This week, Ketki Fadnis was the selected artist. Ketki is a self-taught Pune, Indian artist who states, 

"Art is a healing process of body to mind and mind to soul".


How completely true. When I was going through my third knee replacement and had to wait so long...I soothed myself through watercolor painting.


Mather handout

Ketki works in different medias, abstract as well as these amazing florals where she paints an entire canvas and then blocks out a background around a design, here she chose floral flower pots. I love the movement that crosses across her shapes. 

oldnewgreenredo

We were given the choice of any type of different materials. Here I am working with my alcohol markers  on 12x12 cardstock. I really like how well the cardstock accepts any media with minimal stretching or peeling. 

Here we were encouraged to fill a page with shapes, lines swirls and doo-dads. This scribbling was very quick, maybe 3-5 minutes.

oldnewgreenredo

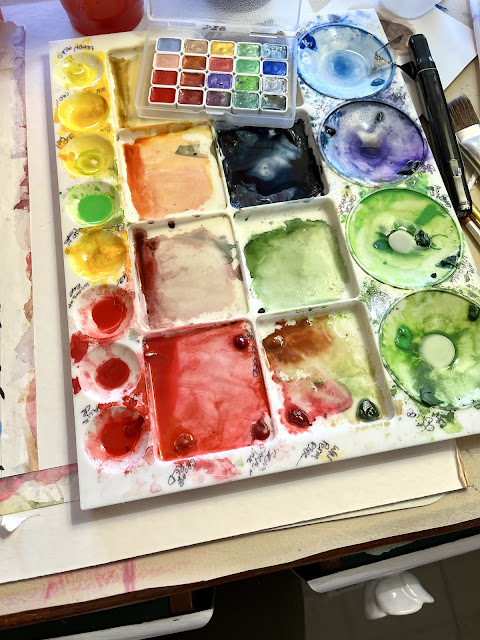
I'm trying to empty this watercolor palette so I can clean and have a fresh start, so I was limited to what was left on the palette. Thinking I would use alcohol marker as the background in black..so I went bright in choosing my colors.

oldnewgreenredo

You can see I was pretty random with the colors, but I like how the blue lines show lighter under the transparent/translucent water colors. We had to work very fast. 
Some people worked in pastels, oil pastels, crayons, charcoal, colored pencils (tedious),  or markers as well as watercolors. The recommendation was to do acrylics to do the back spaces.


oldnewgreenredo

With a white (which didn't show up) then a black charcoal pencil I outlined my vases and then leaves. I originally thought of turning the paper around and cutting out my shapes an mounting them on another page, but I followed directions and used acrylic on top of the alcohol markers and watercolors. 

Since I used quick washes...the watercolors dried pretty fast. 

It took almost 3 coats of paint on the background to get it to this stage. I may enhance or add a table or line in black..as these are floating in space, which bothers me.

If I do this technique again, I'll wait long enough for it to be completely dry before doing the background. Bleeding was minimal but persistent, so that would be a good idea. Maybe working on three or four of these at a time would work giving you time to let everything dry. 

The Apple Barrel acrylic paint from a Mather kit (rate this as kid quality only) light blue acrylic was what I had on hand without trundling downstairs in search of some better paint...the class moves so fast. I would definitely use a better paint with better coverage and a more flat finish.


How About Give this Method a Try!
and HAVE FUN!

Even great for kids on a smaller scale, maybe turn the finished Scribble that's colored over into hand cut out shapes..houses, pots, plants cars and then mount them on colored paper.  Great dexterity project for all ages.

All the opinions and photographs in this blog are my own, I have not been paid or reimbursed in anyway for my opinions, posts or any products shown.