
Choosing some composite moldings was an easy decision from Home Depot and Menard's and were perfect in scale and prefinished. They are fairly inexpensive for an 8-foot length, cut clean and easily.
 |
| oldnewgreenredo |
 |
| oldnewgreenredo |
Tools we used, were simple and complicated: the square from my tool box, pencil, scissors for cutting the uneven edges of the composite trim, an exacto knife for cleaning up the edges. Composite molding edges clean up nicely with just a scrape from the knife.
 |
| oldnewgreenredo |
 |
| oldnewgreenredo |
His wood glue is amazing though, and it holds pieces totally tight. Set-up time is 30 min, and he clamped my cut door moldings.
 |
| oldnewgreenredo |
My creative second floor landing opening for the stairs proved to be more of a challenge. My husband showed me how to make the complicated angle cuts.
 |
| oldnewgreenredo |
Here the clamps hold the moldings in place so the angle cuts can be marked.
 |
| oldnewgreenredo |
After I made the cuts, the molding are glued and clamped. The green side goes to the kitchen side of the second floor.
 |
| oldnewgreenredo |
Next Hubby installed the inside walls. These were screwed or nailed from below and from the outside walls. My husband and his clamps held the walls straight while the glue (more touch-up) dried.
 |
| oldnewgreenredo |
I set a few pieces of furniture pieces which need to be flush against the walls, to work around for the floor moldings. I did the measurements and cut all the pieces and set them in. At this time, the entire kitchen will be molding free because of all the cabinets will be built in. Just like a real house.
 |
| oldnewgreenredo |
 |
| oldnewgreenredo |
The bathtub will be up against the wall, the trim placed along the corner walls.
 |
| oldnewgreenredo |
Floor moldings on the second floor living room. More glue to cover up, LOL.
 |
| oldnewgreenredo |
Here are the outside edges, showing the shape of the moldings. Whoops-- touch-up needed on the outside window trim.
 |
| oldnewgreenredo |
The molding on the second floor opening, with floor molding installed.
 |
| oldnewgreenredo |
Hubby used shakes for the roof. He said it went quick and gives a nice look to the exterior. The scallop trim finishes off the front edge. He still needs to add pieces on the side. Another trip to Michael's.
 |
| oldnewgreenredo |
You can see the screws holding the floors together, on the outside. This will be covered up with wood putty.
 |
| oldnewgreenredo |
The shakes are large, but small ones looked so busy, we opted for the large shakes. Hubby glued the shakes and used a nail-gun. The roof cap is still under construction.
 |
| oldnewgreenredo |
DIY Barbie Dollhouse so far. Now, what's next?
 |
| oldnewgreenredo |
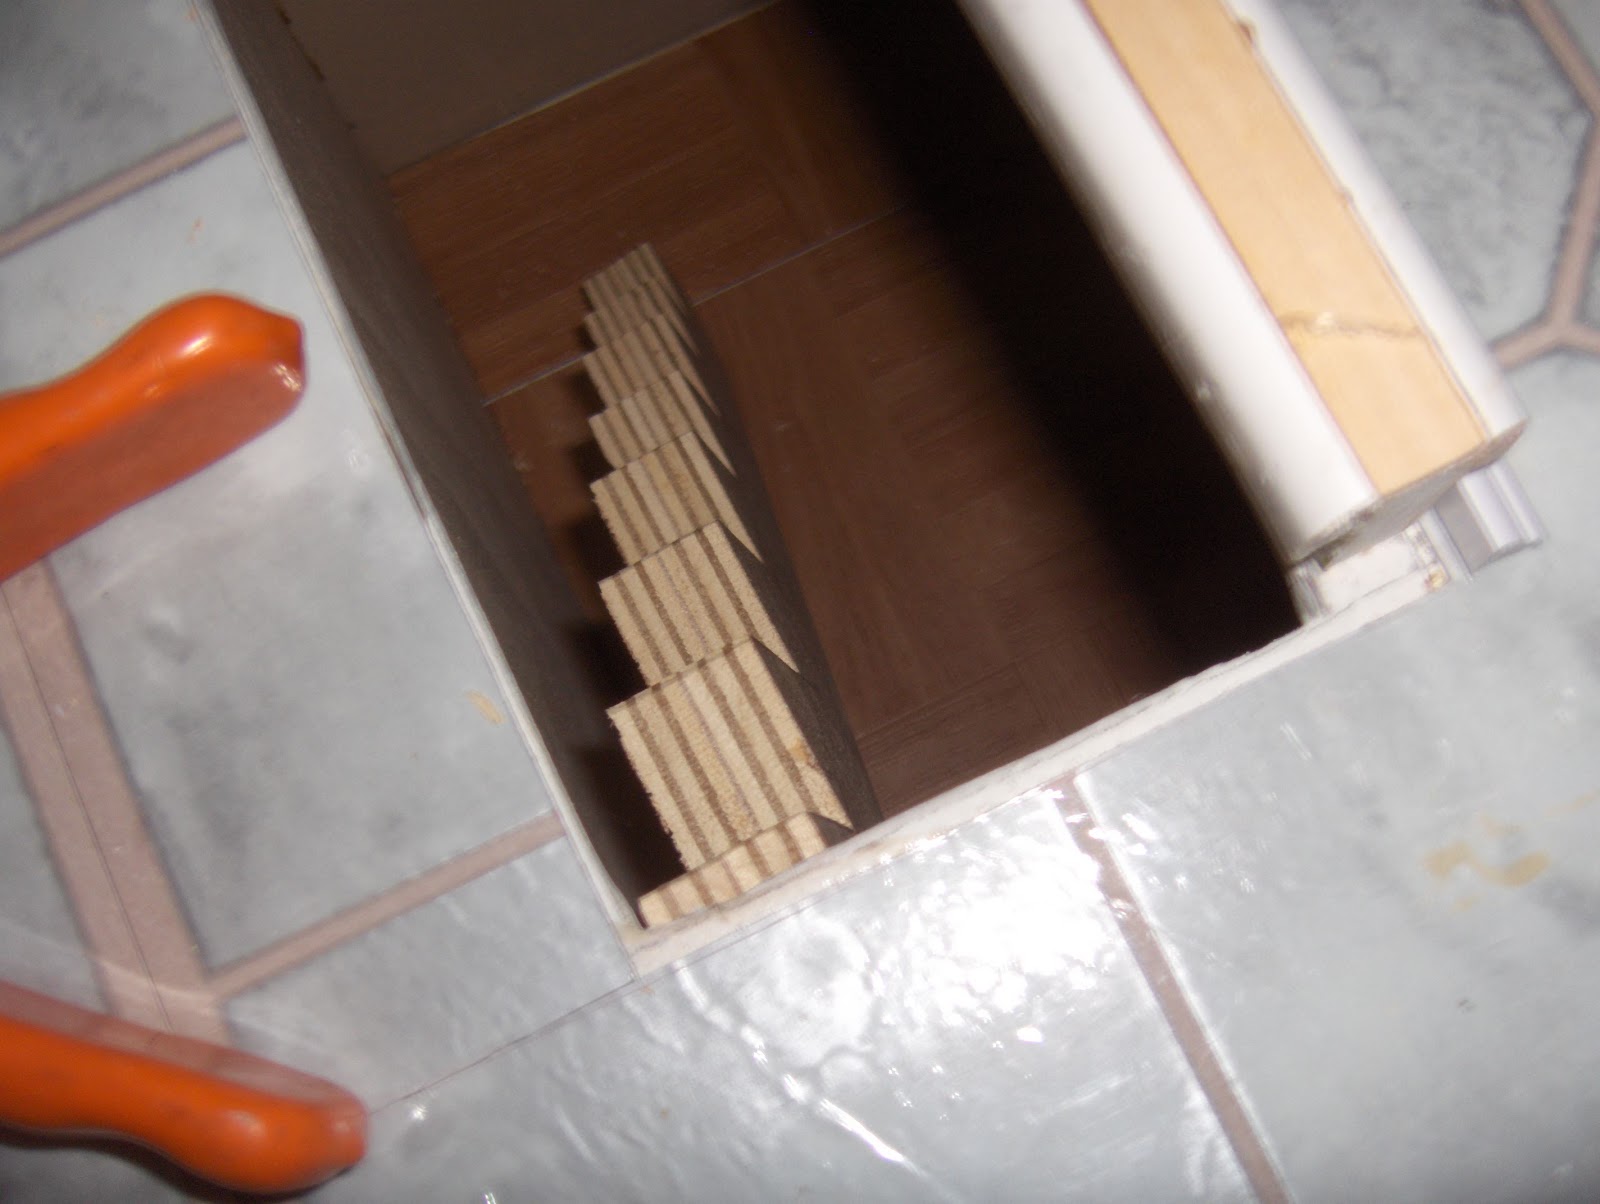
The stairs, at this point all the planning is out the window, we measure and build as we go. The risers are spotted through the floor. There are actually two being
held together, you are seeing the stripes of the 1/2" plywood. Golly, I
hope these work. Hubby has been delegated the stairs. More on next
post.
 |
| oldnewgreenredo |
I call this Fall Tablescape #2...LOL. With cookies for Halloween, all the tools and work going on in our kitchen. Next week is supposed to be nicer weather, so the porch can be utilized. It's amazing I served dinner for 6 in the kitchen the next day with my regular Fall tablescape.
DIY Barbie house Week 1 Planning
DIY Barbie House Week2 Cutting and Painting
DIY Barbie House Week 3 Windows
DIY Barbie House Week 3 Finally Color
DIY Barbie House Week 4 Assembly
DIY Barbie House Week2 Cutting and Painting
DIY Barbie House Week 3 Windows
DIY Barbie House Week 3 Finally Color
DIY Barbie House Week 4 Assembly
DIY Barbie House Week 5 Stairs and Moldings
DIY Barbie House Week 5 Final Lighting
DIY Barbie House Moving in with Vintage Furnishings
DIY Barbie House Week 5 Final Lighting
DIY Barbie House Moving in with Vintage Furnishings
All the opinions and photographs in this blog are my own or I am in possesion of the originals,
I have not
been paid or reimbursed in anyway for my opinions, posts or products used.
Please do not
use my photos without linking back to this blog without my permission.
Thank you for your cooperation, Sandi Magle
Thanks for stopping by and I will be sharing at these parties:
Merry Monday
Inspire Me Tuesday
Tweak it Tuesday
Tuesdays at our Home
No Place Like Home
What's It Wednesday
Inspire Me Tuesday
Tweak it Tuesday
Tuesdays at our Home
No Place Like Home
What's It Wednesday
Vintage Charm
Flea Market Friday
Shabbilicious Friday
Feathered Nest Fridays
Simple and Sweet Fridays
Best of Weekend
An Upcycled Link Party
Flea Market Friday
Shabbilicious Friday
Feathered Nest Fridays
Simple and Sweet Fridays
Best of Weekend
An Upcycled Link Party
Sandi

