Showing posts with label Barbie Dollhouse. Show all posts

Wednesday, November 11, 2015

DIY Barbie Dollhouse: Week#5 The STAIRS and Landings. (Working with plastic Channel also!)

Week 5 Stairs and Landings

Why did Mattel make all those vintage elevators for Barbie houses?----two reasons, because of the room it takes to make stairs and the difficulties. Yanking a rope on a box(elevator), is way easier...but also non-permanent. So many Barbie houses end up in resale/thrift shops in various states of not working. I have yet to see one with a working elevator. We chose, I have to remind myself...CHOSE to make the stairs for this dollhouse and that is also why we made the house is 16" deep rather than 12"deep  like so many others. (We should have made it 18" deep!)

Seriously---I know the Grand is going to simply SLIDE the dolls up and down the stairs...for at least a few years. But with safety first in mind, Hubby and I decided we had to make realistic stairs and landings. We have nixed the handrails---because the dolls are so our of proportion and the angle is so sharp it would look odd and be very restrictive in the tight space.

Working from an OLD stash of acrylic scraps that have lurked in the garage for years, I decided NEW contemporary glass-look landings would be a great idea and a bit easier than installing a gazillion spindles. After all, Barbie is a bit contemporary, shabby chic, and mod all rolled into one. And 95% of the furnishings will be REDO and vintage.

oldnewgreenredo
Here is the kitchen landing. Hubby slotted some wood square posts, added some knob tops and set in place to see how they will look. We had picked up some plastic slotted trim to carry the lighting wires in the house (next post). However this ended up being the miracle trim, I have used every bit of this trim for this and that.

oldnewgreenredo

Here is the piece of miracle trim---from the end side on top of the measuring tape. It's aheavier flexible, paintable plastic channel from the bathroom paneling section of the lumber stores. We cut pieces to cover the tops and bottom edges of the acrylic panels, (they were sharp). I also cut the longer side off to match the short side with a scissors. These cut moldings with a few dabs of Gorrila Gel Super Glue finished of those railings in short time. This was about the easiest thing I have done on this house...and it looks great.


oldnewgreenredo

Besides being tall and skinny---Ken is seriously useless...and is sleeping on the job, again.

oldnewgreenredo
 Here are the posts, lined up at the top of the stair holes. Looking great! We chose scalloped trim, kinda kitschy, to cover the floor edges (also hides the lighting).

oldnewgreenredo
Good thing Ken isn't adventurous that hole goes down to the next level.

Now the stairs. I do have to thank Hubby for all the intricate cutting and planning. He used a downloadable ap, Stair Builder Pro for designing the stairs. This is something he has used multiple times for doing my Dad's stairs, our deck stairs and the play house stairs in the backyard. He took the height of the ceilings, the measurements of the holes, and the scale-1inch to 6 inches, and plugged it into the ap...chose the design of how to fit them on the landings (we don't exactly have headers or beams)...and the ap gave him a picture and measurements of how to do it.This made designing so easy and the stairs fit well.

oldnewgreenredo
Here is the actually drawing made from the ap, and the stairs. Scaled paper helps and makes measurements easy to sketch out.

oldnewgreenredo
The risers are made from plywood, and the treads are from 1/4" craft wood stock. The tread wood is very soft, and easy to sand to the rounded edges. They are substantial and will last as well as real stairs and anything a child can dish out---even multiple dolls sliding down the stairs!
oldnewgreenredo
I filled the nail holes and lightly sanded, making sure to smooth off any residual glue. The treads are glued on with that super wood glue that is all over everything at this point.

oldnewgreenredo
The backside of the stairs shows the actually simple construction. One stairway will be seen from the back, so we finished that off too.

oldnewgreenredo

Two coats of white paint/primer. And then a quick spray of white enamel after.

oldnewgreenredo

Ready for installation. The stairway final reveal will be done in next post with the lighting.

oldnewgreenredo
Yesterday I started painting so much of the trim, while Ken napped.

ONE THING we would do differently is paint all the wood trim before installation, but I wasn't home and Hubby started putting up all the unpainted wood trim. The primed or plastic skinned trim will need a final coat to match also. The house is flat on the kitchen table now to finish the wiring and moldings and more painting touchups. I so need my kitchen back, soon.

oldnewgreenredo
So, now there is lots of fussy painting and clean-up to do. Here are the stairways set in place before finishing. A total reveal will be done with the lighting in our next post, just like a real house...a reveal, chuckle.
oldnewgreenredo
Here is Hubby, crawling on the floor to get the stairway shots. That mess behind is our recyclables...we are so behind on normal life.

Thanks always for stopping by, and I will be happy to respond to your comments or questions.


All the opinions and photographs in this blog are my own or I am in possesion of the originals, 
I have not been paid or reimbursed in anyway for my opinions, posts or products used. 
Please do not use my photos without linking back to this blog without my permission. 
Thank you for your cooperation, Sandi Magle

Sharing at these fine parties:

Sandi


Sunday, November 1, 2015

DIY Barbie Dollhouse: Week#4 Part 1-House Assembly and Moldings


Last week was a busy week with the NEW DIY Barbie Dollhouse. Chicagoland had cold weather and rain from the hurricane. We had intended to get to the lighting, but all the moldings and house assembly came first.

Choosing some composite moldings was an easy decision from Home Depot and Menard's and were perfect in scale and prefinished. They are fairly inexpensive for an 8-foot length, cut clean and easily.


oldnewgreenredo


Some fancy moldings were purchased at Michael's for the roof edge shown here with our hand made straight moldings we used for the window frames.

oldnewgreenredo

Tools we used, were simple and complicated: the square from my tool box, pencil, scissors for cutting the uneven edges of the composite trim, an exacto knife for cleaning up the edges. Composite molding edges clean up nicely with just a scrape from the knife.

oldnewgreenredo

Tools we used, were simple: the square from my tool box, pencil, scissors for cutting the uneven edges of the composite trim, an exacto knife for cleaning up the edges. Composite molding edges clean up nicely with just a scrape from the knife. The mini mitre-box on a wood surface and lots of clamps and PATIENCE.


oldnewgreenredo

My trusty little mitre box and my husband insisted on using glue, (Tite-Bond 3-Ultimate wood glue) which was messy and marked up all the prepainted walls and surfaces, but he is the construction foreman, so I just gritted my teeth and thought of all the touch-up I will have to do.

His wood glue is amazing though, and it holds pieces totally tight. Set-up time is 30 min, and he clamped my cut door moldings.


oldnewgreenredo

My creative second floor landing opening for the stairs proved to be more of a challenge. My husband showed me how to make the complicated angle cuts.


oldnewgreenredo

Here the clamps hold the moldings in place so the angle cuts can be marked.


oldnewgreenredo

After I made the cuts, the molding are glued and clamped. The green side goes to the kitchen side of the second floor.

oldnewgreenredo

Next Hubby installed the inside walls. These were screwed or nailed from below and from the outside walls. My husband and his clamps held the walls straight while the glue (more touch-up) dried.

oldnewgreenredo

I set a few pieces of furniture pieces which need to be flush against the walls, to work around for the floor moldings. I did the measurements and cut all the pieces and set them in. At this time, the entire kitchen will be molding free because of all the cabinets will be built in. Just like a real house.

oldnewgreenredo
The kitchen (green) will be filled with appliances and cabinets, no need for moldings along the walls.
oldnewgreenredo

The bathtub will be up against the wall, the trim placed along the corner walls.

oldnewgreenredo

Floor moldings on the second floor living room. More glue to cover up, LOL.

oldnewgreenredo

Here are the outside edges, showing the shape of the moldings. Whoops-- touch-up needed on the outside window trim.

oldnewgreenredo

 The molding on the second floor opening, with floor molding installed.


oldnewgreenredo

Hubby used shakes for the roof. He said it went quick and gives a nice look to the exterior. The scallop trim finishes off the front edge. He still needs to add pieces on the side.  Another trip to Michael's.

oldnewgreenredo

 You can see the screws holding the floors together, on the outside. This will be covered up with wood putty.

oldnewgreenredo

The shakes are large, but small ones looked so busy, we opted for the large shakes. Hubby glued the shakes and used a nail-gun. The roof cap is still under construction.

oldnewgreenredo

DIY Barbie Dollhouse so far. Now, what's next?


oldnewgreenredo

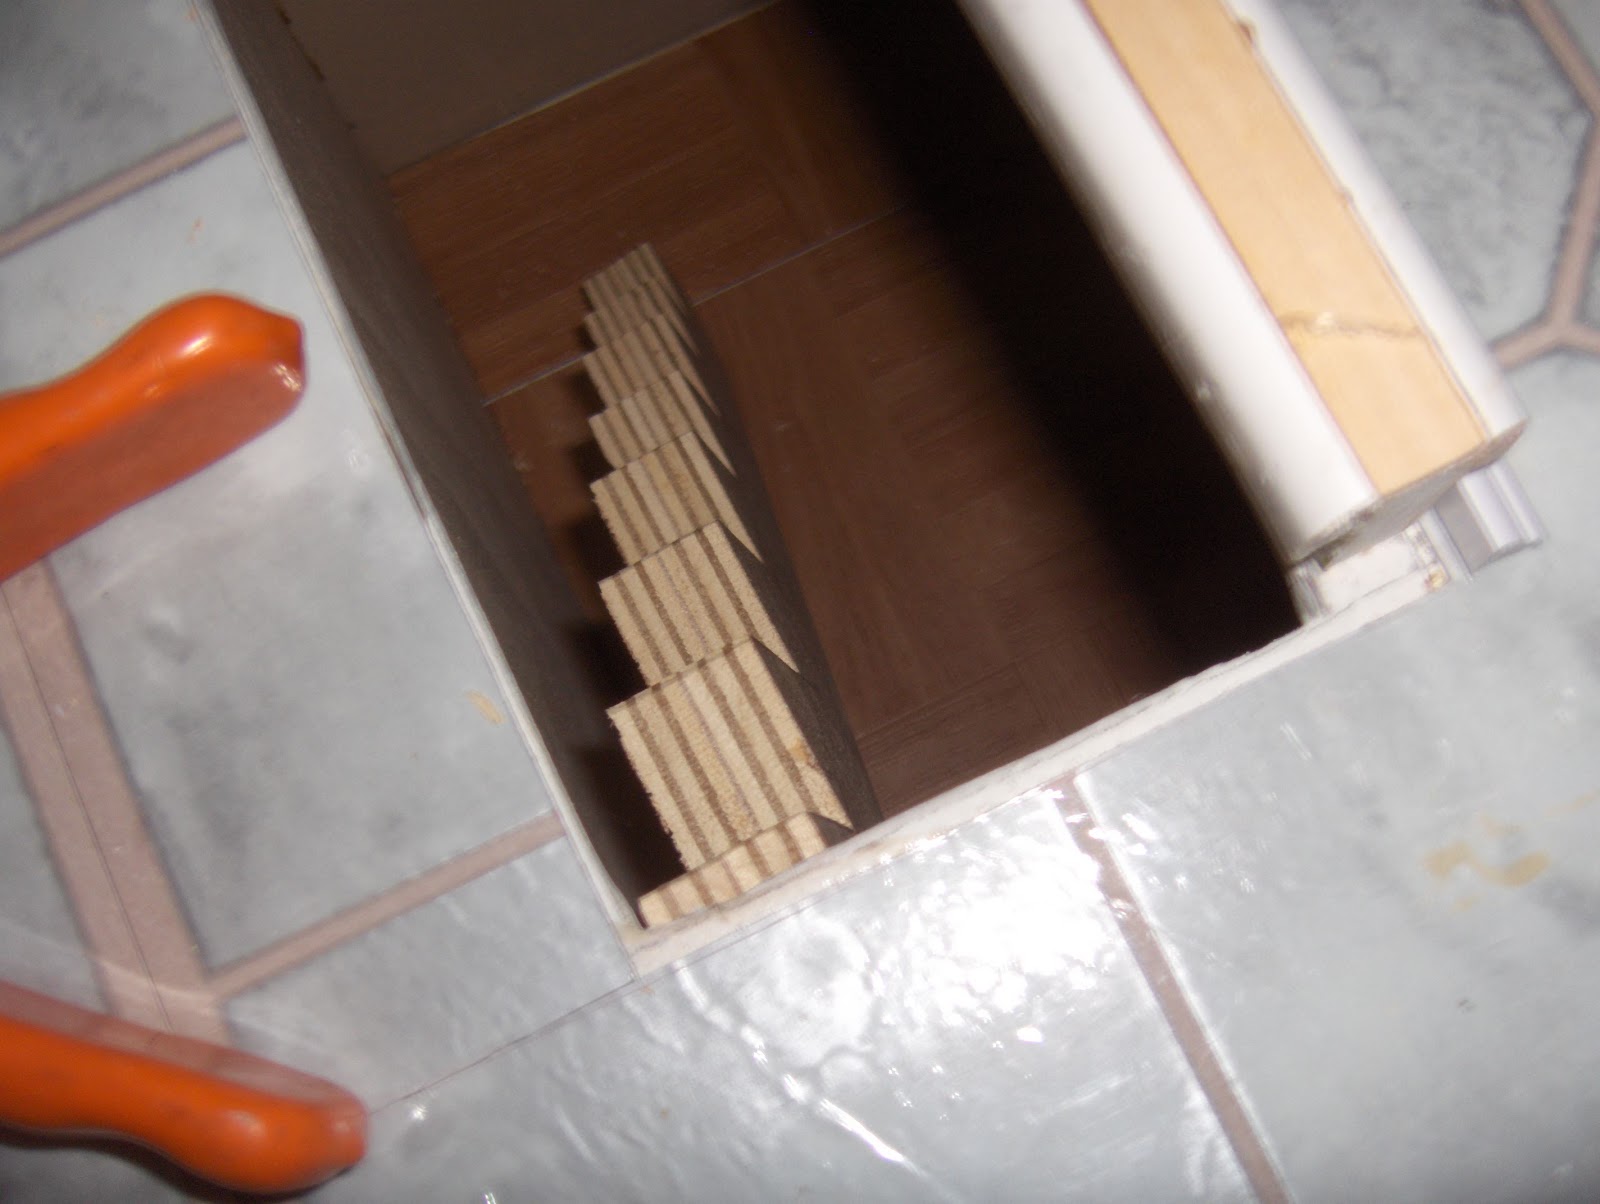
The stairs, at this point all the planning is out the window, we measure and build as we go. The risers are spotted through the floor. There are actually two being held together, you are seeing the stripes of the 1/2" plywood. Golly, I hope these work. Hubby has been delegated the stairs. More on next post.

oldnewgreenredo

I call this Fall Tablescape #2...LOL. With cookies for Halloween, all the tools and work going on in our kitchen.  Next week is supposed to be nicer weather, so the porch can be utilized. It's amazing I served dinner for 6 in the kitchen the next day with my regular Fall tablescape.


All the opinions and photographs in this blog are my own or I am in possesion of the originals, 
I have not been paid or reimbursed in anyway for my opinions, posts or products used. 
Please do not use my photos without linking back to this blog without my permission. 
Thank you for your cooperation, Sandi Magle

Thanks for stopping by and I will be sharing at these parties:
Sandi