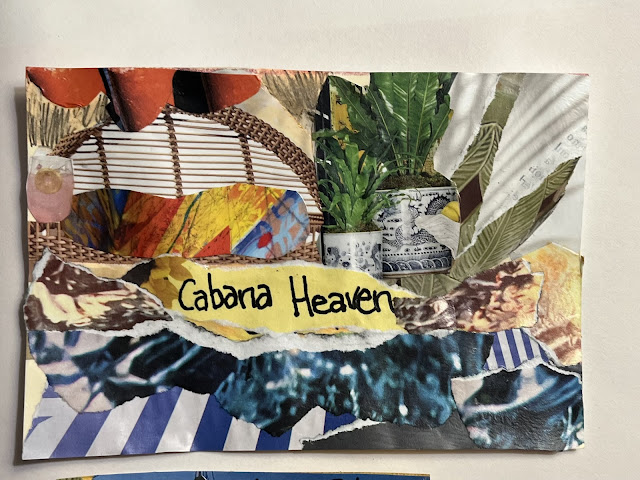
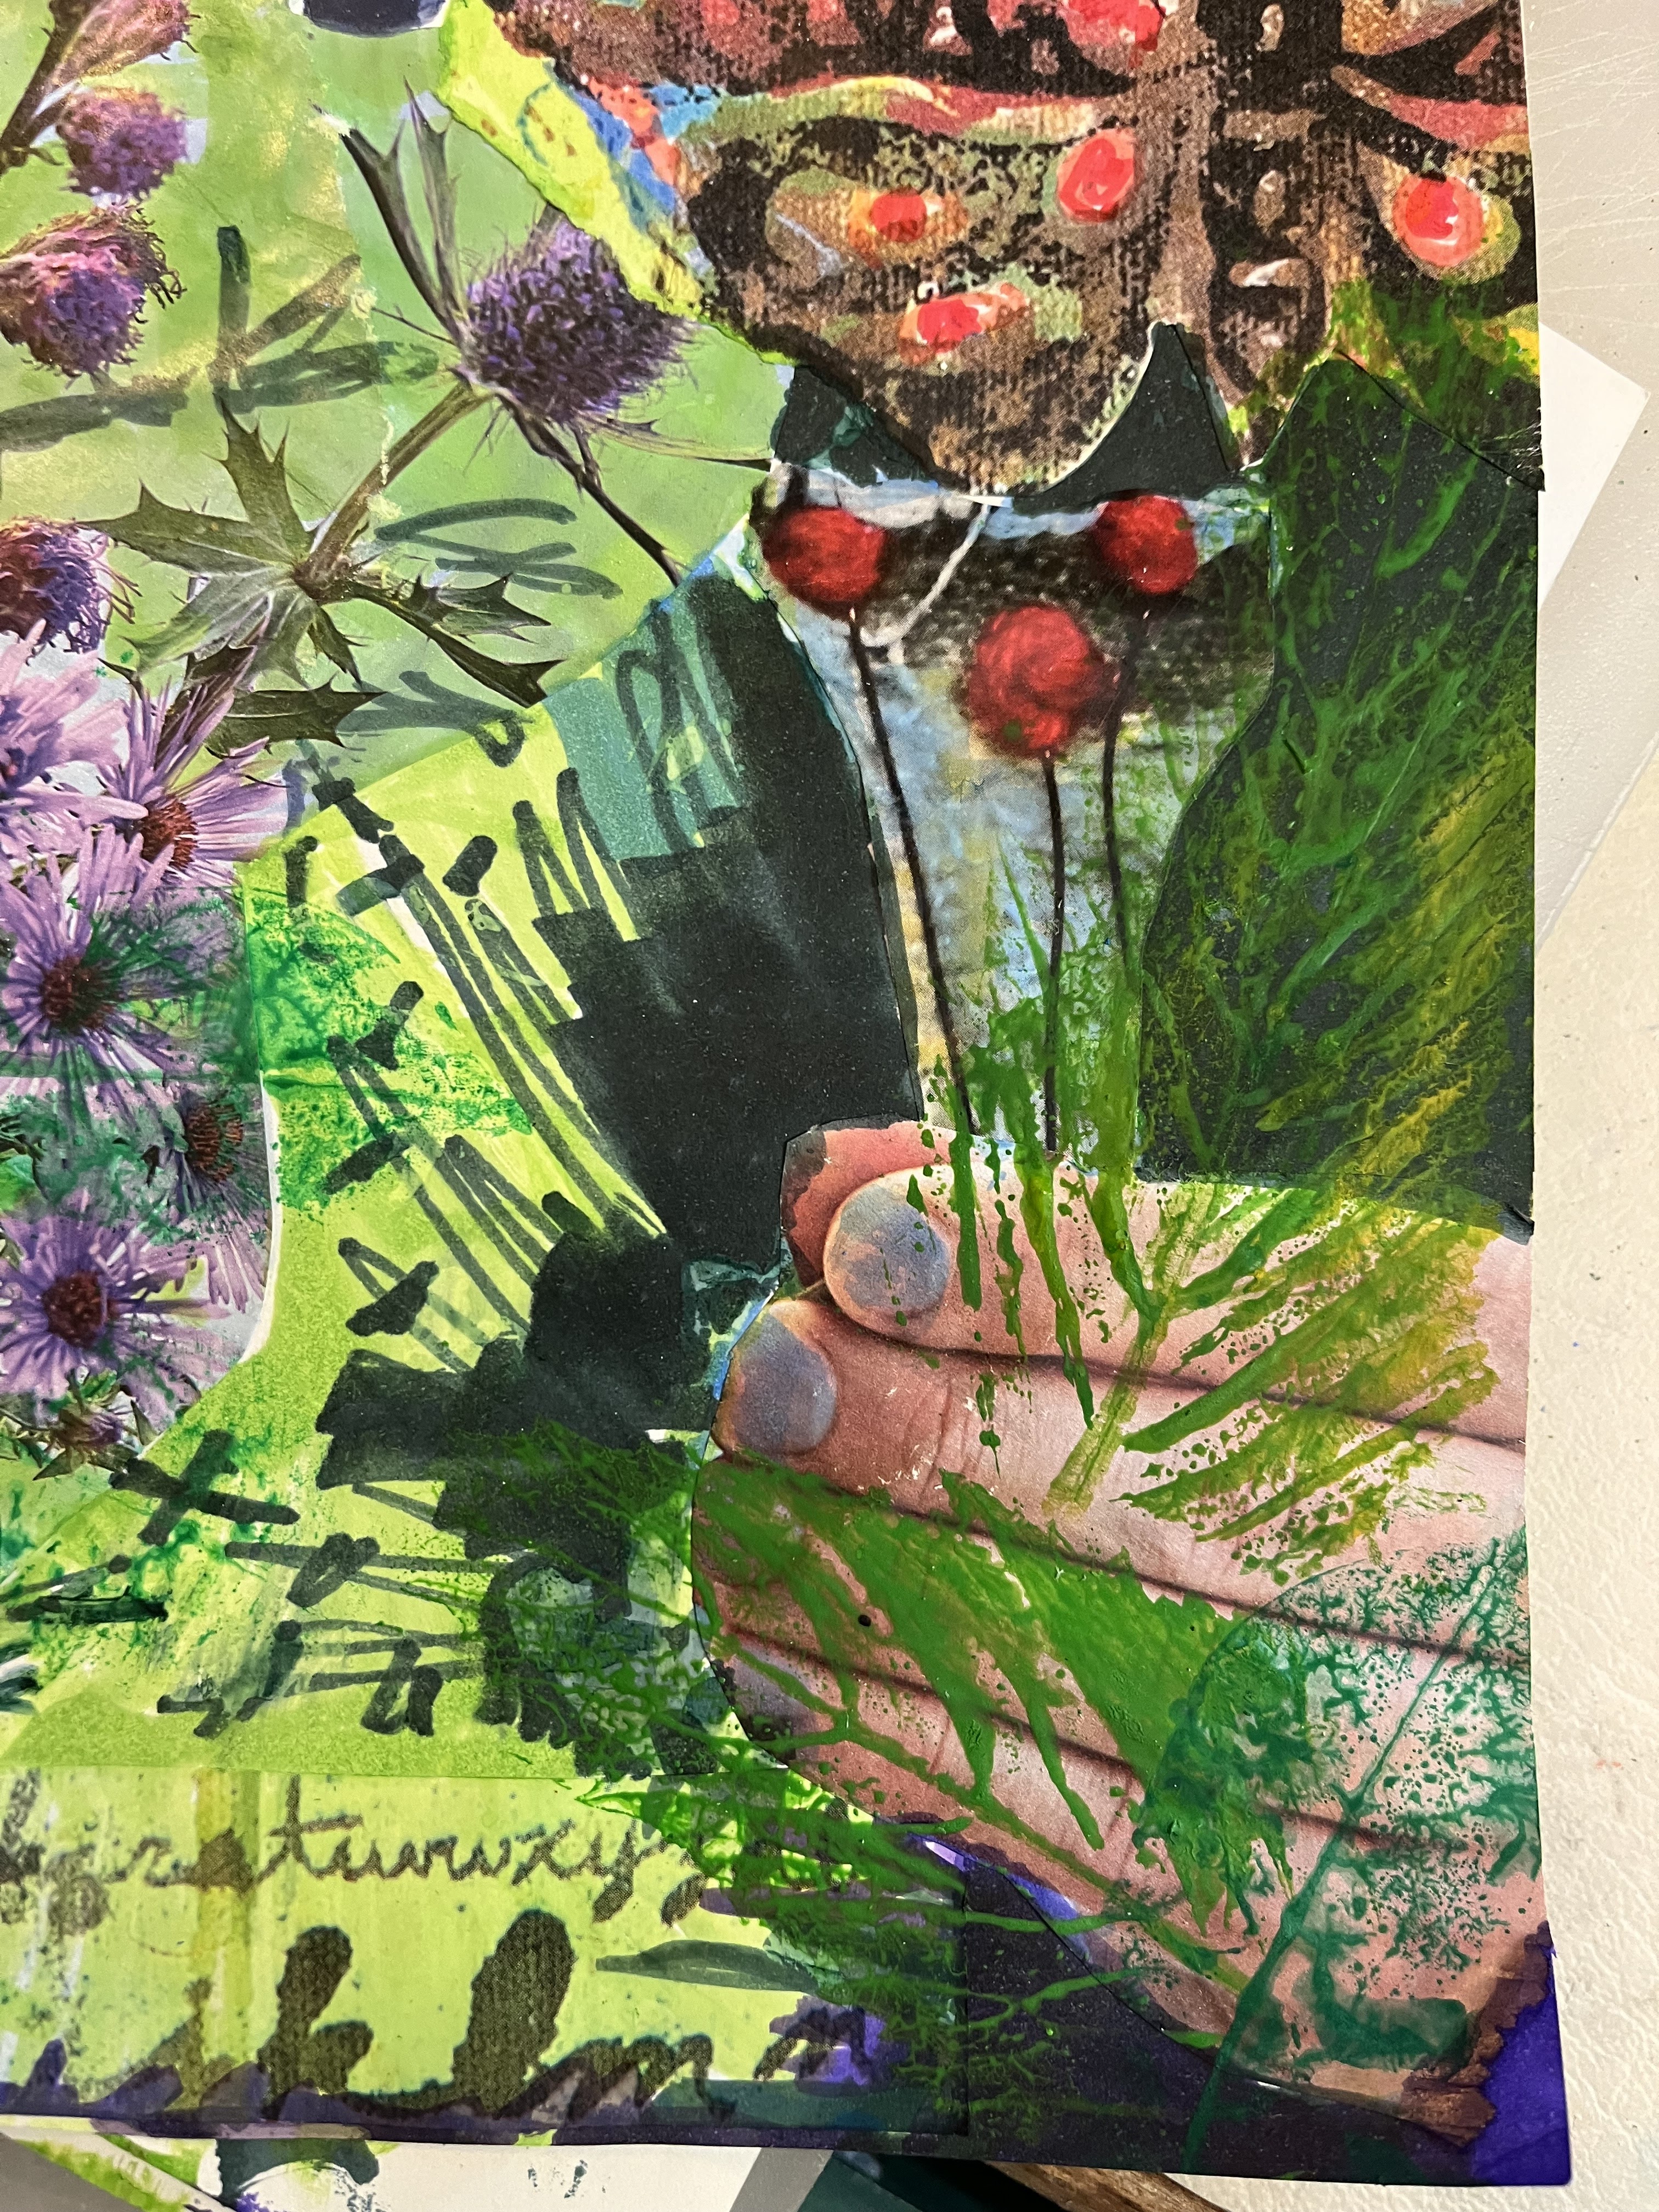
Calling this bits and pieces, because that is what collage art is ...putting bits and pieces and bits of this and that, color, line, shape, kind of like gardening!
In between gardening and trying to scrape our house together, I did a bit of Art. I participated in Sketchbook Revival which ended up to be some 30 classes I participated in. Yea, that was intense and time consuming.
I worked in a 9"x12" sketchbook with 120# paper for Multi-media. It held up very well for most things. I did have issues with tape removal..but that is me being impatient. I used gel-mediums for glue, some modge-podge and sometimes just a glue stick
I gave the projects some breathing time, but, added some bits here and there. I had wax paper between the pages which was cumbersome. I finally sealed every page with workable fixative. So, now at least everything is stable. I can put any media on top of these pieces without messing with what's already there. (Krylon workable fixative $$$), but worth it.
Some of these aren't finished, but are works-in-progress! And some will be ideas and compositions, I may adapt to paintings.
I loved this first project...the papers are mostly my own colored and painted papers. The images were a new print of Copenhagen (Kobenhavn)harbor, in Denmark, one of the canals with reflections. I found an 1890's photo of the same area and even some of the same buildings as the first, also with the water reflections. The old one was of course grays with sepia tones which I edited and then later painted. I fiddled with the size of the prints to bring them into scale with each other, cut the bits out, and then laid them out on the large piece of paper.
I began painting blocks of water color and then adding my hand painted papers mostly with torn edges (I love tearing paper, it's so ...relaxing). Broadening the canal/harbor and relating the colors. I painted some of the grayed buildings, (most would have been creamy stone or white anyway at the time. Roofs were traditionally red tile back in the day, so I played iwith that on the old side (right).
The old bridge, was just too cool, and I carefully cut what I wanted to use. See the floating logs on the right...something you don't see now and all the small skiff boats.
The newer side has a modern market going on above the seawall. I eliminated the boats, because they were just too sleek, shiny and modern for the mood of this piece. There is still a mast sticking up, but without a boat it becomes a 'pole'.
Totally loved working on this, and I want to do a painting with this juxtaposition of the old and new.
Now...something totally without a subject.
This is and unfinished and multimedia...just an assortment of shapes and some items with duplicate lines or repeated shapes in them. Again, magazine pics and hand painted/scribbled papers. I've only worked with a few extra lines on this, but will do more. I'm thinking perhaps some mono-printing or textures maybe on top of this.
Here's another Multi-media one...I like the colors, the textures...we will see what happens later, or maybe it is done.
The only prompt for this one was to build around a face. I used an old (1900 or so I think from Graphics Fairy) sepia-toned print of a woman and then added woodland themed flowers/trees, bird, etcl. lots of images from magazines or old prints, stationary cut outs, ...a fabric print. Everything is toned with watercolor, markers, and alcohol sprays. and medium.
I loved doing this and taking it as far as I dare...it's done!
Here you can see the edges of the layers...it ended up very thick. Definitely a fun experience.
Here's another wilder experience. This is another one that is very thick. The only images that weren't painted papers were some bits of a napkin with some bird/flower/fauna images. These were expanded on...printed, painted, drawn, repeat. I think I used every media on this except pastels.
I love the colors.
Details...are really suggested, here you can see the birds and textures from the papers and applications. I think I painted more with my fingers than with brushes on top of this.
This one is done.
Next
This one screams for more. Prompt was a quick landscape suggestion. I did some marker, but not sure what I want to do with this.
tissue, markers, mulberry paper, hand-painted papers, water color, markers, acrylic pen and gel mediums.
I liked using the tissue papers which become translucent with the medium as glue, and I actually ordered some thin textured papers for painting on. They just came, and next week I will play on them.
Prompt here was to take a building image and cut it up and reassemble to something else. My photo was from the 1880's and of some sort of castle/monastery type building with lots of stairs. The instructor liked to use 'gold' so there are metallic pens and later some paint scraped onto all the textures...which does do something for the subject.
Acrylics, paint pens, alcohol pens, alcohol sprays, grease pencil, charcoal pencils.
On an angle, you can see the textures and how the gold enhances the existing parts of the photo...
Titled this "Stairs to..." Knowledge, heaven, a hot bath, who knows...but it is an experience and is finished.
The only part of this that is collage were the 3 vessel cut outs of paper that were part of the instructors 'method'. Cut, and Place, then glue them down. Then complete a scene.
The cup in front is a magazine bit, the middle one is a vessel from a not finished water color scrap...and the left one was a shape from a magazine page ( a shirt I think) then enhanced with paint and markers.
The repetitive lines were meditative...and I did this over some time, as I worked slowly on this one.
I like the idea of doing vessels...or even just shapes and just go with it.
It's done, I call it a good experience with ehhh results. Wished I had a lighter purple pen, the background became too dark.
Any comments or YUKs are appreciated. Just some ideas for doing projects and some experiences with different media. SO MUCH FUN!
Sandi
Thanks ALWAYS for visiting,
I will try and respond to every comment and answer every question.
I will post at the following Link Parties,
I hope you visit them.
All the opinions and photographs in this blog are my own, unless otherwise designated. Please do not use my photos without permission. I have not been paid or reimbursed in anyway for my opinions, posts, or any products shown or anywhere I shop.
Thank you for your cooperation,
Sandi