Showing posts with label Thrifty. Show all posts

Tuesday, October 18, 2016

Rapunzel Fondant Tower

The Grand wanted a Rapunzel cake. Having never seen the Disney version, I surfed the internet for ideas. One of the most consistent DIY ideas was ice-cream cone towers covered in fondant.

http://oldnewgreenredoblog.blogspot.com

Having never worked with fondant before, I surfed the net some more and watched several videos. Trying to be thrifty, I vowed to make everything or use what I already had. My only purchase was the ice-cream cones: waffle pointy cones and standard cones.


Add caption

One thing I did do differently was to stack three standard cones on the bottom and two on the top. These were all glued together with my Cookie Icing, which gets hard. I let this set-up for a couple of hours. We had 100% humidity/pouring rain this day, so I used caution.

 I mixed up three small batches of fondant for flowers by slowly blending in food coloring. These are stored for use in tight containers.

http://oldnewgreenredoblog.blogspot.com

Later in the day, I started with the black food coloring and mixed a large amount of fondant, easily half the box. As I was mixing it, I realized, by folding it over and over as recommended, I was getting some great marbling. So I stopped mixing and rolled this out to just under 1/4" deep.

http://oldnewgreenredoblog.blogspot.com

These are all the tools I used. Yes that is a play-doh roller and play doh knife below. Small cookie cutters were used for flowers. I picked lilies and large pink flowers, buds were made by cutting the shapes in half. To get 3 dimensions, I placed the pieces on the edges to get a curve in the flowers.

http://oldnewgreenredoblog.blogspot.com

I edged the flowers by pressing in the handle of the play-doh knife. The lilies, I simply pinched with my fingers and curved the petals.

Add caption
The flowers are really quite simple.


http://oldnewgreenredoblog.blogspot.com

Wrapping the ice-cream cone tower with the gray marbled  fondant was actually quite easy. The seams were sealed with a bit of water between the layers, and I smoothed it with my finger. A door at the bottom and a window at the top were added, with almost black fondant cutouts.

The excess gray was cut into small stepping stones to use for a path.
http://oldnewgreenredoblog.blogspot.com

Not really too detailed. The crown parapet was just a straight piece with notches cut in. It curved easily and went on with water. I added purple shutters and door, later.

The roof I covered in fork textured purple. and glued in place with cookie icing.
http://oldnewgreenredoblog.blogspot.com

The humidity was still quite high, and I made the mistake of hurrying and adding the vines with more cookie icing. DON'T use sparkle gel stuff----it doesn't get hard, the sweet little leaves, pooled and dripped...but from a distance just added color. I used lots of pink blossoms and yellow butterfly commercial candies. I've had these for awhile, and don't know the maker, as they were stored in containers.

http://oldnewgreenredoblog.blogspot.com

Four layers of confetti cake were baked. I decided to build different sized layers to give a terraced look to the cake. When staking the cake off center, I inserted 4 long plastic 
straws through all the layers to stabilize the cake. 
The tower was not on for transportation...hence I never got proper pictures. We inserted a long chopstick up the center of the tower and into the cake, and it held perfectly.

http://oldnewgreenredoblog.blogspot.com


Our family has to have chocolate, so I used 'earth' chocolate for the sides of the hill and green for the top. The layers were put together with strawberry, which really made it nummy. The gray buttons for the stairs and were of the same fondant as the tower. A long head of yellow braided fondant hair spilled from the purple shuttered window. The flowers were all sprinkled everywhere. The cake was served on frying pan plates. You have to watch the movie, our heroine was armed with a frying pan which she deftly used.

I'm afraid in all the hubbub, no one took a clear picture. 


http://oldnewgreenredoblog.blogspot.com


My daughter-in-law made the adorable PiƱata..which was filled with all sorts of Princess paraphernalia and candy. It took many whacks with a frying pan to open it.

http://oldnewgreenredoblog.blogspot.com
We watched the movie, TANGLED, young and old alike, and roared with laughter.
It was a fabulous day, despite the lousy pictures. Thanks for visiting. And Happy 4th Birthday, Jerri!

Thanks always for visiting. 
I will try and respond to every comment and answer every question.

All the opinions and photographs in this blog are my own, I have not been paid or reimbursed in anyway for my opinions or posts. Please do not use photos without linking back to this blog without my permission. Thank you for your cooperation, Sandi Magle


Amaze Me Monday

Tuesday, November 17, 2015

DIY BarbieDollhouse:Wk#5 Final Lighting

This is the second half of last week's post. Last week just got away from me. So....you will see some inconsistencies in continuity here.

Point is, this post is about lighting our NEW DIY Barbie dollhouse. After searching online, I saw Christmas lights dangling from inside cardboard houses (shudder)---battery candle lights dimly lighting cubbyholes of rooms, and rooms conventially lit with dollhouse lighting totally in the wrong scale of 1:12 instead of double that, or 1:6 for Barbie. What should we use?

Christmas lights and sockets, with little wires sticking out,  was out of the question for a three-year old.

Convential dollhouse lighting would run over $100.00 with this size dollhouse and would involve metallic tape, wall sockets, tiny wiring and still having to secure/hide it. Light fixtures were all over the place in price and would be scaled too small. So we started another search.

oldnewgreenredo

Looking online, I found rope lighting and LED under cabinet lighting. Our china cabinet lights (round) LED's would be too bright. They were designed to light up an entire cabinets. So I looked for something softer and scaled smaller.

IKEA had some LED strip lights (set 4) that could be hooked together or installed individually. They gave softer light then other things we saw. Price was good---19.99 for a set of 4--we bought two sets and used 6 light panels-one for each room, so actual cost was 29.99.

oldnewgreenredo

Hubby began by drilling holes in the back large enough to run the wires through. Because we wanted everything enclosed, we made plans to encase the wires in the 'magic' plastic molding and then cover with ceiling trim afterward. The LED's strips came with ample cord, more than enough cord for the 4'x4' size of this dollhouse.

From the back Hubby ran the cords along the divider walls, along the center beam, across the front to the fixture strips.

oldnewgreenredo

Here you can see the slack wires hanging in each room and the actual lights showing at the front of the rooms. By lighting from the front, the lights cast light all over the rooms. We planned on scalloped molding trim to cover the lights, making the light shine into the house.


oldnewgreenredo

On the upper right room, you can see the pieces of 'magic' plastic channel molding I used in the last post,  Wk#5 Landings and Stairs getting ready to secure the wires. Hubby glued the plastic channel directly to the walls and beam with Gorilla Super Gel Glue.
oldnewgreenredo
 Here is a fuzzy closeup of the plastic channel molding. Very inexpensive, cuts with an exacto knife or a scissors. Also flexible so easy to work with.

oldnewgreenredo

Here is a light strip attatched to the ceiling. These lights are attatched to screwed in clips. Nothing is exposed. and the channel covers the wires in the front and along the dividing room walls.


oldnewgreenredo

Sorry for the tilt--getting these pics was tricky. Here you can see the pink wall with the molding installed over the plastic channel all the way to the back.

oldnewgreenredo

In the back the light wires were pushed into these little junction boxes which will be covered by a fake box/chimney, which we will show when completed with the rest of the exterior completion.


 This picture is taken of the kitchen area with some furniture just set in place...that rug has to go. No flash, RL lights, so the light looks perfect. Kitchen plans are still not final, but the table will become a drop leaf---and painted either green or white? What do you think? The pink is going on the appliances, they will be white with stainless steel..look--and we have to build the stove and counters.

oldnewgreenredo
This room was also lit with only the dollhouse lights. The master bedroom furniture temporarily laid out so we can see what we need to do. All the ceiling moldings are installed and the lighting is complete. The matress is on the floor, bed still needs to be delivered, but of course Ken is napping, again!

oldnewgreenredo

The bathroom roughly laid out. One piece of floor molding still needed to be installed, but all the touch-up was done. The strips of white are more bits of trimmed plastic channel from the landings, simply glued on the walls. Looks like a tile edge.


oldnewgreenredo
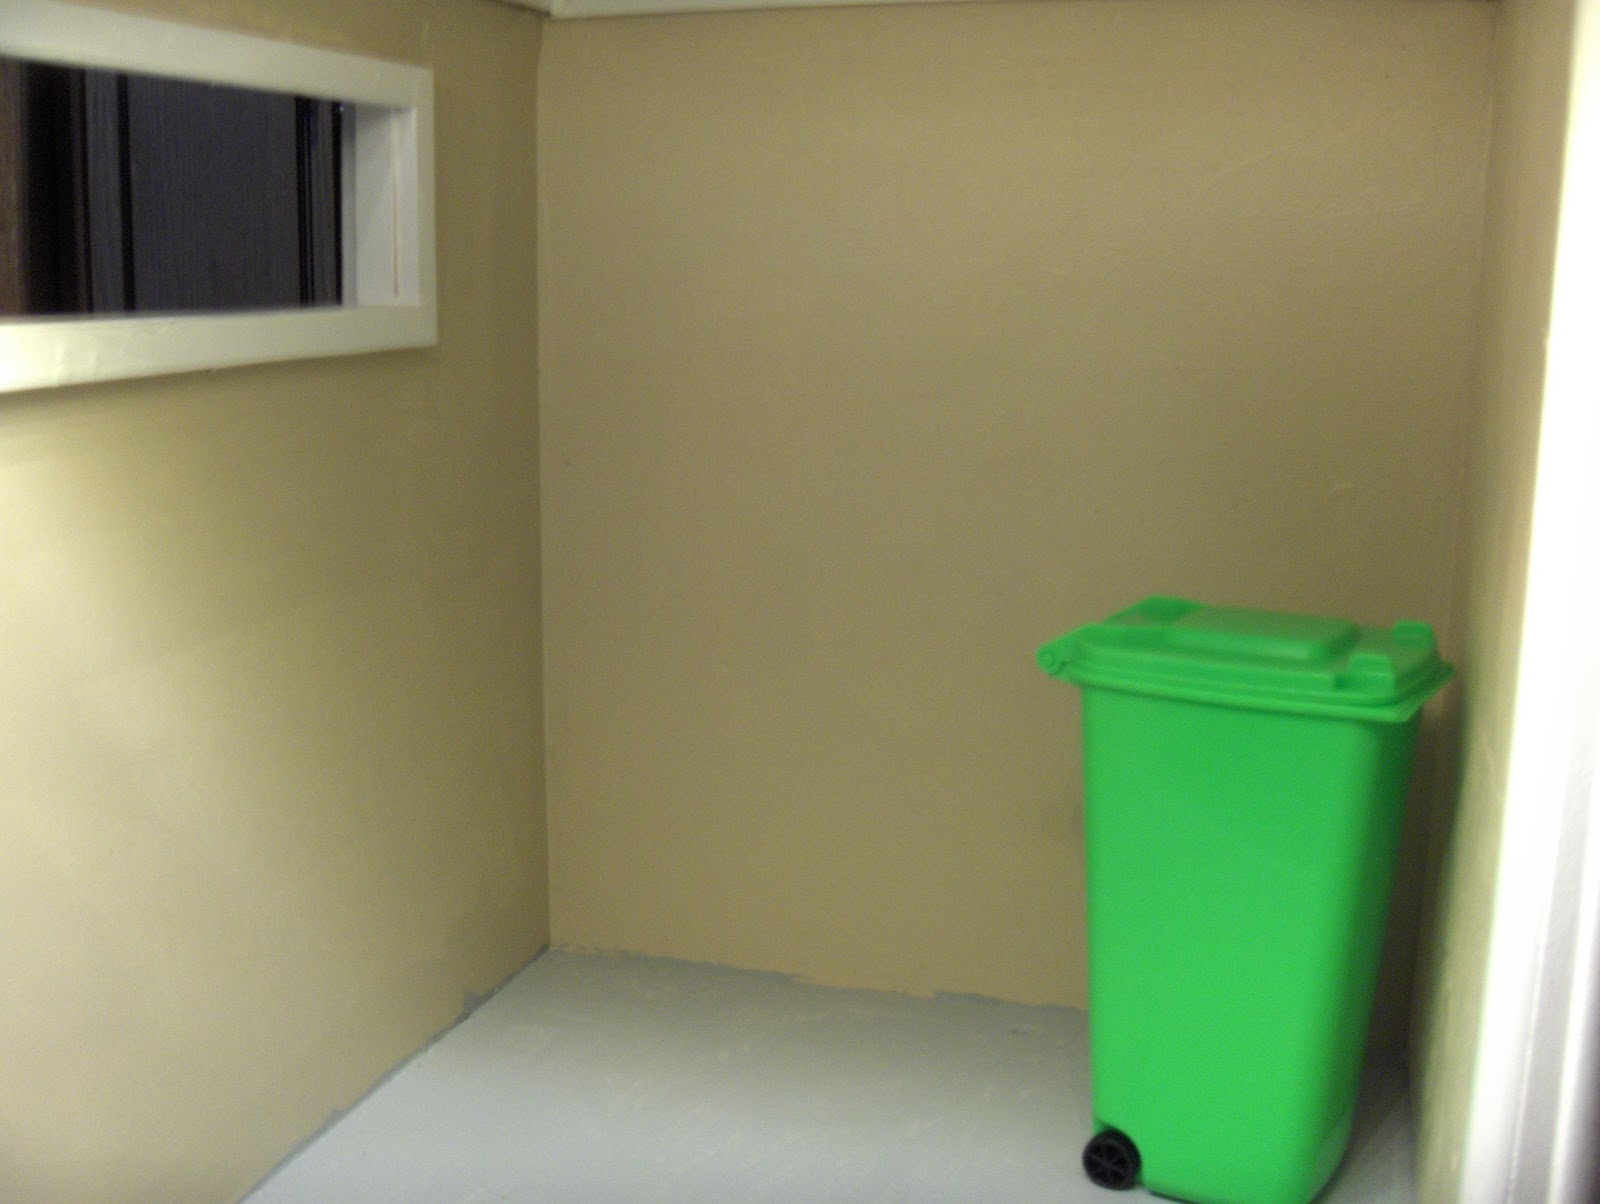
Here's the garage area with its gray painted floor and the garbage can---which was a pencil container in school promo from Walmart, for 1.99...and the perfect size, lid opens and has little wheels, tooo adorable...and GREEN.

oldnewgreenredo

 Completed stairway from the man cave to the second floor.  Temporary furniture arrangement in the background.
oldnewgreenredo

Close up of the moldings/trim all painted and Ken's closet/cabinet installed under the wierd windows. My daughter-in-law commented it was a custom fit, lol. The shower on the back left still needs to be painted and installed...you always have to wait for plumbers!

oldnewgreenredo
Hubby did take this picture with a flash...but you have seen how great the LED lights work. We have opted not to have any lit fixtures or lamps. There may be a couple of battery lights...but the rooms are nice and bright with the LED strips.  However, this post is not a recommendation of- or for- any products or use of products as safe for children. Please follow all manufacturer's suggestions and installation recommendations.

Now to get to working on all these furnishings--and make them not so retro, crazy colors. Everything begged, borrowed and thrifted needs to morph into some assemblence of a tastefully decorated home. More to follow on Barbie's thrifty and thrifted furnishings. I did buy the to toilets and Refrigerator new, and the green table and dining chairs. My daughter-in-law is constructing the hanging chandeliers and lamps...which will be for show and she will work on many of the miniature food, magazines, books, etc, things for th house.


Thanks for stopping by, and I will be happy to answer any questions or comments.


All the opinions and photographs in this blog are my own or I am in possesion of the originals, 
I have not been paid or reimbursed in anyway for my opinions, posts or products used. 
Please do not use my photos without linking back to this blog without my permission. 
Thank you for your cooperation, Sandi Magle 
Sharing at these fine parties this week, 
 Sandi