Monday, September 28, 2020

REDO Antique Book Shelf

Ad-Free Blog

Way back when...like three years ago, I posted photos of my tiny master bath.
Saying it was due for an upgrade, we had peeling wallpaper, needed new tile, and some serious drain pipe issues. The small space was screaming for a makeover from its 1990's origins.

oldnewgreenredo
I featured this little shelf, which held everything we needed in the tiny bathroom.
oldnewgreenredo

It was just always so foreboding brown, I hid the dark with towels and doilies.

Now, I had a quart of satin latex with primer added in light blue, a few shades lighter than my bedroom walls.

oldnewgreenredo

(PS, I'm not fond of chalk paint for anything but craft projects. Satin Latex paints have beautiful strong finishes and are durable enough to use on furniture, walls, or trim. Most have added primer which makes one coat sufficient for almost all surfaces.) And, no sealing or waxing or anything else, extra...! So, unless you are going for a 'custom' layered expensive finish---Satin Latex proves it's durable, and certainly more cost effective.


Originally this Arts &Crafts Movement Library book stand has been in my collection for about 50 years. We dragged it from Wisconsin in 1976 to Illinois.
It's always been in my bedroom until 1990 when we made an extra bathroom out of a walk-in closet. The width was then cut to fit our new bathroom. It's been perfect for towels and bathroom storage since then.

oldnewgreenredo

NORMALLY I WOULDN'T PAINT AN ANTIQUE!

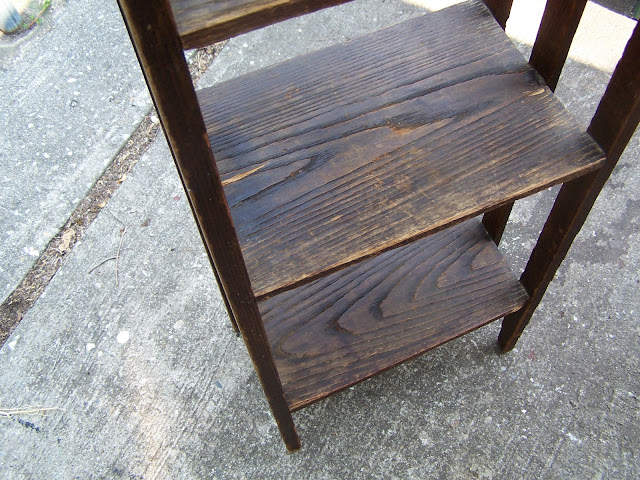
I've always wanted to paint it, or at least lighten it. I tried some paint-wash on the underside of the dark stained boards. The orange tones in the stain made my light blue paint very gray
oldnewgreenredo

In anticipation of painting, I scrubbed and lightly sanded the wood and let it dry. This was made from raised grain almost rough sawn red oak. How large the tree must have been to cut these thin full-depth planks that barely warped in 100 years. The piece is from prior to 1915. 

oldnewgreenredo

On the underside of the shelves, I tried a couple of techniques. The left was a dry brush with a full strength paint, the upper-right wiped off full strength paint, the bottom brushed on
 with full strength paint. 
I opted for the wipe off technique, thinking I could always add more color.

oldnewgreenredo

North Chicagoland's been in a drought, so the air was very dry, and I worked on a small area at a time, paint-wipe, paint-wipe with a dry rag, and so forth.

oldnewgreenredo

Even working in the shade the paint was drying fast.


oldnewgreenredo

Hubby just kept taking photos...as I worked very quickly.

oldnewgreenredo

Working from the inside out, there is less likely to have drips and then your outside surfaces aren't disturbed while you are working.

oldnewgreenredo

Progress, it was certainly brighter than the original.

oldnewgreenredo

In the end, it was pretty even. I lightly dry-brushed any areas that were still dark.

oldnewgreenredo

Normally I don't paint antiques...but this piece had been altered anyway the top V shelf had been replaced from slats, which were awkward and warped.

oldnewgreenredoAdd caption

Now the newer wood, just blended in, as I wiped lots off to leave the softer grain to match the others.

Best part, this color blends beautifully in our new up-graded bathroom with new drain pipes, I'll share in another post! 


Hugs, 

What Projects have 

you finished in Lock-Down!


Sunday, September 27, 2020

DIY Metal Swing Project

AD-Free Blog
Have you been busy with Projects? 
We sure have!

This is an OLD  metal swing, which was long past its prime. The roof top has long ago blown away. But it is a favorite of our family in the backyard. 

We decided to REDO, rather than send it into a landfill or a recycle center. We ripped all the deteriorated ancient fabric off the seats and we were suddenly left with an empty frame and no firm surface to sit on.


Sorry no 'before's'---hubby started working on this before I got photos of the demolished frame. 

He only used one NEW wood board for the back, and  drilled holes through the metal tubing and bolted it on. We decided more pieces might actually be uncomfortable in the lumbar region.

Hubby opted to add two NEW cross pine boards and then add the thinner aspen boards for the actually seat. These are attached with countersunk screws for a smooth finish. All the edges have been sanded. The idea being we could sit on this without the cushions. 


We set up our spraying tent for several projects and four cans of spray semi-gloss spray paint with primer in it and it's done. A super tight finish on the old metal.
We also encased the legs in plastic plumbing tubes with caps as the ends, because they had deteriorated so badly. 


We slipped the plastic plumbing pipe over the ends and then capped the bottoms. A little caulk sealer inside makes them waterproof, and the spray paint totally hides the sturdy 'fix'.

Our old cushions are still bright and liven up this quiet corner of the backyard.


I love where the swing is located, in the middle of 
our Grand's play area...and in the shade, she loves to rest here after running her obstacle course. It's the Perfect Place for critter watching...and usually a bit of breeze comes through from the west.


Honestly I rake this area twice a week, but due to the drought here, leaves fall faster than we can rake or blow them. Our Coleus are still going strong in those square pots. LOVE THEM!


I'm awfully pink here, I was spraying in the sun on the side of the house, and it was hot. Cooling off in my favorite spot in my very comfortable REDO Swing.


Everything planted is waning now. We have tons of aster flowers and buds, it's actually a bush now, the bees are so happy. The Zinnias are drying on the stalks. Such a pretty view from the swing.


We are trying to slow down a bit ourselves. I'm looking forward to not pulling weeds, and we have been working hard on so many projects this year while stuck at home. 

I'll share some of our other REDOs soon. 
  • Tools and supplies needed for this REDO
Power drill for the pipes
Bit larger than your bolts
Countersink drill bit for your screws
Saw (electric or handsaw)
Sanding paper

3 swing lengths of 1"x3" pine
9 seat depth lengths of 1/2"x 2 1/2" x (we used 24") Aspen 
9 bolts to go through your swing tubing and 9 nuts
18 wood screws for slats
Mask for spray paint 
4 cans of semi-gloss spray paint with primer
4 12" lengths of plastic plumbing pipe
4 caps for pipes
plastic pipe glue
weatherproof caulk


Where is your favorite place
 in your yard? 

Do not use my photos without linking back to this post on my blog.


Thank you for your cooperation, 
Sandi 


Friday, September 25, 2020

Glorious Garden Food:Turkey meatballs and meatloaf

Ad-Free Blog

SUPER TENDER TURKEY or CHICKEN MEATLOAF or MEATBALLS with Lowsalt options.


We are still in the throes of dealing with all the garden produce. I purchased a large package of ground turkey and knew I wanted to make some meatloaf and some meatballs. 


Including vegetables in my meatloaves is standard as it helps the low fat chicken/turkey, which can be quite dry.


Here you can see how nicely these meatballs brown, I then pop them in the freezer in bags, easy to pull a few out for dinner and heat them in the toaster oven.

My 3# package of ground meat made all this.


Cooking for two ---can mean too many leftovers can be boring, so I cook a lot, package and freeze meal sized portions. Each of the meatloaves were cut in half, and bagged. The meatballs freeze nicely loose in bags.

I often split the meat mixture into three parts and add the seasonings of choice to each.


You can see how tender and delicious these meatballs were.

CHICKEN/TURKEY Meatloaves/meatballs with low salt options also gluten free

Mix together
1# of lean ground Turkey/Chicken
add 1 cup of whole oats (long-cooking)
(this will make one meatloaf or 15-16 large meatballs)

1 1/2 cups total -shredded of one or more of the following: zucchini, yellow summer squash, carrots, celery, or apples.
Add:
1/2 cup chopped sweet peppers or hotter if you wish

1/2 cup chopped onion

3 cloves of chopped garlic (optional)

1 TBSP of Chicken Seasoning OR Mrs. Dash or Italian seasoning, or a seasoning mix of your choice. 

Other additional options would be 1 Tbsp Chili powder and/OR fresh basil, cilantro, oregano,  OR poultry seasoning or fresh Rosemary for a Thanksgiving vibe. 

1/2 tsp ground pepper

Add salt to taste, or 1 Tbsp of lemon juice for low-salt

Add 3/4 cup of one of these liquids: Milk, or tomato sauce/castup, or chicken broth. (All three of these have salt in them-watch your numbers)

Mix thoroughly and let sit for 15 minutes. If mixture is still stiff add a bit more liquid until you can easily form loose meatballs or loaves. (Remember the vegetables and the liquid add moisture instead of the fat and the oatmeal will absorb this.)

Bake at 350 for 40 minutes for meatballs

Use a thermometer to test meatloaves to poultry safe 165 degrees or above.  Mine took  1 hour and 20min.

You will not get run-off for gravy, but the meatballs can easily be popped into sauce for a terrific spaghetti. I often make a basic white parsley gravy with low-fat milk for the more savory selections. 

 When using three pounds you can split the mixture before adding seasonings and have three different choices.

ENJOY!

WHAT  is your favorite GARDEN FOOD?


Do not use my photos without linking back to this post on my blog.


Thank you for your cooperation, 
Sandi 


Sunday, September 20, 2020

Tip Toe-ing into Fall

AD-Free Blog

Well, Fall is definitely coming... 

to N. Illinois.

No, this isn't another Sunflower post...I just wanted you to see how  he birds, squirrels, and raccoons have picked all these sunflower heads CLEAN!

oldnewgreenredo


I really found the heads interesting though, just as they are.

oldnewgreenredo

I managed to roll the MONSTER pumpkin *(without any mice or wheels) to the deck and then lift this up on the bench in the backyard.

oldnewgreenredo


The Pumpkin is so round, but flat on the back side. I was cleaning out the sunflower heads while picking beans on the ladder and brought down so many of the heads as they were empty. My shoe is an 11 womens' so you can get a gander at how big this huge pumpkin really is.

oldnewgreenredo


So while I'm plopping the sunflowers on the bench...I get a great idea---to maybe make a display in the front yard with these.

                                                       oldnewgreenredo                                 


Thinking I planned to use an upside down galvanized round tub, but, when I went to the garden center to get a few MUMS they were selling bales of fresh hay for $6.99. 

The hay bale becomes a shelf and mulch all rolled into one. 

oldnewgreenredo

The sunflower heads are great to add to my pots where the flowers have given up. 
Petunias are simply done with the heat and dry. 
I added two garden center pumpkins, all those pumpkin plants and we only ended up with the large one and some gourd sized ones which are still holding on the vines.

oldnewgreenredo

I'm looking for my "Happy Fall, Y'all!" sign and so far no luck. I was incapacitated last year to put things away, so goodness knows where it is?

I will show this again, as I change the vignette. 

HAPPY FALL, Y'All !


Monday, September 14, 2020

Midwest Gardening Food: Freezing Green Beans


Ad-Free Blog

Midwest Gardening Food: 

Freezing Green Beans

Since we have had little bursts of cooler weather in between the high 80's and low 90's, the beans were and still are going nuts! We planted beans on 8' trellises between the sunflowers. Mostly to give our neighbor some privacy. There sunken patio is a stones throw from our garden and no need to be seen every time we are in the garden, butts in the air weeding.

And YES sunflowers and beans are very compatible plantings...but who knew?

oldnewgreenredo

...our Beans would grow as high as the Sunflowers. The ground was very hard so the ladder was sturdier and safer than it looks.

oldnewgreenredo

You can see the thick growth of bean leaves, we have a fortress of beans. Three packets, 2 which were three years old.

oldnewgreenredo

My daughter-in-law picked all the lower ones. We picked and picked and picked. 
She took a huge bag of 
GREEN DELICIOUSNESS home.


oldnewgreenredo


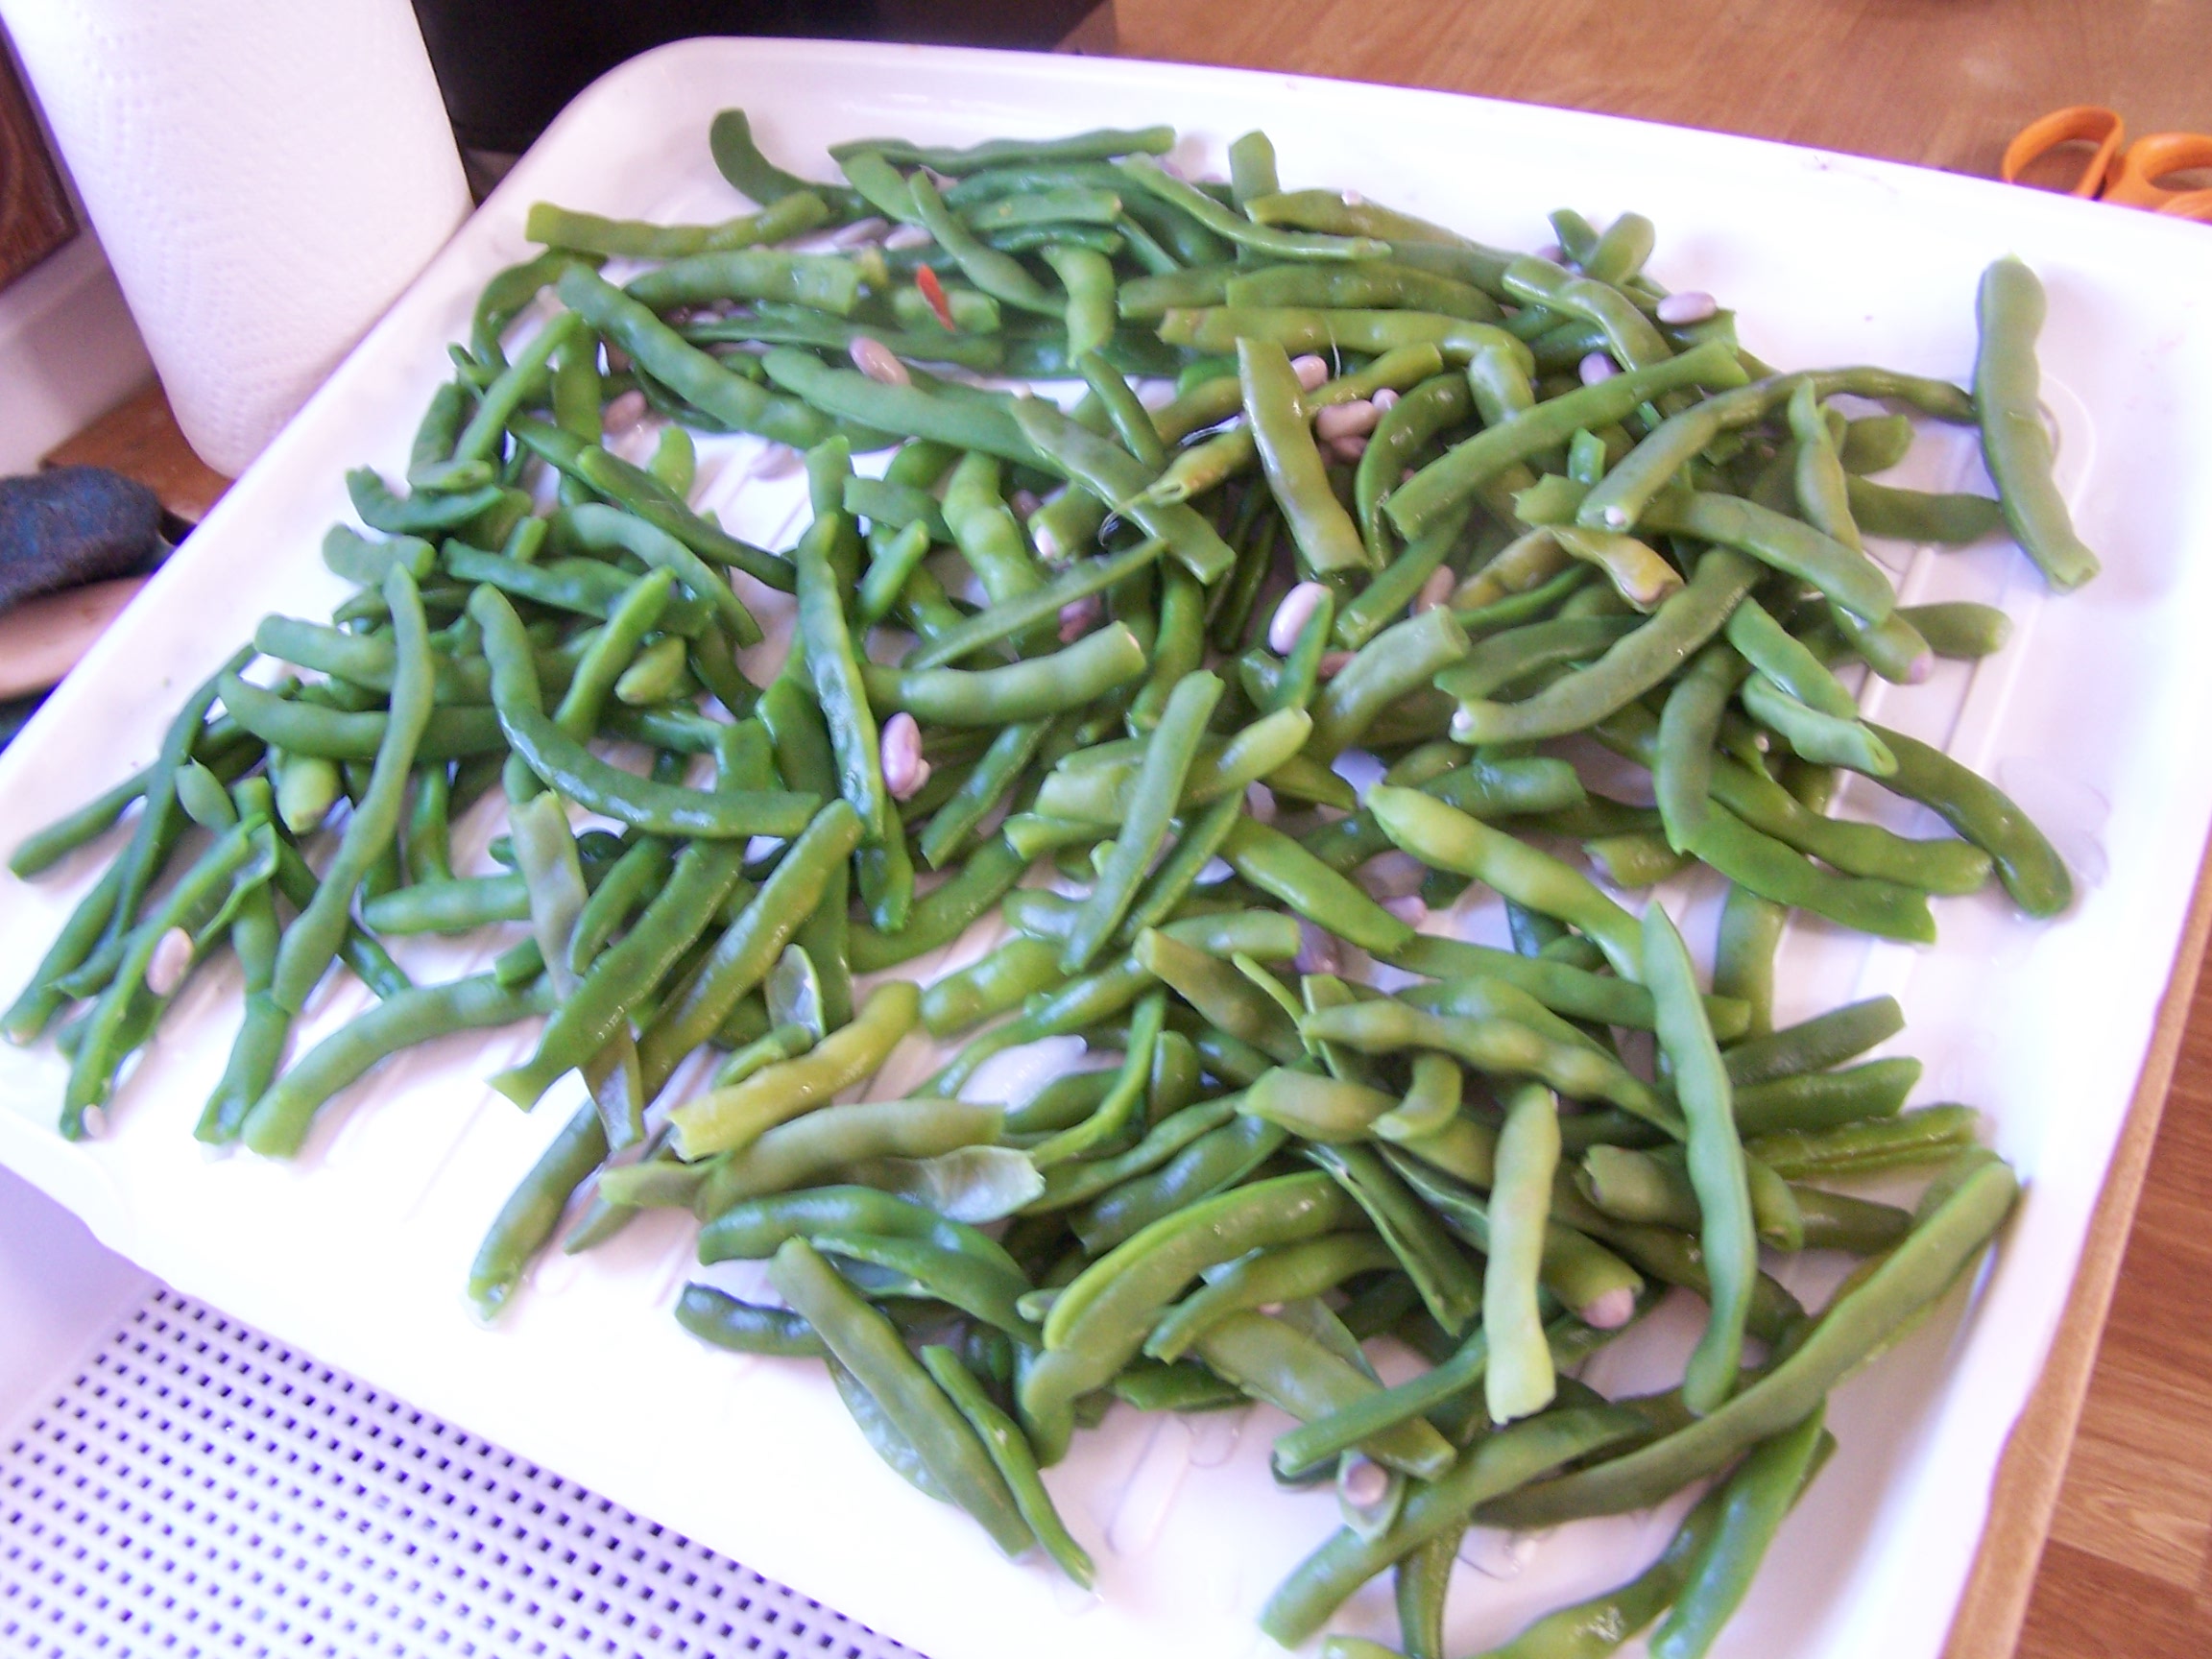
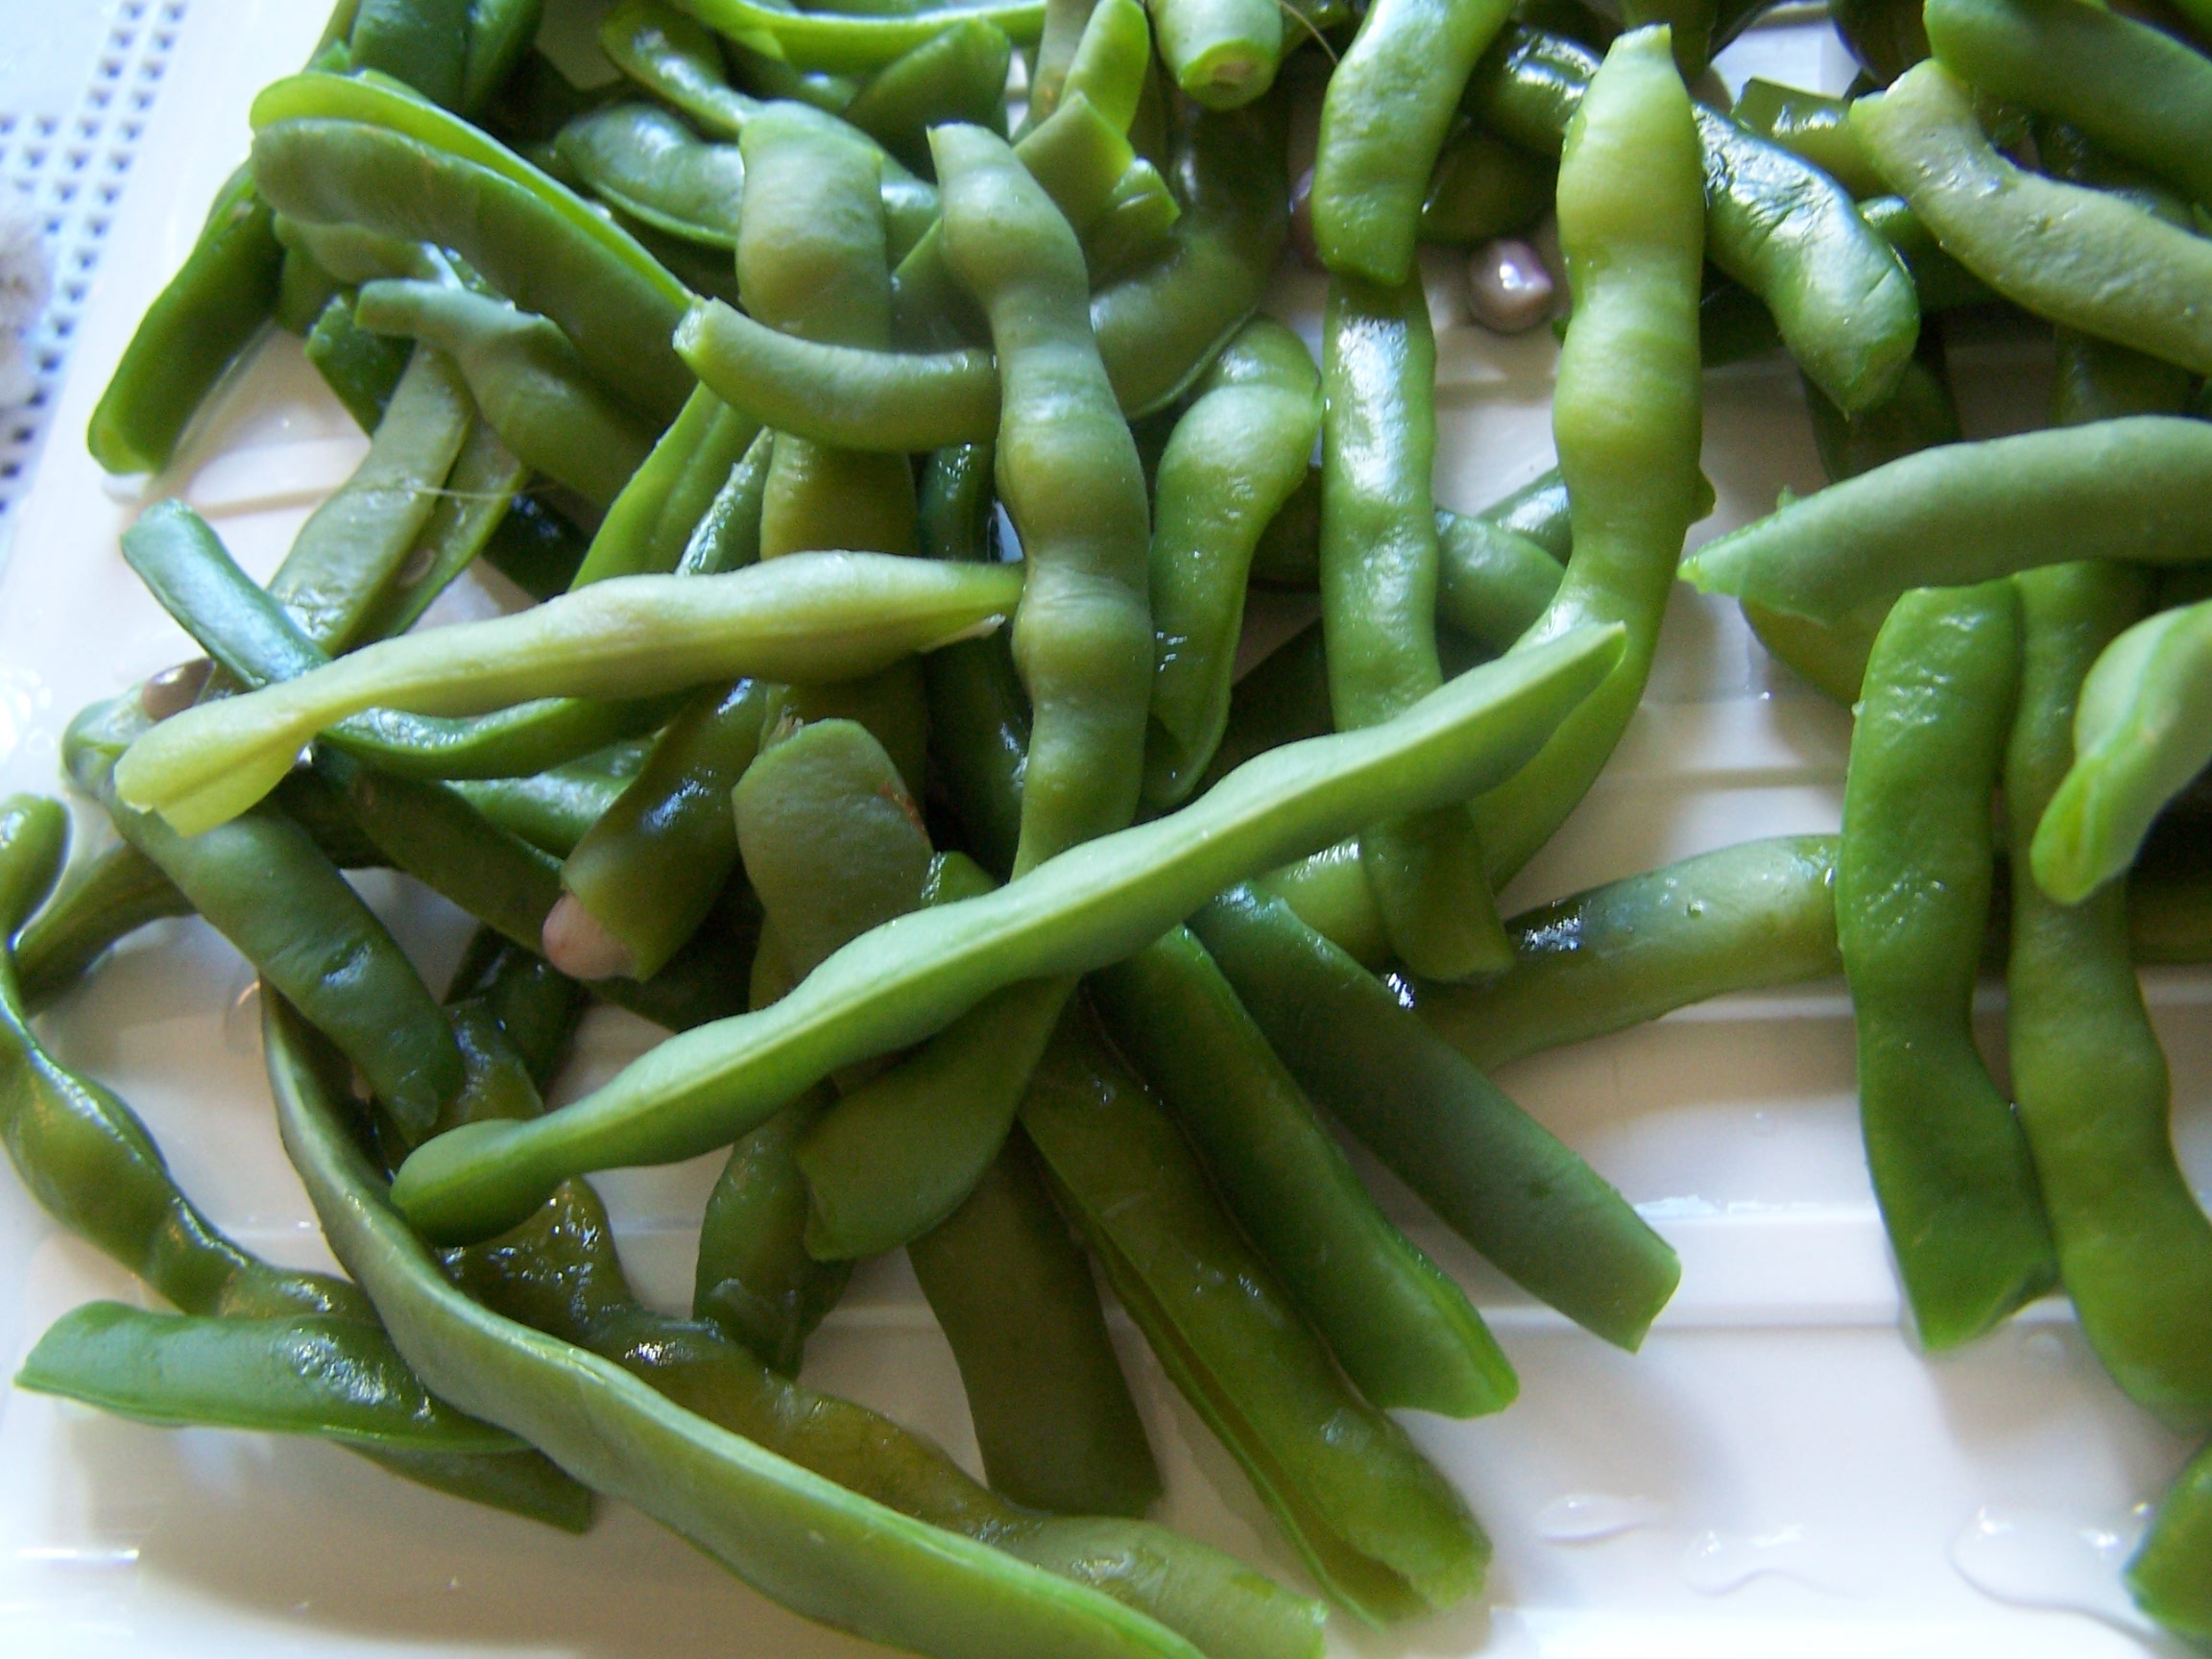
Freezing beans is so easy. First, wash and prepare your beans. I clip off the ends and pull off any strings. You may cut them or leave them long. Even with the beans large inside the pods these were very tender, so I'm freezing almost all of them.

oldnewgreenredo

Easy Directions for freezing beans: Prepare a clean sink 1/2 full with cold water and add a quart of icecubes or quart block of ice you have frozen. 

    Then set a deep kettle on the stove half full of water. Set to boiling with a lid. (Do not add salt this will discolor the beans).

    When at a rolling boil add 2 cups of beans to the water, bring to a boil and let them cook for three minutes.

    Scoop out the cooked beans and immediately chill to cold in the sink. Remove and drain.

    Do this with all your beans...then bag, removing as much air as possible from freezer bags.

    Label and freeze. Enjoy all year long, so delicious and fresh!

oldnewgreenredo

Which is your favorite GARDEN FOOD?


Do not use my photos without linking back to this post on my blog.


Thank you for your cooperation, 
Sandi